
We’ve all been there‚Äîparked on a hill, pulled the parking brake, but still felt that unsettling nudge as our car crept forward. It’s a clear sign your parking brake may need an adjustment. We’re here to guide you through diagnosing and fixing parking brake issues, ensuring your vehicle stays put when you need it to.
Knowing how to adjust your parking brake is an essential skill for any car owner. It’s not just about safety; it’s also about maintaining the integrity of your vehicle’s braking system. We’ll walk you through the steps to identify the signs of a slackened parking brake and how to tighten it up for secure stops.
Stay with us as we delve into the world of parking brakes. We’ll show you how a few simple tweaks can make a world of difference in your car’s stationary stability. Let’s get started on ensuring your parking brake is as reliable as it should be.
Signs of a Slackened Parking Brake
Parking brake issues can often be overlooked during routine maintenance, but identifying the signs of a slackened system is crucial for ensuring our safety and vehicle’s reliability. Here are key indicators that our parking brake may need an adjustment:
- Increased Travel: When we pull the parking brake lever, it shouldn’t feel loose or come up too high. If there’s noticeably more travel before it engages, it’s likely that the brake cable has stretched or the mechanism needs tightening.
- Less Resistance: A properly functioning parking brake should require a fair amount of force to set. If we find it’s become surprisingly easy to engage, it might be due for an adjustment.
- Vehicle Roll: If our car rolls slightly when parked on a slope with the parking brake engaged, it’s a definitive sign the brake is not holding as it should.
- Warning Light: Some vehicles are equipped with a warning light that illuminates when the parking brake is applied. If this light stays on even after release, or if it fails to come on at all, there might be an issue.
- Audible Clicks: Most parking brakes click into place as they’re engaged. Counting these clicks can indicate the tension on the cable. A fully functional brake typically engages within four to six clicks, depending on the manufacturer.
Understanding these symptoms allows us to make timely adjustments before more significant issues arise. It’s important to remember that while some cars have mechanical parking brake systems, others feature electronic parking brakes, and the adjustment procedures may differ. We’ll want to consult our vehicle’s manual or contact a professional for the correct method tailored to our specific model.
Regular checks for these signs help maintain the integrity of our vehicle’s braking system and ensure our parking brake performs optimally when we need it most.
Tools Needed for Adjusting the Parking Brake
When tackling parking brake adjustments, it’s crucial to have the right tools on hand to ensure the job is done efficiently and safely. We’ll need a set of basic tools that most DIY enthusiasts likely have in their garage. However, if you’re new to car maintenance, acquiring these tools is a wise investment not only for this task but for future vehicle repairs as well.
The essential tools for this job are:
- A sturdy jack and jack stands: These are vital for lifting and securing the vehicle, providing us safe access to the parking brake mechanism.
- A set of wheel chocks: They’ll keep the car from rolling while it’s jacked up.
- An adjustable wrench or a set of wrenches: These will be used to loosen and tighten the parking brake cable adjusters.
- A pair of pliers: They’re helpful for gripping and pulling the parking brake cable if necessary.
- A flashlight or work light: Good visibility is key when working under the car or in dimly lit areas.
- Gloves: Protecting our hands is always important when working with automotive parts.
Additionally, some vehicles might require specific tools depending on their parking brake design. For instance, an Allen wrench or a special brake adjustment tool may be needed for certain models. We should always consult the vehicle’s manual to confirm the exact tools required for our specific make and model.
It’s also important to note that while gathering our tools, we must ensure a safe working environment. Always perform maintenance tasks on a flat surface and double-check that the car is securely lifted and supported before undertaking any work beneath it.
Preceding this step by inspecting and assessing the parking brake issue lays a solid foundation for a successful adjustment. With the right tools and a bit of know-how, we can move forward confident in our ability to address any parking brake concerns and restore its proper function.
Step-by-Step Guide to Adjusting the Parking Brake
Adjusting your parking brake is a vital maintenance task that can significantly improve your vehicle’s safety. Before diving into the adjustment process, ensure your car is on a flat surface and the wheels are blocked securely.
Preparing Your Vehicle
When we’re ready to adjust our parking brake, safety comes first:
- Park on level ground and turn off the engine.
- Block the front and rear wheels with wheel chocks to prevent rolling.
- Place the transmission in “Park” (for automatic) or in gear (for manuals).
- Use the jack and jack stands to lift and secure the vehicle.
Locating the Parking Brake Adjuster
Locating the adjuster will depend on your vehicle’s make and model:
- For most cars, the adjuster is located at the back of the parking brake lever or pedal mechanism.
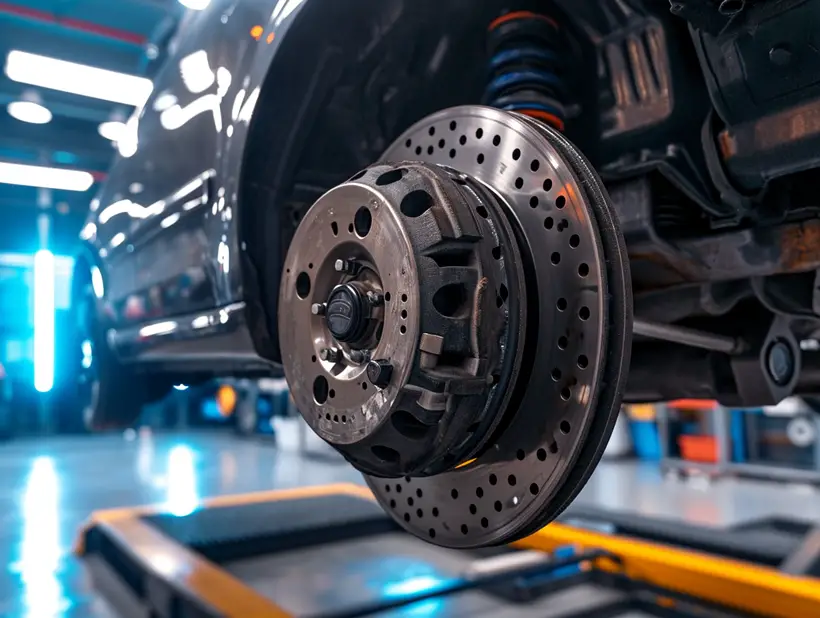
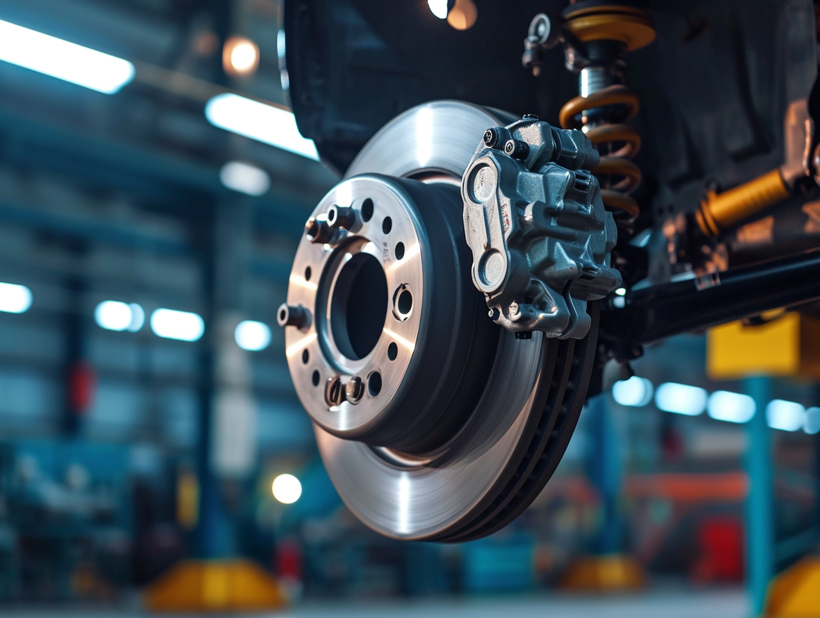
- In some cases, it’s situated near the brake caliper or drum.
- Consult your vehicle’s manual to pinpoint the exact location.
Adjusting the Brake
Once you’ve located the adjuster, you can begin the actual adjustment:
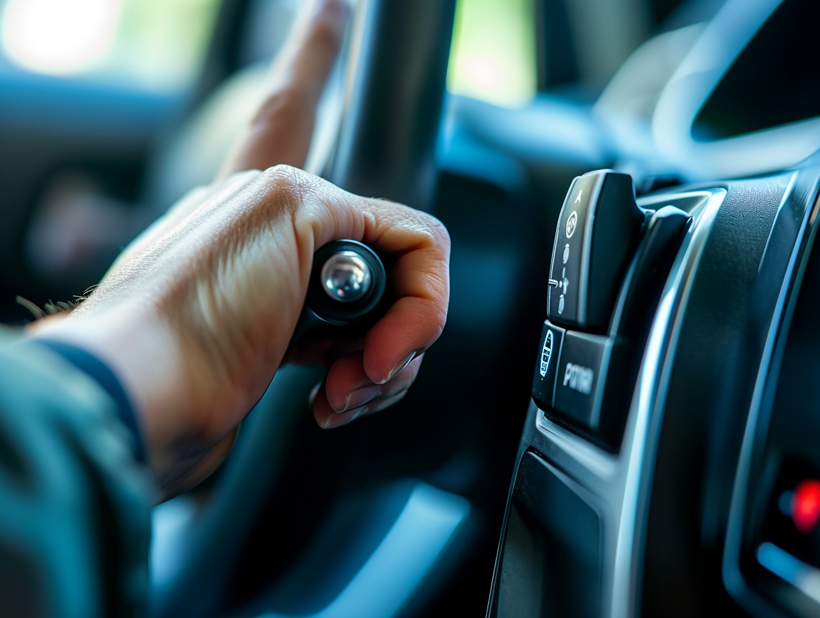
- Release the parking brake handle or pedal.
- Tighten the adjuster until there is slight resistance when turning the rear wheels.
- If the vehicle has a drum brake system, remove the drum to access the adjuster.
- For disc brakes, the adjuster may be a bolt or a star wheel that you turn with pliers or a wrench.
- Once you feel resistance, loosen the adjuster slightly to ensure the brakes aren’t too tight.
Testing the Adjustment
Now that the parking brake has been adjusted, it’s critical to test it:
- Lower the vehicle from the jack stands.
- Re-engage the parking brake; it should feel firmer now.
- Attempt to drive forward gently with the parking brake engaged – your vehicle should not move easily.
- If it’s too tight or still too loose, re-adjust as necessary.
Regular maintenance of your parking brake ensures that it operates correctly when you need it most. By following these steps, we can achieve a well-adjusted parking brake, delivering dependable stopping power and maintaining our vehicle’s reliability.
Testing the Adjusted Parking Brake
Once we’ve tightened and loosened the parking brake adjuster appropriately, it’s crucial to test the brake’s functionality to ensure it’s in optimal working order. Testing helps us catch any issues before they lead to brake failure or other hazards.
Firstly, we need to lower the vehicle back to the ground. It’s essential to remove any supports or lifting equipment used during the adjustment process safely and securely.
After the vehicle is firmly on the ground, our next step is to engage the parking brake. Typically, for a parking brake to be considered well-adjusted, it should fully engage within 3 to 4 clicks or notches. However, the exact number can vary based on the vehicle’s design specifications which is detailed in the owner’s manual.
Here is a simple checklist for testing the adjusted parking brake:
- Ensure the brake lever or pedal feels firm when engaged.
- The vehicle should not move when the parking brake is applied.
- Release the brake and confirm the vehicle moves freely without any drag from the brakes.
To further validate the adjustment, we can perform a real-world functionality test:
- Find a gentle incline and safely park with the front of the vehicle facing downhill.
- Shift into neutral and engage the parking brake.
- Once engaged, the vehicle should remain stationary.
For vehicles with automatic transmission, we should ensure the parking brake holds the car steady without relying on the gear’s parking pawl. This test mirrors the brake’s everyday use and is a dependable indicator of proper adjustment.
Remember, if the vehicle moves during these tests or if it’s difficult to engage the parking brake fully, we might need to revisit the adjustment process.
Regularly checking the condition of the parking brake directly impacts the safety and longevity of our vehicle. As we become more familiar with our car’s specific needs and behaviors, we’ll become better at ensuring the parking brake remains reliable between regular maintenance appointments.
Common Issues with Parking Brakes
Parking brakes, despite their simplicity, can encounter a range of issues. Recognizing these common problems is key to ensuring a functional and reliable system. Below we’ll delve into some prevalent parking brake concerns that car owners might experience.
- Sticking Parking Brake: Occurs when the brake fails to release even after the lever or pedal is disengaged. This could be due to rusted cables or a malfunction within the braking mechanism.
- Weak Brake Hold: If the parking brake doesn’t hold the vehicle firmly in place, it might signal a need for adjustment, worn-out components, or contaminated brake pads.
- No Resistance in Brake Lever or Pedal: Feeling no resistance when engaging the parking brake is a clear sign that an adjustment is necessary or the cable might be snapped.
- Parking Brake Warning Light Stays On: This could mean the parking brake is engaged, there’s an issue with the braking system, or the sensor that detects the parking brake’s position is faulty.
It’s important when diagnosing parking brake issues to start with a visual inspection. Examine the cables for any signs of wear or corrosion, and check the condition of the brake pads or shoes. Environmental factors like salt, water, and dirt can accelerate wear and tear, leading to more frequent problems.

Troubleshooting parking brake issues sometimes identifies less common problems such as:
- Poor Cable Lubrication: Over time, cables lose lubrication, which can cause sticking or snapping from increased friction.
- Damaged Components: Accidental damage or exposure to direct impact can harm the parking brake’s components, leading to failure.
Regular inspection is essential to catch these issues early, preventing them from escalating into costlier repairs. Addressing small problems promptly preserves the integrity of your parking brake system and ensures safety on the road.
While we’ve covered several possible concerns, it‚Äôs also wise to consult a professional mechanic for a thorough evaluation, especially if you‚Äôre uncomfortable performing these assessments yourself. Their expertise can be invaluable in not only diagnosing but also effectively repairing any issue with your parking brake system.
Conclusion
We’ve walked you through the essentials of adjusting and troubleshooting your parking brake. Remember, addressing issues early can save you from costly repairs down the road. Trust your instincts‚ if something doesn’t feel right, it’s worth taking the time to check it out. Regular maintenance is key to ensuring your parking brake functions properly when you need it most. Should you encounter complex problems, don’t hesitate to reach out to a professional. Safe driving starts with a well-maintained vehicle, and we’re here to help you keep it that way.