Changing your car’s oil might seem daunting, but it’s actually a manageable task that can save you both time and money. I’ve been changing my own oil for years, and I’m excited to share some tips that’ll make your DIY oil change a breeze.
Reasons to Change Your Own Oil
Over the years, I’ve discovered several compelling reasons to opt for a DIY oil change rather than heading to a service center. Not only does it empower you as a car owner, but it also comes with a handful of often overlooked benefits.
Save Money on Service Costs
Changing your car’s oil by yourself can lead to substantial savings. Labor rates at service centers can be quite high compared to the actual cost of oil and filters. By choosing to do it on your own, you’re only paying for the materials.
Understand Your Vehicle Better
When you conduct regular maintenance, like an oil change, you learn about your car’s needs and quirks. This heightened awareness can be invaluable, helping you to catch potential issues before they worsen.
Convenience and Control
There’s no need to arrange appointments or wait in lines when you handle the oil change yourself. You have the freedom to choose the best time that fits your schedule. Plus, you maintain control over the type of oil and filter used, ensuring your vehicle receives the quality it deserves.
Pride in Workmanship
There’s a sense of achievement and autonomy that comes with doing your own maintenance. It reinforces a connection with your vehicle that’s both practical and satisfying.
Before embarking on a DIY oil change, it’s crucial to gather all the necessary items:
- Quality oil
- Compatible oil filter
- Wrench set
- Oil drain pan
- Funnel
- Gloves
- Protective eyewear
I make sure to refer to the owner’s manual to select the right oil viscosity and filter type. Armed with these tools and knowledge, any car owner can successfully change their oil, ensuring their vehicle runs smoothly and lasts longer.
Gather the Necessary Tools and Materials
Before rolling up my sleeves to dive into changing my car’s oil, I always ensure I have all the right tools and materials at my disposal. My checklist is quite specific; it’s crucial not to miss anything to avoid disruptions mid-process. Here’s what I typically gather:
- Oil filter wrench: This tool is indispensable for removing the old oil filter. Its size and type may vary depending on the filter I’m dealing with.
- Socket wrench: Required for removing the oil drain plug.
- Oil drain pan: To collect the old oil without making a mess.
- Funnel: This helps in pouring the new oil into the engine without spillage.
- Gloves: They keep my hands clean and protect them from hot engine parts.
- Ramps or jack stands: These are necessary to elevate the car for easy access to the oil drain plug.
Along with tools, selecting the right materials is equally essential:
- Engine oil: I make it a point to check the owner’s manual for the manufacturer’s recommended grade and quantity.
- Oil filter: Again, specification recommendations can be found in the owner’s manual.
- Rags: Handy for cleaning any spills and wiping off excess oil.
It’s also beneficial to keep some extra items like:
- Rubber mallet: Sometimes the oil filter is a bit stubborn, and a gentle tap may be required.
- Thread sealant: I use this if the drain plug is showing signs of wear to prevent leaks.
- Oil additive: Depending on engine conditions, an additive can help enhance performance or clean internals.
I lay out these tools and materials in my workspace beforehand. That way, I don’t need to scramble looking for things mid-task, and I can ensure a smoother DIY oil change experience. The preparation may take a few minutes but will save a lot of time and hassle. With everything ready to go, I’m set to tackle the oil change with confidence.
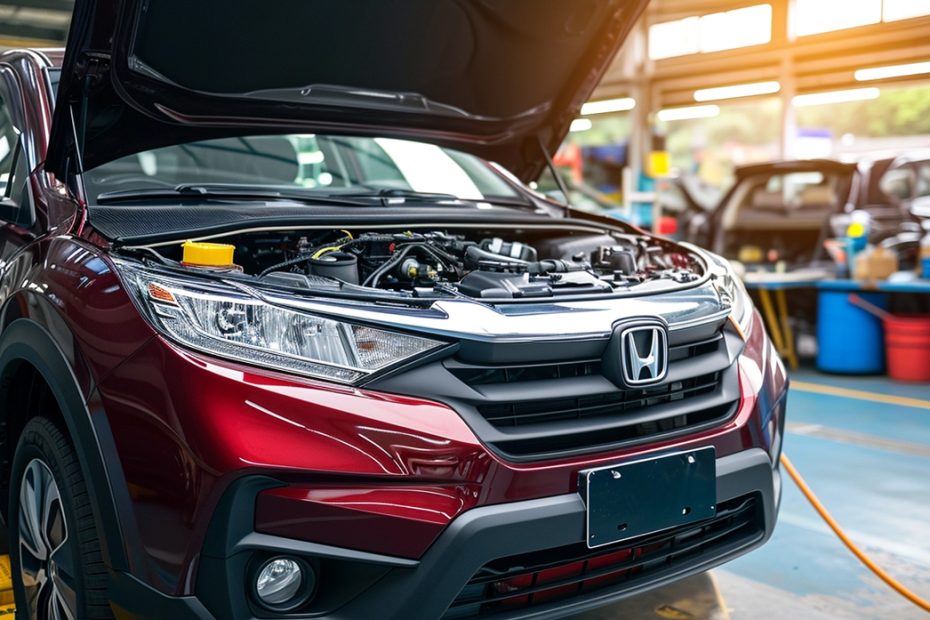
Prepare Your Vehicle
Before getting started on changing your car’s oil and filter, it’s crucial to ensure your vehicle is prepped and ready for the task at hand. I always find it best to start with a little bit of groundwork to avoid any mid-task hiccups.
First, I make sure my car is parked on level ground. This is essential for two reasons: it ensures my safety when I’m under the car and allows for complete draining of the old oil.
Next, I’ll start the engine and let it run for a few minutes. The warmth thins the oil, which helps it drain out more easily. However, I’m careful to not get the engine too hot to prevent burns when I’m working under the hood. You want the engine warm, not overheating.
After that, I switch off the engine and wait a few more minutes to let things cool down just a bit, ensuring that I don’t scald my hands on engine components. It’s also the perfect time to gather my tools and make sure nothing from the checklist is missing.
The following items are essential when preparing your vehicle for an oil change:
- Ramp or Jack: To lift the car safely, you’ll need a reliable ramp or a sturdy jack and jack stands. Make sure they’re rated for your vehicle’s weight.
- Wheel Chocks: These keep the car securely in place while it’s lifted. I never skip using wheel chocks; safety is paramount.
- Rubber Gloves: They’re not just for cleanliness but also for a good grip and skin protection.
With the vehicle prepped and the tools at the ready, you’re just about set. Remember that safety is your top priority, so double-check everything before getting under your vehicle. Keep your workspace tidy to avoid tripping over tools or slipping on spilled oil.
In my experience, taking these extra steps to prepare my vehicle has always made the oil changing process smoother. I can focus on the task without being sidetracked by avoidable obstacles.
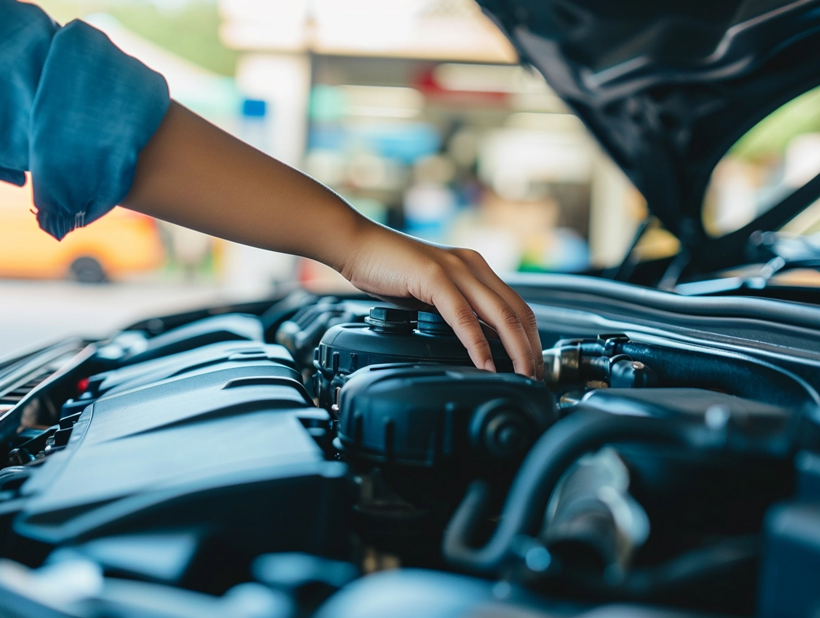
Locate the Oil Drain Plug and Oil Filter
After ensuring the car is securely perched on level ground and the necessary tools are at hand, it’s time to find the oil drain plug and filter. The location of these components can vary based on the vehicle make and model, but they generally follow a standard layout.
To locate the oil drain plug, you’ll want to slide under your car‚Äîsafety equipment like goggles are recommended‚Äîand look for the lowest point of the engine’s oil pan. This is where the metal oil pan secures to the bottom of your engine, and the plug is typically a bolt made out of softer metal than the pan. It’s imperative to identify the oil drain plug accurately, as other bolts may resemble it but serve different functions.
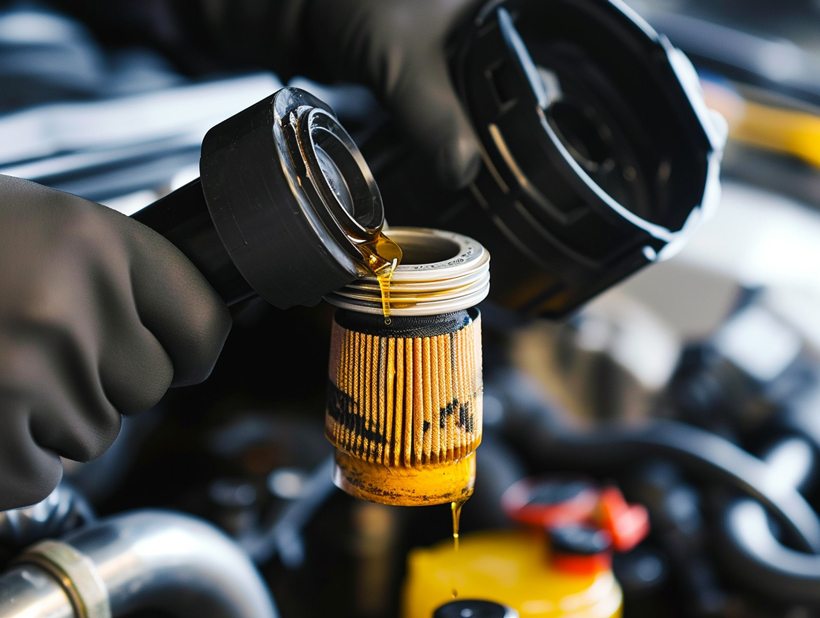
Finding the oil filter can be a bit more challenging, as its position varies more than the drain plug’s. In most cars, the filter is located near the engine block. Still, its appearance differs between cartridge and canister types:
- Cartridge filter: Resembles a metal cap that can be unscrewed to reveal the filter element inside.
- Canister filter: Looks like a metal or plastic cylinder, which screws directly onto the engine.
Before proceeding, cross-reference your findings with the vehicle’s manual to double-check you’ve located the correct components. Here are a few additional tips to spot them:
- Traces of oil residue can often lead you to the oil filter.
- If the engine is front-mounted, the filter is likely towards the front of the vehicle.
- Sometimes, especially in newer models, protective covers may obscure the filter and need to be removed.
By locating these vital parts of your vehicle, you’ve laid the groundwork for the next steps in performing an oil change. The process requires attention to detail and following safety guidelines to avoid any mishaps.
Drain the Old Oil
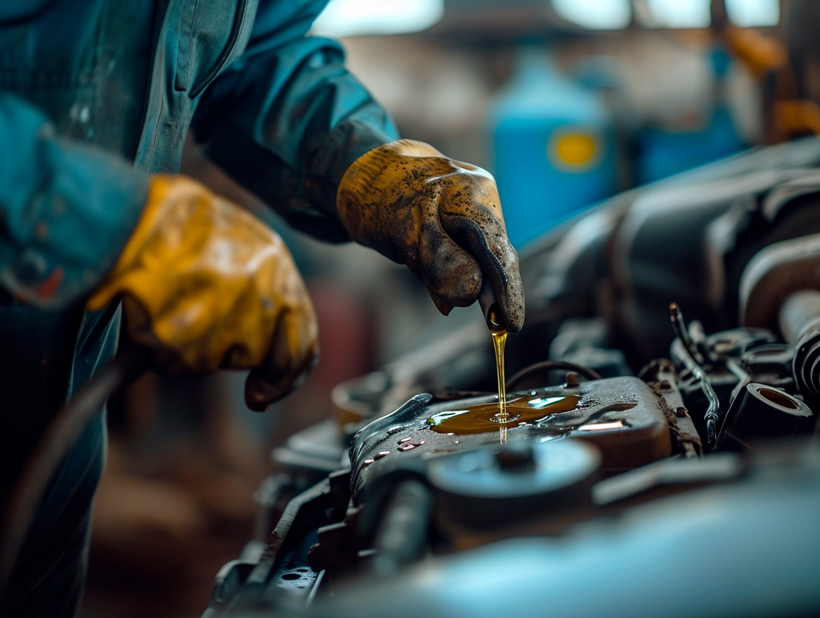
Once I’ve confirmed that my engine is warm and not hot, I get down to the pivotal step of draining the old oil. To avoid any mishaps, I ensure all necessary tools are within reach ‚Äì a wrench, oil drain pan, and gloves are my go-tos. Positioning the oil drain pan under the oil drain plug is crucial; I aim to catch every drop of used oil.
Gripping the wrench firmly, I turn the drain plug counterclockwise, always prepared for a potential rush of oil. As the oil starts flowing, patience is key. I let the old oil drain completely, which can take several minutes. During this time, I check for any metallic particles or irregularities in the oil, indicators of potential engine issues.
Quick Tips:
- Keep hands clear as oil initially flows out to avoid burns.
- Do not discard the drained oil irresponsibly; plan for proper disposal ahead of time.
Once the old oil dribbles to a halt, I replace the drain plug by hand to avoid cross-threading, then tighten it securely with the wrench but careful enough not to overtighten. A snug fit is all that’s needed to prevent leaks.
Transitioning to the oil filter requires a cautious approach. If it’s on too tight, an oil filter wrench becomes necessary. I turn the filter counterclockwise and remember to have the drain pan ready, as residual oil usually spills out during this process. Once it’s free, I make sure to remove the old filter and prepare the new one for installation, applying a dab of new oil to the gasket for a good seal. Twisting the new filter on by hand ensures that it is securely fitted without stripping the threads.
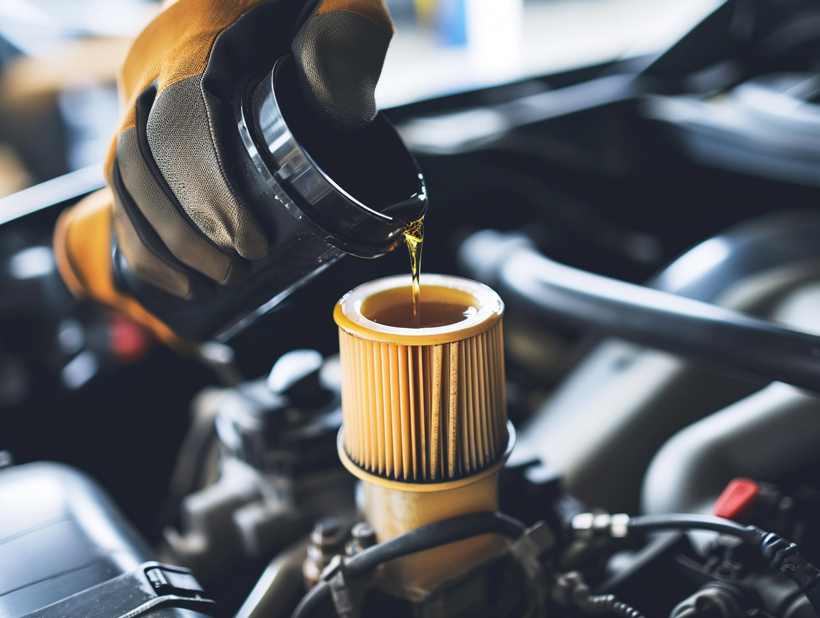
Replace the Oil Filter
After you’ve properly re-secured the drain plug, it’s time to focus on the oil filter. This component is crucial to keeping your new oil clean, as it traps debris and particulates. I recommend having your new filter within arm’s reach before you begin. Here’s what you need to do:
- Locate the oil filter. It’s usually on the side of the engine block. In some models, it may be concealed by a protective cover.
- Position your oil catch pan under the filter to catch any residual oil that may spill out when you remove it.
- Use an oil filter wrench to loosen the filter. Remember to turn it counterclockwise. Once it’s loose, you can unscrew it by hand. Be careful, as it might still be hot and contain some oil.
As you remove the filter, inspect its sides for any signs of damage or unusual wear. This can sometimes indicate issues internal to the engine. With the old filter out of the way, now’s the perfect time to install the new one. To ensure a smoother install:
- Lightly oil the new filter’s gasket with fresh motor oil. This helps to create a good seal and makes it easier to remove during your next oil change.
- Screw the new filter into place by hand; avoid over-tightening which can damage the gasket. A good rule of thumb is to tighten it until the gasket touches, then give it another three-quarter turn.
Lastly, ensure that both the drain plug and new oil filter are secure without overtightening. With the new oil filter in place, you’re ready to add fresh oil, which is critical for proper engine lubrication. Always double-check your vehicle‚Äôs manual for the correct oil type and quantity specific to your vehicle’s needs. It’s these details that keep your engine running smoothly and extend the life of your vehicle.
And just like that, with the right tools and a bit of effort, you’re well on your way to becoming proficient in DIY vehicle maintenance.
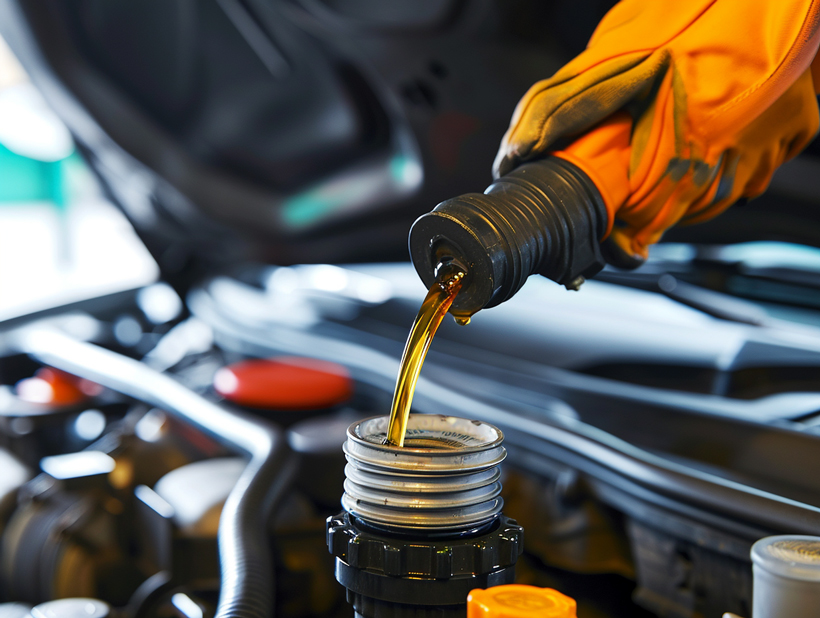
Add Fresh Oil
Once you’re certain the drain plug and new oil filter are secure, it’s time to pour in the fresh oil. I’ll usually start by removing the oil filler cap, which is located on top of the engine. You’ll find it’s typically labeled, often with an oil can icon, making it easy to identify. Ensuring a clean funnel is in place, which will help to avoid any contaminants entering the engine, is an essential step.
When adding new oil, it’s crucial to know the exact amount your vehicle requires. Overfilling can be just as detrimental as running low on oil. I’ll consult the vehicle’s manual to determine the recommended quantity and type of oil, ensuring optimal performance and longevity of the engine. For most cars, the typical range is between 4 to 6 quarts of oil.
Here’s a basic guide on oil quantities for various engine sizes:
| Engine Size (Liters) | Approximate Oil Capacity (Quarts) |
|---|---|
| 1.5 – 2.0 | 3.5 – 4.5 |
| 2.1 – 3.0 | 4.5 – 5.5 |
| 3.1 – 4.0 | 5.5 – 6.5 |
| 4.1 – 5.0 | 6.5 – 8.0 |
To avoid any mishaps, I always start by adding a small amount, checking the level with the dipstick, and gradually topping up until it reaches the ‘Full’ mark. It’s imperative not to rush this step as the oil settles and it can be difficult to accurately gauge the level immediately after pouring.
After adding oil and before starting the vehicle, I’ll take a moment to double-check for any signs of leakage around the plug and filter. If all seems well, it’s about time to start the engine, letting it run for a few minutes. This circulating process allows the new oil to course through the engine, ensuring all components are well-lubricated.
Check the Oil Level
After letting the engine run for a few minutes, it’s now time to ensure the oil level is correct. This is perhaps one of the most crucial steps because too little or too much oil can cause engine problems. Here’s what I do to check the oil level:
- I turn off the engine and give it time to cool. This ensures an accurate reading since the oil needs to settle in the oil pan.
- I find the oil dipstick, pull it out, and wipe it clean with a rag. It’s important to note that the dipstick has two marks indicating the minimum and maximum levels.
- Next, I reinsert the dipstick all the way back in and then pull it out once more to check the oil level against the markings.
After wiping off the dipstick, when I check it again, I’m looking for a clear indication that the oil is between the two marks. If the oil coat is between them, my engine has the proper oil quantity. However, if it isn’t, I’ll need to add more oil, being careful not to overfill.
Proper Level Check:
- Engine cooled down
- Wipe dipstick clean
- Reinsert and check level
Maintaining the oil level within the safe reading zone is key to ensuring my engine operates smoothly and efficiently. If the level is low, I gradually add more oil, checking the dipstick after each pour. In the event of overfilling, the excess oil would need to be drained or siphoned out to prevent potential engine damage.
Regular oil level checks after an oil change and during routine maintenance have always kept my vehicle in top-notch condition. It’s easy to overlook this simple step, but it’s a cornerstone of vehicle care that maximizes engine performance and longevity.
Remember, when checking your oil, ensure the vehicle is on level ground to avoid false readings. Uneven surfaces can lead to inaccurate measurements, and that’s the last thing I want when trying to maintain my car.
Dispose of the Old Oil Properly
After successfully draining the oil from your car and replacing the oil filter, the next critical step is the proper disposal of the used oil. It’s essential to acknowledge that used motor oil is a toxic substance, harmful to the environment, and absolutely must not be dumped on the ground, down a drain, or thrown into regular trash. Here’s how I handle it to ensure I’m doing my part for the environment:
- Local Recycling Centers: I search for certified used motor oil collection centers in my area. Most times, these are available at auto parts stores or local waste disposal facilities.
- Oil Change Facilities: Sometimes, I opt to bring my used oil to a nearby service station or oil change facility. Many of them are willing to accept used oil for recycling at no cost.
- Proper Containers: When transporting used oil, I make sure to pour it into a clean, leak-proof container with a tight-fitting lid. Milk jugs or purpose-made containers sold at auto parts stores work well, but I avoid using containers that once housed chemicals or cleaners.
- Absorbent Material: If there are any oil spills, I use sawdust, kitty litter, or a commercial absorbent to soak it up.
I’m always careful to make sure that the filter is also drained properly. I enclose the filter in a resealable bag to prevent any leaks during transportation to the recycling point.
Below is a table displaying the typical amount of oil my car holds, compared to larger vehicles:
| Vehicle Type | Oil Capacity (quarts) |
|---|---|
| Sedan | 4-6 |
| SUV | 5-8 |
| Truck | 6-8 |
I remember these quantities because it helps me understand how much oil I need to collect and predict the size of the container for transportation. Responsible oil disposal goes a long way in protecting our environment and conserving resources for future use.