Squeaky brakes can turn any peaceful drive into a symphony of annoyance. If you’re like me, you want your car running quietly and smoothly. That’s why I’ve tackled the challenge of fixing those pesky brake noises head-on.
I’ve been there, hearing that high-pitched squeal every time I hit the brakes. It’s not just irritating; it can also signal potential brake issues. But don’t worry, I’m here to guide you through troubleshooting and fixing squeaky brakes yourself.
Why are My Brakes Squeaking?
Recently, I noticed a bothersome squeaking sound from my car when applying the brakes. It’s a common issue that many vehicle owners experience, and I’m here to delve into the potential causes. Understanding the why’s is crucial before hopping onto the how-to’s of fixing the issue.
Brake squeaking could stem from various sources, and I‚ outlined the typical culprits below:
- Worn Brake Pads: Brake pads equipped with wear indicators make a high-pitched noise as a warning that they need replacing.
- Dust and Debris: Small particles can lodge between the brake pad and rotor, leading to that irritating squeal.
- Vibrations: At times, the caliper or caliper brackets aren’t tight enough causing vibration, which can manifest as a squeaking noise.
- Rust: Overnight moisture can cause a thin layer of rust to form on the rotor surface, particularly after rainy or humid conditions.
Let‚ focus on the conditions that could exacerbate these noises:
- Cold Weather: Chilly mornings can result in transient brake noises until the system warms up.
- Car Sitting Idle: Vehicles that aren’t driven regularly may develop rust on the rotors more readily, causing squeaks when you finally take them for a spin.
- Heavy Braking: Constant hard stopping can glaze the brake pads, resulting in a squealing sound due to the pads’ surface hardening and becoming smooth.
Here are some quick statistics highlighting how common brake noises are among drivers:
| Brake Noise Complaints | Percentage |
|---|---|
| Squeaking | 65% |
| Grinding | 20% |
| Rattling | 10% |
| Other Noises | 5% |
These figures underscore the prevalence of brake squeaks and reinforce the need for a knowledgeable approach to solving the problem. Exploring these potential causes for brake squeaking has set the stage for us to move forward, and next, I’ll share some practical steps to troubleshoot and address the issue at hand.
Common Causes of Squeaky Brakes
When you’re dealing with squeaky brakes, it’s crucial to identify the root causes before jumping into solutions. Here’s a breakdown of why your brakes might be making that annoying noise:
- Worn Brake Pads: One of the most common culprits is brake pads that have thinned out over time. The wear indicator rubbing against the rotor is often the source of the squeal.
- Dust and Debris: Accumulation of dust and debris between the brake pads and rotors can cause a high-pitched squeak.
- Vibrations: Loose parts can lead to vibrations that manifest as a squeaking noise.
- Rust: A layer of rust on the brake rotors, especially after a rainy day or prolonged disuse, can result in brake squeaks until it wears off.
It’s important for me to note that these issues can vary in severity. For instance, while a small amount of rust might not be a cause for concern, severely worn brake pads need immediate attention for your safety. Regular check-ups can help catch these problems early before they become serious.
Seasonal changes can also play a role. You’ve probably noticed that squeaky brakes are more common in Cold Weather, likely due to condensation and minor rusting overnight. Similarly, letting your car sit for an extended period can also contribute to the problem.
Lastly, driving habits like Heavy Braking can increase the wear and tear on brake components, leading to that characteristic squeak more frequently. Understanding these factors can help you anticipate and mitigate issues with your vehicle’s brakes.
To best tackle squeaky brakes, let’s explore the initial steps for troubleshooting brake noises. By systematically checking each potential cause, you’ll be able to pinpoint the issue more effectively. Careful examination and regular maintenance can often keep minor annoyances from turning into major headaches.
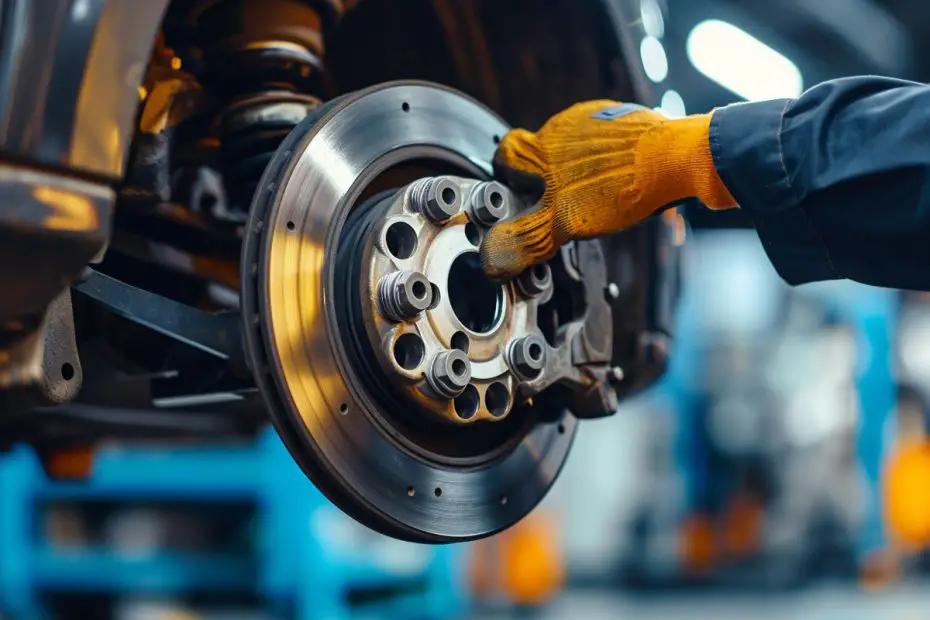
Step 1: Inspect the Brake Pads
When addressing squeaky brakes, the first thing I always do is inspect the brake pads. Over time, these vital components can wear down, and diminished brake pads are a major culprit behind those irritating squeaks and squeals. To properly evaluate your brake pads, you’ll need to:
- Remove the tire: This gives you full access to the brake assembly.
- Check the thickness of the pads: Brake pads should generally be at least a quarter of an inch thick; anything less and they’ll likely need replacing.
- Look for uneven wear: Pads that have worn down unevenly could be signaling an issue with the caliper.
While inspecting, be on the lookout for glazing, which occurs when the pad surface becomes too smooth. This can happen from brakes getting too hot and often leads to noisy brakes.
Another area of focus is the hardware. Brake pads sit in a metal framework and if any of these parts are damaged or not functioning properly, it can contribute to brake noise. Ensure all clips and shims are in place and not damaged.
Here’s a quick reference on what to look for in your brake pads:
| Feature to Inspect | Desired Condition | Potential Issue if Compromised |
|---|---|---|
| Pad Thickness | At least ¼ inch | Replace if less |
| Wear Pattern | Even | Caliper or rotor issue if uneven |
| Pad Surface | Rough Texture | Glazing can cause squeaks |
| Hardware | Intact and Functional | Noise and poor brake function |
Taking note of these aspects will allow for a thorough inspection and is imperative before moving on to the next steps. By tackling the simple issue of worn out brake pads, you might quickly fix the squeaks without needing to delve further into more intricate brake system components. If the brake pads don’t appear to be the issue, it’s time to consider that other factors within the brake system may be at play.
Step 2: Clean or Replace Brake Pads
After thoroughly inspecting the brake pads, I sometimes find that they just need a good cleaning. Road grime, dust, and various debris can build up on the pads, leading to that annoying squeak. Here’s how I tackle cleaning them:
- Remove the wheel and the caliper to access the brake pads.
- Inspect the pads for any embedded debris like small stones or glass shards.
- Use a brake cleaner and a clean cloth or brush to remove any dirt from the surface of the pads.
- Dry the pads thoroughly before reassembling the caliper and wheel.
In instances where the brake pads are excessively worn or cleaning doesn’t help, replacing them is the best course of action.
- Choose high-quality replacement pads to ensure longevity and better performance.
- Install the new pads, making sure they’re correctly seated and that the retainer clips are properly in place.
Replacing brake pads calls for attention to detail; it’s crucial to ensure that they’re symmetrical and that the wear indicators are positioned correctly to prevent future squeaking.
For those who prefer a visual representation, here’s a quick rundown of the tools I use during this process:
| Tool | Function |
|---|---|
| Brake cleaner | Cleans the brake pads |
| Clean cloth or brush | Removes grime and debris |
| New brake pads | Replaces old pads to restore functionality |
| Retainer clips | Secures the brake pads within the caliper |
It’s important to note that if the squeaking persists even after the brake pads are cleaned or replaced, it might indicate a more complex issue with the brake system. Subsequent steps would include looking at the brake rotors, calipers, and the brake fluid condition to ensure every component in the braking system is functioning as it should.
Step 3: Lubricate the Brake Components
After ensuring my brake pads are clean and symmetrical, I turn my attention to another critical step: lubricating the brake components. Proper lubrication can reduce friction, prevent rust, and ultimately minimize that irritating squeak.
Here’s how I typically go about it:
- First, I locate the brake pad shim, backplate, and the caliper guide pins. These are the areas I’ll focus on since they’re prone to friction.
- I select a high-temperature grease designed for brake systems. It’s important not to use just any grease, as brakes generate a lot of heat that ordinary grease won’t withstand.
- Then, I apply a thin layer of the grease onto the backplate of the brake pads, being careful not to get any on the surface that makes contact with the rotor. This helps to dampen the vibrations that can cause squeaking.
- For the caliper guide pins, I remove them and clean off any old grease or debris. Once they’re clean, I apply a liberal amount of brake grease before reinserting them.
It’s essential to avoid over-lubrication. Excess grease can attract dirt, which may lead to more noise or even reduce the effectiveness of the brakes. I make sure to apply grease only where metal contacts metal, and that each part moves smoothly without resistance.
Safety is paramount when working on your brakes. I always ensure my car is securely lifted and that I’m working in a well-lit and properly ventilated area. Wearing gloves and eye protection is a good practice to prevent any injuries or irritation from the grease and brake dust.
By regularly maintaining my brakes and applying the right type of lubricant, I’ve managed to keep them working quietly and efficiently. Remember that brake noises may not always be solved with lubrication‚Äîsometimes it’s a sign of more significant wear or other mechanical issues. If in doubt, it’s always best to consult a professional mechanic.
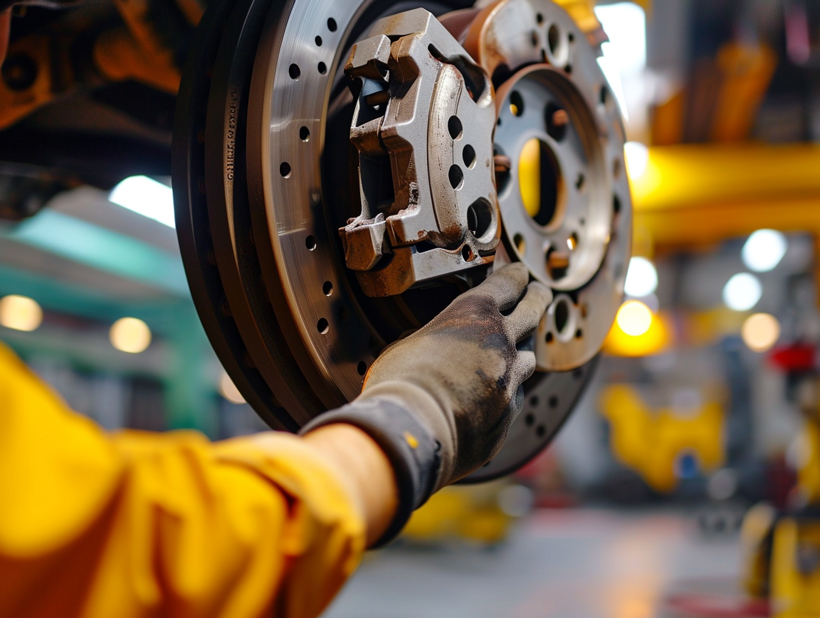
Step 4: Check and Adjust Brake Calipers
When dealing with squeaky brakes, it’s crucial I don’t overlook the brake calipers. Faulty calipers can contribute to uneven brake pad wear, which in turn may cause that persistent squealing noise. In this step, I’m going to walk you through how to inspect and adjust your brake calipers, ensuring they’re functioning correctly.
Careful Inspection is Key
First, I make sure the car is securely raised and the wheel removed to access the brake caliper. Once I have a clear view, I inspect the calipers for any signs of:
- Sticking or binding
- Seized slider pins
- Corrosion
If any of these issues are present, it’s typically a sign that I’ll need to clean or replace the affected components.
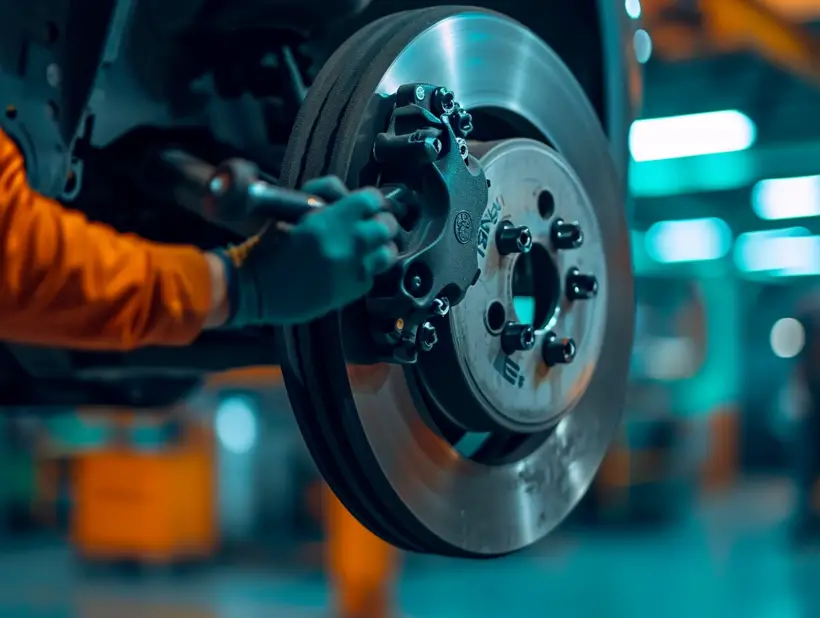
Adjusting the Brake Caliper
If the calipers aren’t securely fastened or aligned properly, they won’t apply even pressure to the brake pads, which can cause squealing. Here’s how I adjust them:
- Loosen the caliper mounting bolts.
- Gently slide the caliper off the rotor.
- Check that the caliper piston isn’t seized and retracts smoothly.
- Clean and lubricate the mounting bolts and slide pins with appropriate brake lubricant.
- Reinstall the caliper and tighten the mounting bolts to the manufacturer-specified torque.
Ensuring Even Wear
It’s also essential to check the brake pads for even wear. If I find that one side is wearing down faster than the other, it’s likely due to a caliper issue. After adjustments, it’s important to monitor pad wear over the next few weeks to ensure the problem has been resolved.
By maintaining properly adjusted brake calipers, I’m not just rectifying the current squealing issue but also prolonging the lifespan of my brake system components. Keeping a close eye on these details can save me from costly repairs and ensure a quiet, smooth driving experience.
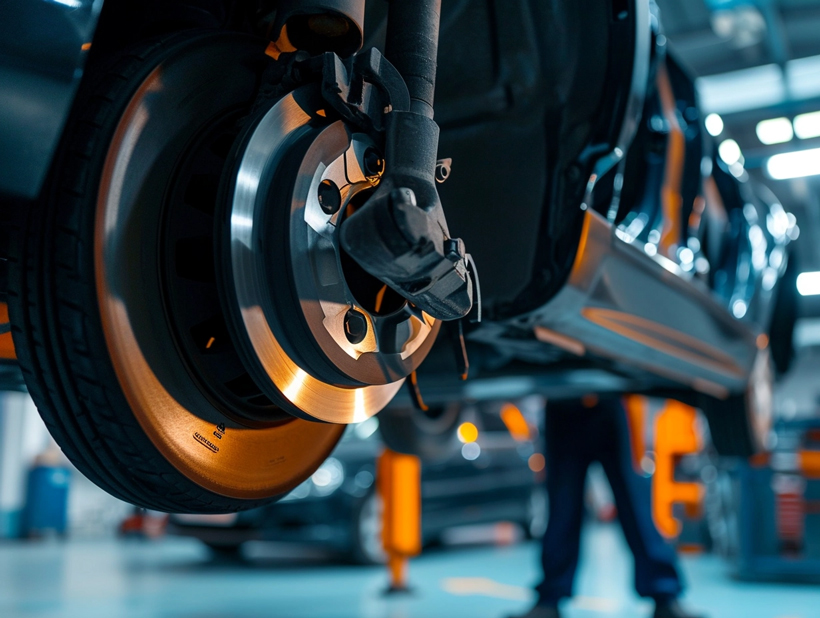
Step 5: Test the Brakes
After meticulously inspecting and adjusting the brake calipers, it’s crucial to test the brakes to confirm the squeak is gone and that the adjustments have enhanced the braking performance. I’ll outline how to safely conduct a brake test.
Before hitting the road, I start with a stationary test. With the engine running, I press down on the brake pedal to gauge its responsiveness and to ensure there’s no unusual softness or sponginess. Next, I perform a gentle roll test in an empty parking lot or a similar safe location:
- Slowly drive forward at a low speed.
- Apply the brakes gently to come to a smooth stop.
- Listen for any squeaks or odd noises during this process.
If the squealing persists, it’s essential to return to the previous steps for further inspection or consider that the noise might be originating from another brake component.
Driving on a quiet street or an open area, I progressively increase the car’s speed to implement a more dynamic brake test. Here, I pay attention to:
- The car’s ability to stop efficiently from various speeds.
- Any vibrations or shudders that could indicate rotor issues.
- Abnormal sounds that emerge during more vigorous braking.
During this phase of testing, it’s important to feel for brake pedal feedback that could alert me to unresolved issues. Braking should feel firm, consistent, and effective at all speeds. Additionally, signs like pulling to one side during braking or a burning smell should prompt immediate further investigation, as these symptoms could point to severe brake problems.
By systematically ruling out potential causes of brake squeak and confirming the efficacy of any adjustments through comprehensive testing, I can move forward confident in the safety and reliability of my brake system. Remember, regular maintenance is key to preventing brake noises and ensuring optimal performance over the long term.