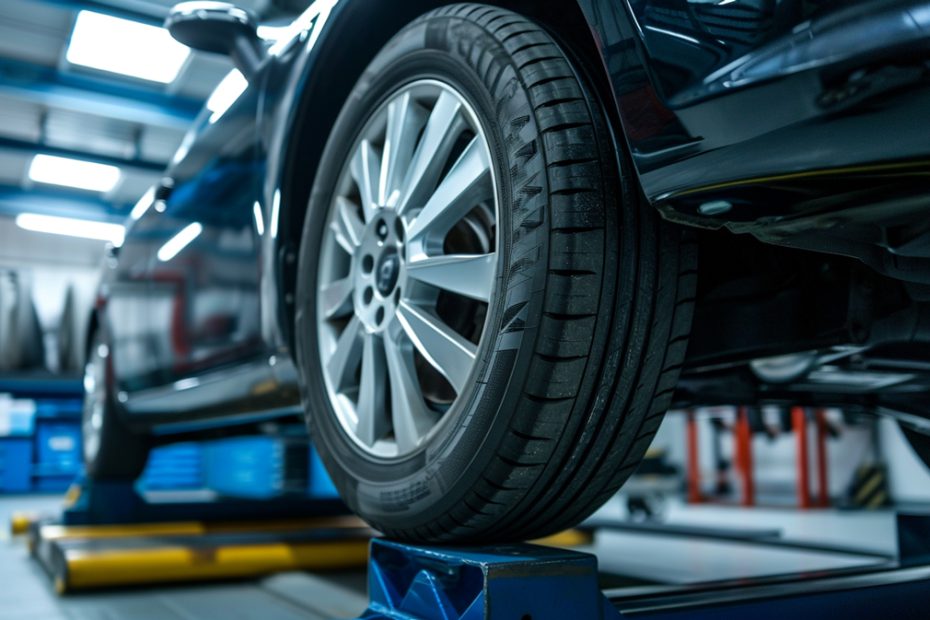
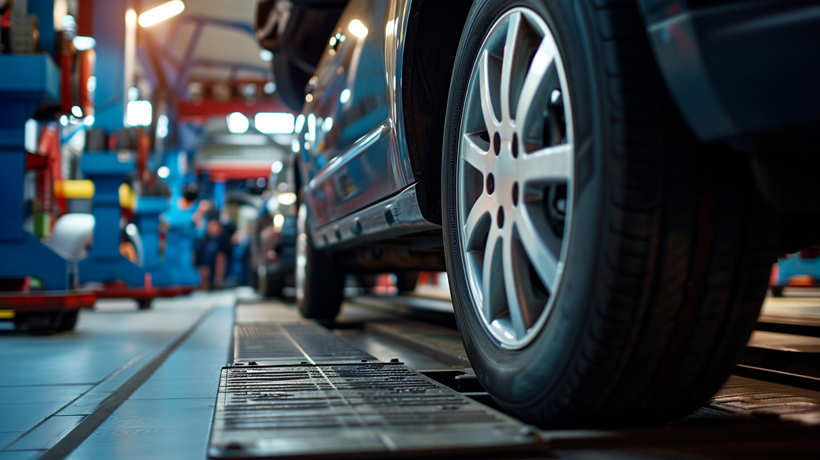
Flushing your brake system is one of those maintenance tasks that can seem daunting, but it’s crucial for safe driving. I’ve learned that old brake fluid can compromise your vehicle’s stopping power, and that’s something I’m sure you’ll agree we all want to avoid.
I’ll walk you through the process of flushing your brake system, ensuring you get rid of that old, degraded fluid. It’s a straightforward DIY task that can save you money and keep your brakes responsive. Trust me, with the right tools and a bit of patience, you’ll have fresh fluid in your system in no time.
Importance of Flushing Your Brake System
Maintaining a vehicle requires attention to many components, and I’ve learned that the brake system is critical for safety. Over time, brake fluid degrades and absorbs moisture, leading to a decrease in performance. Here’s why flushing your brake system should be a routine part of your car maintenance:
- Prevents Corrosion: Moisture in the brake fluid can cause internal parts to corrode. By flushing the fluid, you’re actively preventing damage to expensive brake components.
- Maintains Brake Efficiency: Fresh fluid retains its properties better, ensuring that your brakes remain responsive when you need them most.
- Improves Vehicle Safety: Since brakes are vital for safe driving, replacing old fluid is key to maintaining your car’s overall safety.
Beyond the safety aspects, there’s also the matter of how a well-maintained brake system feels. There’s a noticeable difference in pedal feel when the brake fluid is fresh. The pedal is firmer and the overall response is quicker. It’s a level of detail you wouldn’t want to overlook, especially if driving is a significant part of your daily routine.
When it comes to the actual flushing process, it’s simpler than most think. But remember, it requires precision and a careful approach to ensuring that air doesn’t enter the brake lines. It’s not just about draining the old fluid; it’s about making sure the system is perfectly primed with new fluid.
To check your brake fluid’s condition, look for:
- Color: New brake fluid is clear to pale yellow. Dark fluid may indicate contamination.
- Level: Lower fluid levels can point towards leaks or worn brake pads.
By keeping these checkpoints in mind, you can often predict when a flush is necessary before the braking performance noticeably suffers. Regular maintenance not only keeps your car safe but also aligns with optimal performance and longevity, reassuring you that each journey is backed by reliable braking power.
Signs that Your Brake Fluid Needs to be Flushed
Recognizing when to flush your brake fluid is crucial for maintaining your vehicle’s performance and safety. Here are several indicators that suggest it might be time for a brake fluid flush:
- Color Change: Fresh brake fluid generally has a clear to light yellow appearance. If you notice the fluid looks dark or murky, it’s a clear sign of contamination.
- Spongy Brake Pedal: If the brake pedal feels soft or spongy when pressed, this could mean there’s air or moisture in the brake system which can be addressed by flushing the fluid.
- Brake System Warning Lights: Dashboard warning lights related to the braking system are often a vehicle’s direct way of alerting you to potential brake fluid issues.
- Reduced Braking Performance: If your vehicle’s stopping distance seems to increase or if it takes more pedal pressure to slow down, the brake fluid may be compromised.
- Preventative Maintenance Schedule: Even without noticeable signs, following your vehicle’s maintenance schedule for brake fluid replacement is essential; typically, this could be every two years or based on mileage.
It’s important to regularly check the brake fluid reservoir both for fluid level and condition. The brake fluid cap usually has a label specifying the type of fluid your system requires, and it’s vital to stick with this specification to avoid any compatibility problems.
I always recommend checking your vehicle‚Äôs owner manual for the manufacturer‚Äôs advice on brake fluid flush intervals. In some cases, they may suggest more frequent flushes depending on your driving habits or if you frequently drive in harsh conditions. Regular checks can catch potential issues early, ensuring your car remains reliable and in prime condition. Furthermore, since the braking system is so integral to your safety, I find it’s always better to err on the side of caution.
Gathering the Necessary Tools and Materials
Before diving into the task of flushing your brake system, it’s crucial to have all the right tools and materials on hand. This ensures a smooth process and helps avoid any interruptions.
Here‚Äôs what you’ll need:
- Brake fluid: Check your owner’s manual to determine the right type and amount. It’s vital to use the specific fluid that your car’s manufacturer recommends.
- Brake bleeder wrench: To open and close the bleeder valves on your brake calipers.
- Brake bleeder kit or vacuum pump: This tool helps you bleed the brake system and remove old fluid without introducing air pockets.
- Clean catch container: To collect the old brake fluid and prevent spillage.
- Gloves and safety glasses: Protection for your hands and eyes from harmful brake fluid.
- Rags or shop towels: For any spills and to keep your work area clean.
- Jack and jack stands: To lift and secure your vehicle safely while you work on the brakes.
Keep in mind that brake fluid is hydroscopic, meaning it absorbs moisture from the air, so it’s best to use fresh, unopened fluid. Once the fluid container is opened, it should be used promptly or disposed of properly.
As for safety, ensure that your workspace is well-ventilated. Brake fluid fumes can be harmful, and good airflow helps minimize any risk. Additionally, working with a helper can make the fluid flush process more efficient, especially when it comes to bleeding the brakes.
Take your time to carefully set up your workspace. Having everything organized and nearby can make the brake flushing process far less daunting. Remember to wear your gloves and safety glasses before starting—safety should always be a top priority.
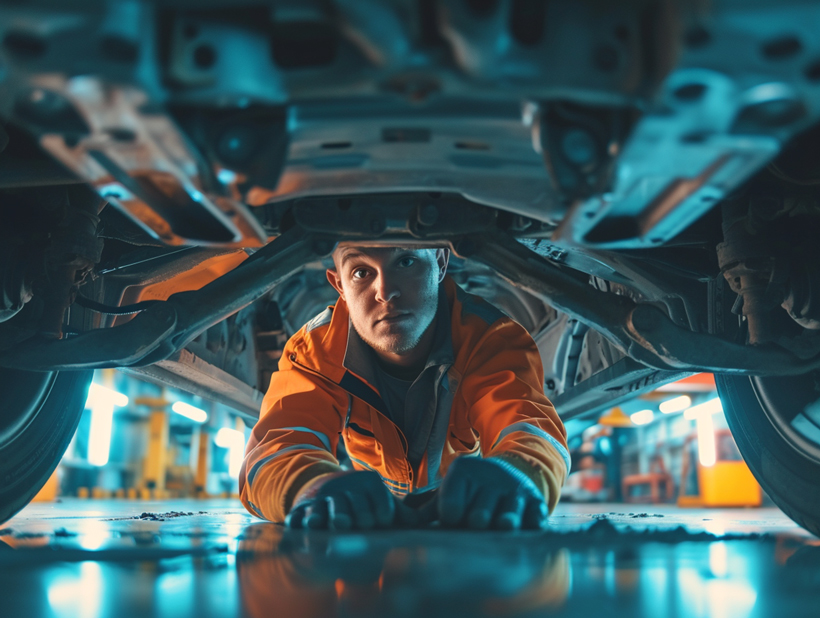
Preparing Your Vehicle for Brake Fluid Flush
Before diving into the process of flushing your brake fluid, it’s crucial to prepare your vehicle adequately. This ensures a smooth procedure and helps prevent any accidental damage or safety incidents.
Gather Necessary Tools and Materials
First things first, you’ll need to gather all the required tools and materials. I’ve learned that having everything on hand before starting makes the job much simpler. Here’s what you’ll need:
- Brake fluid: Make sure it’s the right type for your car.
- Wrench set: For loosening the bleeder valves.
- Brake bleeder kit: This typically includes tubing and containers to catch the old fluid.
- Gloves and safety goggles: To protect your hands and eyes.
- Clean rags or paper towels: For wiping up any spills.
- Jack and jack stands or a lift: To raise and secure the vehicle.
- Wheel chocks: To keep the vehicle from rolling.
Safety Measures
Safety can’t be overstressed when working on your vehicle. Here’s how I ensure my safety and that of my car:
- Park on a level surface: Prevents the car from shifting unexpectedly.
- Engage the parking brake: Keeps the vehicle stationary.
- Use wheel chocks: Again, reinforcement so the car won’t move.
- Wear protective gear: Gloves and goggles are a must to avoid skin and eye contact with brake fluid.
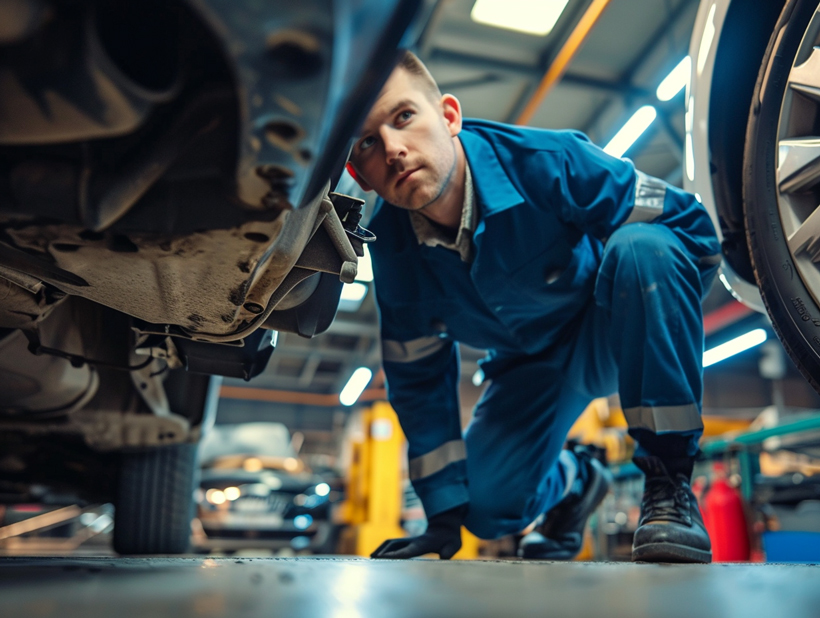
Inspect the Brake System
Before flushing, it’s important to inspect the brake system for any signs of leaks or damage. Addressing these issues now can save a lot of trouble down the road. Look for:
- Damaged brake lines or hoses
- Leaks around the calipers or wheel cylinders
- Physical damage to brake components
Solid preparation is the backbone of any successful brake system flush. By making sure you’ve got all your essentials lined up and that your vehicle is in a safe state for maintenance, you’re setting the stage for an effective and efficient brake fluid change. With everything in place, you’re now ready to move on to the next step: draining the old brake fluid.
Step-by-Step Guide for Flushing Your Brake System
Flushing your brake system isn’t as daunting as it might seem. I’m here to guide you through the process so that you can confidently perform this task like a pro.
Prepare Your Work Area
- Park your car on a level surface and engage the parking brake for safety.
- Place wheel chocks around the wheels to prevent rolling.
Gather Your Tools and Materials
Before starting, make sure you’ve got all the necessary items on hand:
- Quality brake fluid that meets your vehicle’s specifications
- Brake bleeder wrench
- Brake bleeder kit or suitable hose
- Collection bottle for old fluid
- Protective gloves and safety glasses
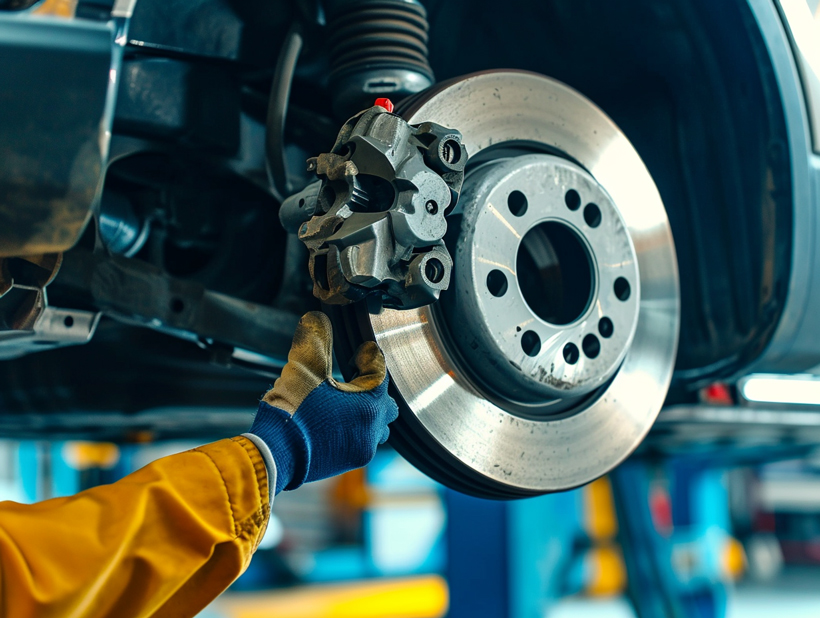
Bleed the Brake System
Begin the fluid flush by following these steps:
- Locate the Bleeder Valves: These are typically situated on the brake calipers.
- Attach the Bleeder Hose: Secure one end to the bleeder valve and the other to your collection bottle.
- Start at the Wheel Farthest from the Brake Reservoir: This ensures a complete flush.
- Pump the Brake Pedal: Have an assistant gently press the brake pedal a few times and then hold it down.
- Open the Bleeder Valve: Old fluid will flow into the collection bottle as the pedal is pressed.
- Close the Valve and Release the Pedal: Do this each time before the pedal is fully depressed to avoid air entering the system.
- Check the Fluid Level: Frequently top-up the reservoir with new fluid to prevent air from getting sucked into the lines.
Repeat this process for each wheel, moving closer to the brake fluid reservoir with each one—front-right, rear-left, then front-left.
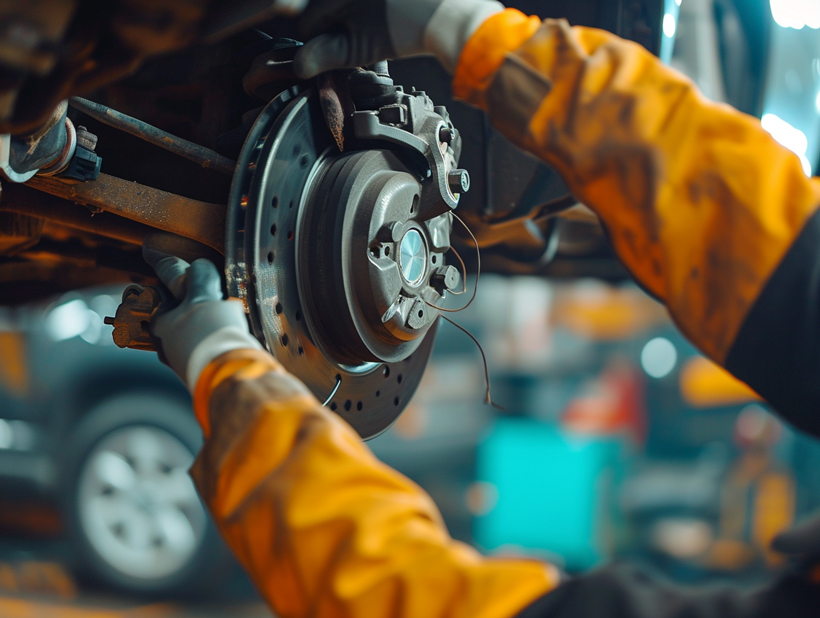
Inspect Your Work
After completing the bleed, it’s crucial to do a thorough inspection:
- Check for leaks around the bleeder valves and tighten if necessary.
- Ensure the brake fluid reservoir is at the correct level.
- Test your brake pedal for firmness and responsiveness while the vehicle is still off.
Remember, any signs of sponginess in the brake pedal after a flush indicate the need to double-check for air in the lines. Patience here is key; re-bleeding may be necessary to achieve that desired firm pedal feel.
Tips for a Successful Brake Fluid Flush
When I’m flushing my brake system, I’ve found that taking extra precautions can turn a routine maintenance task into a seamless operation. From my experience, here are some essential tips to ensure a successful brake fluid flush:
- Start With the Right Fluid: Make sure you’re using the correct type of brake fluid. There are several types, including DOT 3, DOT 4, and DOT 5.1. Each has different boiling points and compatibility. Refer to your vehicle’s manual for the recommended type.
- Check for Contamination: Before adding new fluid, always inspect the existing brake fluid for contaminants. If the fluid is dark or contains particles, it could indicate that the internal components are wearing.
- Maintain a Clean Environment: A clean work area prevents dirt and debris from entering the brake system. Even a small amount of dirt can compromise the hydraulics.
- Use the Two-Person Bleed Method: Having a helper can simplify the bleeding process. One person pumps the brake pedal while the other opens and closes the bleeder valve. This teamwork makes it easier to monitor fluid flow and air bubbles.
When dealing with the brake system, patience is crucial. Rushing the process can result in air remaining in the lines, leading to a spongy pedal feel.
Below is a quick reference guide for the key aspects to monitor during a brake fluid flush:
| Consideration | Why It’s Important |
|---|---|
| Correct Brake Fluid | Ensures compatibility and proper functioning |
| Replacement Intervals | Prevents long-term corrosion and wear |
| Fluid Condition | Indicates potential internal wear or contamination |
| Systematic Approach | Eliminates air pockets for consistent brake pressure |
Remember, a firm and responsive brake pedal is a sign of a job well done. Regular maintenance and these mindful practices can extend the life of your braking system and enhance safety on the road. Keep a close eye on the fluid levels and take your time to ensure each step is performed correctly, and you’ll be well on your way to maintaining your vehicle’s braking prowess.
Conclusion
Flushing your brake system isn’t just about maintaining optimal performance; it’s about ensuring your safety and the longevity of your vehicle. I’ve walked you through the necessary steps and shared my best practices to help make this process as smooth as possible. Remember, it’s the attention to detail‚ like choosing the right fluid and keeping your workspace clean‚ that makes all the difference. Stick to a regular maintenance schedule and you’ll keep those brakes responsive and reliable. Drive safe and take pride in knowing you’ve taken another step in responsible car care.