Flushing your radiator isn’t just a piece of routine car maintenance; it’s a critical step in keeping your engine running smoothly. I’ve always found that a clean cooling system is key to ensuring your vehicle stays cool under pressure, especially during those scorching summer months.
I know it can seem daunting if you’ve never tackled it before, but trust me, with the right guidance, you’ll be flushing your radiator like a pro in no time. And that’s exactly what I’m here to help you with. Let’s dive into the simple steps that’ll keep your coolant clean and your engine happy.
Why flushing your radiator is important
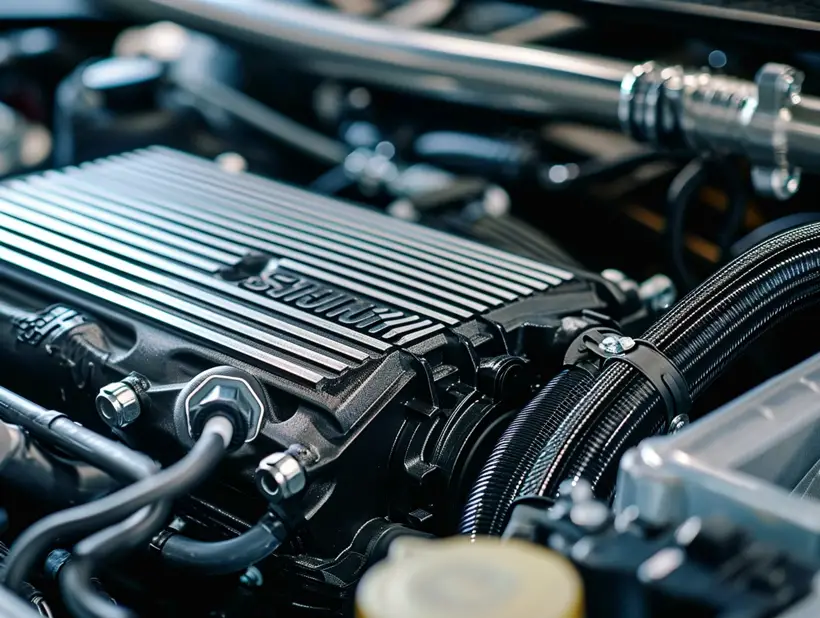
Ensuring your car operates efficiently hinges on proper maintenance, and flushing your radiator is pivotal to that routine. Over time, coolants lose their effectiveness and accumulate contaminants that can lead to potential issues such as overheating, corrosion, and cooling system blockages.
Your vehicle’s radiator is more than a mere component; it’s a critical system that maintains engine temperature and ensures peak performance. Contaminants within the coolant can cause the radiator to operate less efficiently, leading to a domino effect of engine-related problems. Here’s why a routine flush deserves your attention:
- Prevents Engine Overheating: A clean radiator enables the coolant to travel without obstruction, thereby avoiding high temperatures that can damage engine parts.
- Removes Build-Up: Rust and sediment can accumulate over time, hindering the cooling process. Flushing clears these elements to maintain a clean cooling pathway.
- Protects Against Corrosion: Old coolant becomes acidic over time and can corrode the radiator and other components. Fresh coolant added during a flush contains additives that inhibit corrosion.
- Ensures Consistent Performance: By avoiding overheating and wear, you guarantee your engine runs smoothly, irrespective of external conditions.
Regular maintenance ensures engine longevity, and a radiator flush plays a significant role in that. Without the correct balance of coolant, various engine components can suffer, ultimately leading to costly repairs down the road.

It’s not enough to rely solely on coolant top-offs, as this might dilute the anti-freeze‚Äôs effectiveness and fail to remove existing contaminants. When you flush your radiator, you’re not only refreshing the fluid but also inspecting the health of the entire cooling system.
Maintaining the right schedule for a radiator flush depends on variables like your car’s age, the type of coolant used, and your driving habits. Most manufacturers recommend a flush every 30,000 to 60,000 miles, but always refer to your vehicle’s owner’s manual for specific guidelines. Here’s a quick overview of recommended intervals:
| Vehicle Type | Flush Interval |
|---|---|
| New Vehicles | Every 5 Years |
| Older Vehicles | Every 2 Years |
| High-Mileage | Annually |
Signs that it’s time to flush your radiator
Knowing when to flush your radiator is pivotal in maintaining your car’s health. I’ll help you identify the subtle and the overt signs that signal it’s time for a radiator flush.
Firstly, temperature gauge fluctuations can be a telling sign. If you notice the needle darting towards the “H” more frequently or it shows erratic temperature changes, it’s a red flag. Your engine shouldn’t be working at high temperatures consistently.
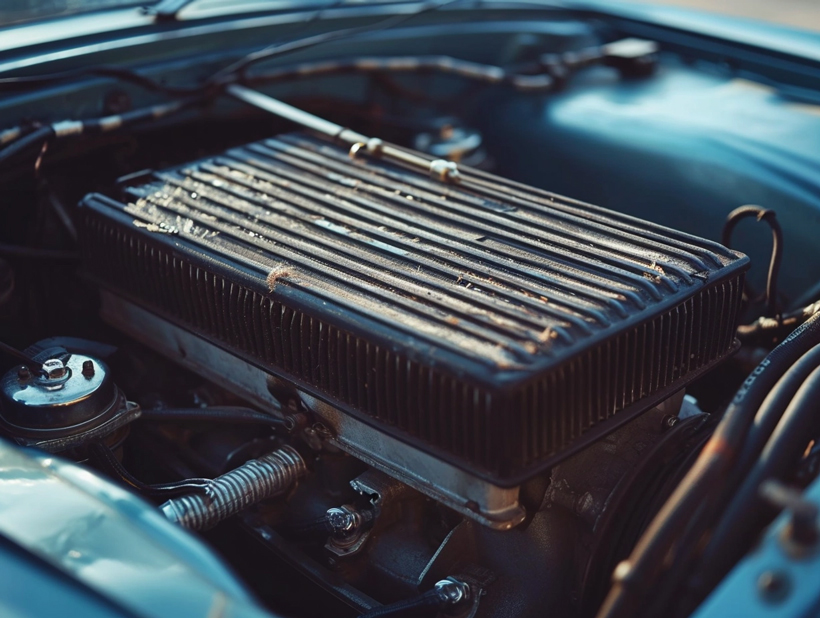
Another symptom to look out for is the quality of the coolant itself. A clean coolant should have a vibrant color like green, orange, or pink, and it should be translucent. If it looks sludgy or the color is off, then it’s time to take action. Engine coolant that’s murky or has floating particles is a clear indication the system needs flushing.
Here’s a quick glance at what to examine:
- Temperature Gauge Readings: Sudden spikes or overheating
- Coolant Consistency: Sludge-like, not free-flowing
- Coolant Color: Any deviation from its typical bright hue
If you’re hearing unusual noises such as groaning or banging from the cooling system, it’s a signal that there might be air pockets which can cause uneven coolant circulation. These air pockets arise from coolant that isn’t circulating properly, often due to blockages that a flush can clear.
The presence of rust or sediment in the coolant is another tell-tale sign. These contaminants can corrode your cooling system and create blockages that impede the circulation of the coolant.
Lastly, consider the timeline of your last radiator service. If it’s been longer than the recommended interval for your vehicle, it’s wise to schedule a flush. Overdue maintenance is often underestimated but can significantly affect your vehicle’s performance and longevity. Remember, prevention is better than cure, and keeping an eye on these indicators will ensure your cooling system remains in top-notch condition.
By maintaining regular checks and being mindful of these signs, you’ll help preserve the engine’s efficiency and stave off more serious issues down the road.
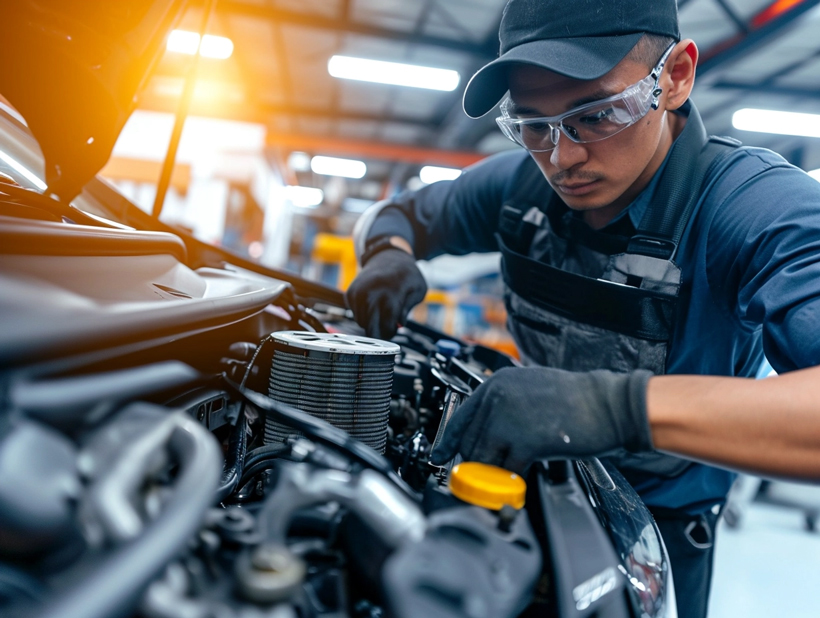
Tools you’ll need for the job
Before diving into a radiator flush, it’s crucial to have the right tools on hand. A well-prepared toolkit ensures the process goes smoothly and you don’t find yourself scrambling mid-task. The essentials include:
- Drain pan: To catch the old coolant as it drains out.
- Radiator flush solution: This will help clean out any sediments or contaminants.
- Distilled water: It’s important for the flushing process; tap water can leave mineral deposits in the system.
- Funnel: To prevent spills when adding new coolant.
- Wrench set: For loosening bolts and clamps.
- Screwdrivers: Some clamps may require screwdrivers instead of wrenches.
- Rags: Coolant can be messy, so have something to clean up any spills.
- Safety equipment: Always wear gloves and eye protection when dealing with chemicals.
Gathering my tools, I pay special attention to the type of radiator flush solution best suited for my vehicle. Manufacturers often recommend specific types or brands that are most effective for their designs. Likewise, consulting the vehicle’s manual can confirm the right wrench and screwdriver sizes, avoiding a mid-task hardware store run.
To lay everything out methodically, this is what I’d have in my workspace:
| Tool | Purpose |
|---|---|
| Drain Pan | Collecting old coolant |
| Radiator Flush | Cleansing the radiator |
| Distilled Water | Rinsing the system |
| Funnel | Adding fluids cleanly |
| Wrench Set | Loosening/tightening bolts and clamps |
| Screwdrivers | Adjusting different types of clamps |
| Rags | Clean up spills and drips |
| Safety Equipment | Personal protection during the procedure |
I take precautions like checking vehicle compatibility for adjustment tools and proper disposal methods for old coolant. By keeping these factors in mind, I ensure that my radiator flush not only serves its intended purpose but also maintains the integrity of my car’s cooling system.
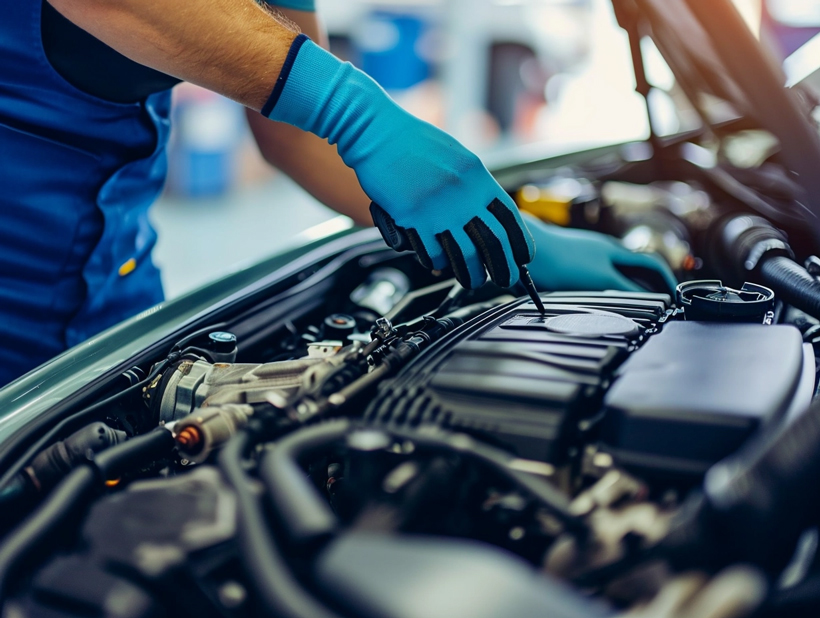
Step-by-step guide to flushing your radiator
When it’s time to roll up my sleeves and flush the radiator, I like to make sure I have a clear, step-by-step plan to follow. This not only ensures that I don’t miss any crucial stages in the process but also keeps me from running into unnecessary complications.
Preparation is Key
Before I begin, I gather all my tools and safety equipment. Then, I make sure the engine is completely cool to avoid any potential burns. Trust me, I’ve learned the hard way that working on a hot engine is not the move.
Flushing the Radiator Process
- Locate the Drain Plug
First off, I find the radiator’s drain plug. Usually, it‚Äôs at the bottom of the radiator. I place a drain pan underneath to catch the old coolant. - Drain the Coolant
With the drain pan in place, I loosen the plug to drain the old coolant. I’m careful here to capture all the fluid since it’s hazardous and requires proper disposal. - Flush With Radiator Solution
Once drained, I close the plug momentarily to add the radiator flush solution mixed with distilled water into the radiator. I fill it to capacity, ensuring the solution circulates thoroughly. - Run the Engine
This next step involves running the engine for about 10 minutes with the heater setting on max. It helps the solution to circulate and clean the system effectively. - Drain and Rinse
After the engine has cooled down again, I drain out the flush solution. Then I thoroughly rinse the system with distilled water until it runs clear, indicating the removal of any residual cleaner and contaminants. - Refill with Coolant
Finally, I fill the radiator with fresh coolant. I ensure it’s the right type and mixture for my car, as specified in the owner’s manual.
During this process, I keep my workspace tidy and my tools organized. This way, I can find what I need when I need it, making the whole task smoother and more efficient. With the right preparation and attention to detail, I can get through the flushing process without any guesswork or hassle.
Tips for a successful radiator flush
Flushing your radiator is key to ensuring that your car’s cooling system functions efficiently. I’ve learned that there’s more to it than simply draining and refilling. Let’s look at some insider tips that’ll help you get the best results.
Firstly, choose the right coolant. It’s not just about the brand but also making sure it’s compatible with your vehicle’s specifications. Manufacturers often recommend a specific type of coolant that works best with your car’s engine. Ignoring this could result in subpar performance or even damage.
Here are some quick tips to remember:
- Inspect for leaks before you begin. It’s essential to fix any leaks to avoid coolant loss after the flush.
- Run the engine to get the coolant mix circulating properly. This step ensures that any sediment or contaminants are dislodged.
- Always use distilled water for the final rinse to prevent mineral deposit build-up.
- Check the hoses and clamps for wear and tear. They should be secure and free from cracks.
When you’re filling up the coolant, there’s a particular technique that I’ve found effective:
- Fill the radiator with a 50/50 mix of coolant and distilled water.
- Squeeze the upper radiator hose gently to remove air pockets.
- Start the engine and let it run until the thermostat opens.
- Top off the radiator if necessary, and then close the system.
Monitoring your car after the flush is just as important. Keep an eye on the temperature gauge and look for signs of overheating. If temperatures rise, it may indicate that there are still air pockets or leaks.
These steps help maintain not only the longevity of the cooling system but also the optimal performance of your car. Regular flushes prevent rust and corrosion, essential to avoiding costly repairs down the line. Stay diligent about the small details; they make a big difference in the life of your vehicle.
Conclusion
Flushing your radiator might seem daunting at first but with the right approach, it’s a task you can handle confidently. Remember, regular maintenance of your cooling system isn’t just a good practice‚ a crucial step in keeping your vehicle running smoothly and efficiently. By following the steps I’ve outlined, you’ll ensure that your engine stays cool and your coolant clean. Don’t forget to monitor your car after the flush; it’s the best way to spot any potential issues early on. Stay proactive about your car care and you’ll be all set for the road ahead.