
Nothing is worse than the feeling of panic when you see your car’s temp gauge starting to climb on a hot day. If you’re worried about your car’s cooling system, you’re not alone. However, you can diagnose any potential problem if you know how to check your car’s temperature gauge.
To check first, locate the temperature sensor behind the fuel line in your engine. Pop off the wire and attach a banana clip, grounding it to the engine exhaust header bolt. Turn the key to the accessory and check the gauge. If it doesn’t move, replace the sensor. Additionally, if your gauge goes up to “H,” it indicates higher temperatures. Conversely, the “C” indicates, cold temperature.
That being said, most drivers often don’t understand the significance of a temperature gauge, which is bad. So, we thought to share the importance of how you can read the gauge and share some maintenance tips.
Understanding the Importance of Monitoring Your Car’s Temperature Gauge
It’s actually super important if you want your car to keep healthy and avoid costly repairs. Basically, if your engine is overheating, it can cause some serious damage to your ride.
And nobody wants to deal with the expense of replacing an engine. Plus, an overheated engine can also mess up other important parts of your car, like the crankshaft, piston, or cylinder block.
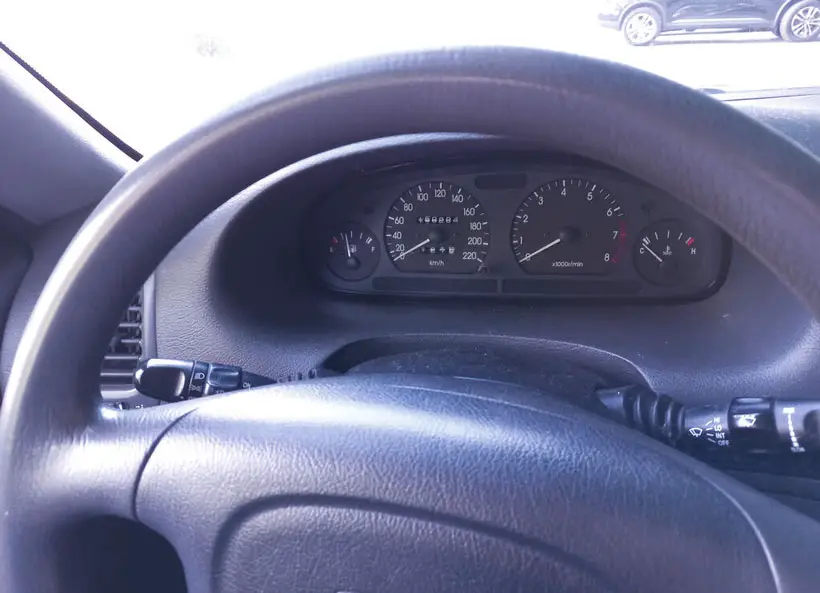
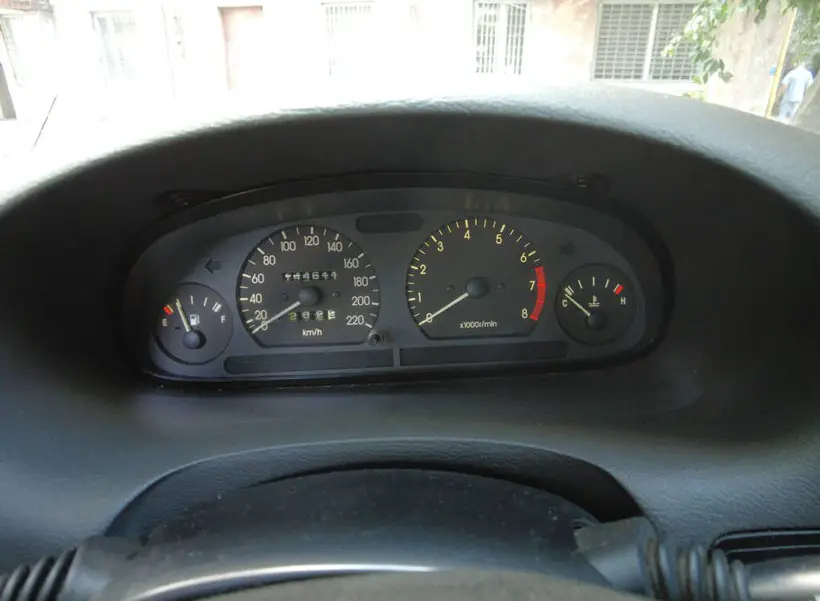
But you can prevent all of this by monitoring your car’s temperature gauge. Most cars don’t give you a numerical temperature reading but have a hot-cold scale with a needle in the middle. Just keep an eye on that needle and ensure it’s not in danger.
According to specialists, the ideal range for your engine’s temperature is around 190 to 225℉. If your gauge is telling you that your engine is running hotter than that, it’s definitely time to do something about it.
Parts of the Temperature Gauge
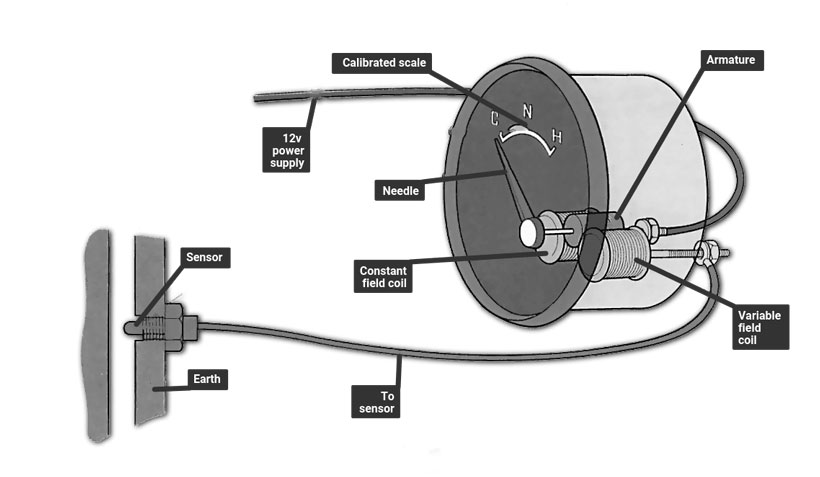
A car temperature gauge has two main parts: the gauge and the sensor unit. And usually, a single cable connects these two sections.
Gauge
A car’s temperature gauge can be either magnetic or bimetallic. When you switch on the ignition, you can tell which kind your automobile has by watching the way the needle moves.
- Magnetic gauge: When using magnetic equipment, the needle instantly jumps to provide a reading.
- Bimetallic gauge: Once turned on, a bi-metallic gauge steadily moves towards its reading.
Sensor units
There are two types of sensor units:
Semiconductor
The most common temperature sensors in cars are semiconductor sensors. They have a special part called a “semiconductor” that makes it easier for electricity to flow through as the car gets hotter. This makes the gauge show a higher temperature reading.
Bimetallic strip
A less common type of temperature sensor uses a bimetallic strip. When the strip travels within a heating coil, it opens contacts that turn off the current to the gauge and heater.
Then the strip cools down to remake contacts allowing the electricity to go to the gauge again. Now, this sequence happens very quickly, and how long the contacts stay closed and open depends on how hot the car is.
Step-by-Step Guide to Checking Your Car’s Temperature Gauge

Inspecting the temperature gauge of your can is not a big deal. In fact, if you follow the steps we’ll talk about below, you can do it pretty easily.
- Step 1: Locate the temperature sensor in your car’s engine. It should be behind the fuel line and have a wire on top of it.
- Step 2: Pop off the wire and attach a banana clip to it.
- Step 3: Ground the banana clip by connecting one clip to the end of the temperature wire and the other clip to the engine exhaust header bolt.
- Step 4: Head inside the car and turn the key to the accessory position. This will cause the temperature gauge to go all the way up.
- Step 5: Turn the key off to notice whether the gauge returns to its normal position or not. If it does, then it’s working correctly.
- Step 6: If the gauge doesn’t move when you turn the key to the accessory position, it means that your sensor is bad and needs to be replaced.
Interpreting the Gauge Reading
Reading your car’s gauge is not something you need to get fret about. It’s easy peasy once you get the hang of it. The gauge is usually represented by a thermometer with the letters “H” and “C” for hot and cold, respectively. So, keep an eye out for those symbols.
Normal Temperature Range
The recommended temperature range for an engine is typically 195 – 220 ℉ degrees. If the gauge needle is pointing toward the middle or in close proximity, it indicates that the engine is operating properly. However, you don’t need to be concerned if the needle is slightly off-center.
On extremely hot days, It’s possible for the gauge to display a slightly higher reading than normal. But, as long as the needle doesn’t continue to climb while you’re driving, there’s nothing to be concerned about.
High-Temperature Range
If you see that temperature gauge climbing up towards the “H,” it means your car is overheating, and that’s a big deal. Now, don’t panic if you notice the gauge fluctuating a bit on some days. That’s normal.
But if you see the needle landing on the “H” or the temperature light comes on, it’s time to give your car some serious attention. Just stop the car immediately, then take the necessary steps.
Low-Temperature Range
When you first start up your car, it’s normal for the temperature gauge to read cold. But, after a few minutes of running, it should warm up to the ideal range.
However, if the gauge stays stubbornly stuck on the cold side even after the engine has heated up, then the gauge could be experiencing a problem. It could be damaged or not working correctly.
In such a case, you’ll need to check the gauge and thermostat to replace either or both of them to get things back to normal.
Tips for Maintaining Your Car’s Cooling System

Here are some tips that are easy yet extremely useful when it comes to maintaining to help you out
Coolant Level
First and foremost, check your coolant level on a regular basis to ensure it’s at the proper amount. If it’s low, refill it with the appropriate coolant combination. This easy action could very well help keep your engine at the proper temperature.
Check the Radiator
This is a vital component that is necessary to the cooling system and any damage to it might result in overheating. That’s why to look for rust, leaks, or other damage, and then if you detect any, have the problem fixed straight away.

Inspect the Radiator Cap
The radiator cap is crucial in maintaining the pressure in your cooling system.
If it’s not properly sealed or damaged, you’ll have an overheating problem on your hands. Check the cap for any cracks or damage, and if it’s not up to snuff, replace it right away.
Keep the Radiator Clean
Dirt, grime, and debris can accumulate on your radiator, which can lead to your engine running hot.
Give your radiator a good cleaning every now and then with a soft brush or compressed air. You’ll be surprised at how much more efficiently your radiator can work when it’s not weighed down by crud.
Change the Coolant
Over time, coolant can become contaminated with all sorts of nasty stuff like rust, debris, and other contaminants. This can make your engine run hotter than it should.
So make sure you change the coolant at the recommended intervals by your vehicle’s manufacturer.

Inspecting the Fan and Hoses
Once your car has completely cooled down, take a quick look at the engine fan and cooling system hoses. It’s important to inspect them for any loose fittings, cracks, or leaks since they’re made of plastic and rubber that can wear down over time.
And damaged parts can cause some problems, so it’s good to catch any issues early on.
Regular Maintenance Checks
When you take your vehicle in for maintenance, it’s a smart move to have the cooling system checked out too.
To make sure that your automobile is running like a dream, a reliable technician will check all the working temperatures, fluid levels, and other potential issues.
Troubleshooting Temperature Gauge Issues
Let’s talk about temperature gauge issues in cars. It’s important to keep an eye on the temperature gauge to prevent your car from overheating. However, even after maintaining it, issues can still arise.
Low Coolant
It’s a prevalent problem. The coolant in your automobile is in charge of taking in the heat generated by the engine. If the coolant levels are low, the temperature reading will read hotter because the leftover coolant must soak more heat.
Solution:
- Step 1: Wait for your engine to cool down before you start.
- Step 2: Open the hood and locate the coolant reservoir (check your owner’s manual if you’re not sure where it is).
- Step 3: Check the level of the coolant and add more until it reaches the “full” line.
- Step 4: Put the cap back on and start your engine. Let it run for a few minutes.
- Step 5: Check the temperature gauge again. If it’s back to normal, then you’re good to go.
Radiator Issue
To keep your engine from overheating, a working radiator is crucial. The flow of coolant can be impeded by blockages or debris accumulated inside the radiator, which might raise the temperature gauge’s readings.
Even dead bugs can occasionally clog the radiator. Moreover, the airflow could be restricted if the radiator is clogged.

Solution:
- Step 1: Open your hood and physically inspect the radiator to check for any dirt or blockages.
- Step 2: To clean off any dirt from the radiator, use a tiny brush. Use moderate techniques and abstain from anything too severe that can harm the radiator.
- Step 3: Start the engine to let it run briefly after cleaning the radiator.
- Step 4: Review the temperature gauge once again after that.
Issue with ECU
The Electronic Control Unit, or ECU, analyzes data from a variety of sensors in your vehicle before sending it to the gauges. It can occasionally become slightly perplexing and incorrectly interpret the temperature values.
And when that happens, the temperature gauge receives incorrect information, which makes it very erratic.
Solution:
- Take your car to a mechanic who can check if the ECU is the problem.
- If there is, you’ll need to have the ECU reprogrammed or replaced.
- Leave this to the professionals, as it’s not a DIY job.
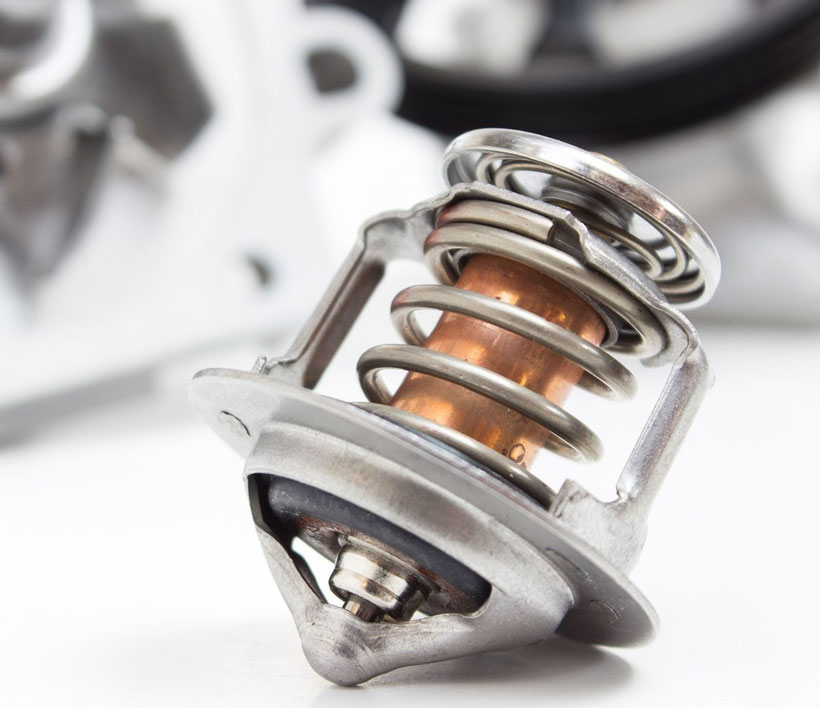
Faulty Thermostat
It regulates coolant flow from the radiator towards the engine. The thermostat can sometimes become stuck open or shut, which is particularly a problem for the engine. If you can’t find it at the bottom or on the top of the radiator, see your owner’s manual or repair guide.
Solution:
- Step 1: Take out the thermostat.
- Step 2: Submerge the thermostat in almost boiling water to test it.
- Step 3: If it remains closed, it’s malfunctioning and must be replaced.
- Step 4: Install a new thermostat in place of the old one.
- Step 5: Double-check that all the coolant plugs are properly secured.
Final Words
Keeping an eye on your car’s temperature gauge is crucial to keeping your ride in tip-top shape; it’s true!
By now, you should know that engine overheating can cause significant damage to your engine, which can be a real headache to fix. So, since you know how to check your car’s temperature gauge, make sure to glance at that gauge every once in a while.
If you notice it creeping up towards the “H,” it’s time to pull over and give your car a break. In fact, why not take it into the shop for a quick inspection while you’re at it? It’ll save you a lot of time, money, and frustration down the road.