
We’ve all been there ‚Äì you turn the key and… nothing. Intermittent no start problems can leave us scratching our heads and stranded at the most inconvenient times. It’s like your car decides to play a game of chance with your schedule.
Diagnosing these elusive no cranking issues can be a real headache. But don’t worry, we’re here to guide you through the maze of potential causes. With our expertise, we’ll help you pinpoint the issue and get back on the road in no time.
Understanding the root of intermittent starting problems is key to a reliable fix. We’ll dive into common culprits and share our top troubleshooting tips that’ll save you time and money. Let’s tackle those hard-to-diagnose issues together and turn that random game of chance into a thing of the past.
Common Causes of Intermittent No Start Problems
Intermittent no start issues in cars are like nagging colds; they come and go, often without warning, leaving us puzzled and frustrated. Understanding the root causes can help us narrow down and tackle these elusive problems.
Faulty Electrical Components often lead the list of culprits. Electrical parts are prone to wear and can fail sporadically. For instance:
- The starter motor, which cranks the engine, can have intermittent faults due to bad connections or worn-out components.
- Ignition switches, tasked with sending the signal to start the engine, might occasionally fail to make a solid contact.
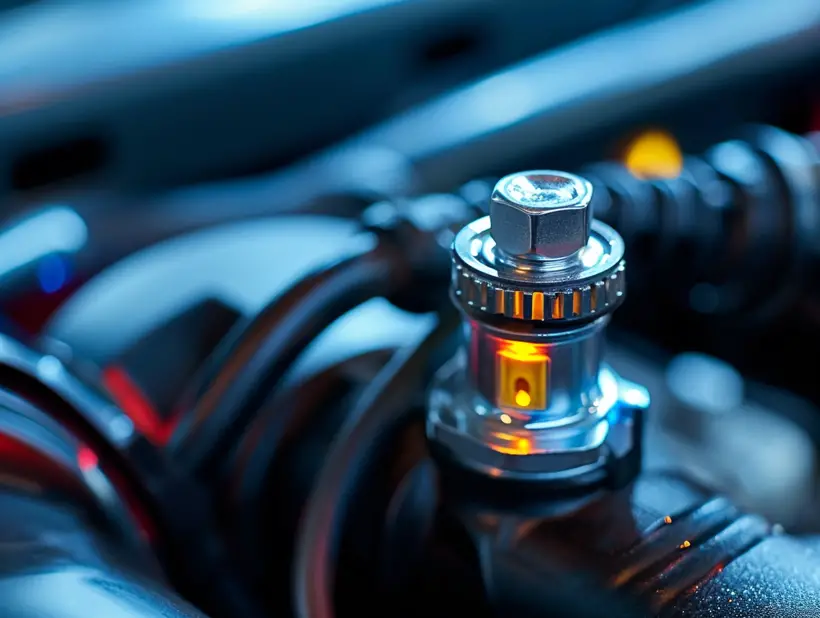
- Battery terminals corrode over time, potentially causing poor connections that intermittently prevent the engine from cranking.

Fuel System Issues shouldn’t be overlooked either. Fuel delivery problems can cause the car to sputter to life or not start at all. These can arise from:
- A clogged fuel filter, restricting the flow needed to start the engine.
- A failing fuel pump, which may only occasionally push enough fuel through.
- Fuel injectors that might not always spray the correct amount of fuel into the combustion chamber.
Environmental Factors also play a role in these starting dramas. Temperature changes can affect:
- Battery performance, as extreme cold reduces cranking power.
- Fluid viscosity, making engine oil thicker in cold weather which makes the engine harder to crank.
Sensor and Computer Problems are the more complex issues to diagnose. Modern cars rely heavily on computers that require sensors to function properly.
- Crankshaft and camshaft position sensors can deliver faulty signals leading to starting failures.
- Engine control units (ECU) govern the electronics of the engine; a fault within the ECU can cause intermittent no start issues.
We’ll delve into how moisture or dirt affecting sensitive electronic components like the distributor cap or the spark plug wires can also be the hidden adversary in our cars’ starting battles. These factors can be especially problematic as they might only interfere under specific conditions, keeping the problem out of sight and out of mind until it suddenly resurfaces.
| Component | Problem Symptom | Potential Impact |
|---|---|---|
| Starter Motor | Intermittent engagement | No cranking when starting |
| Ignition Switch | Irregular contact | Inconsistent engine start |
| Battery Terminals | Corrosion |
Checking the Battery and Connections
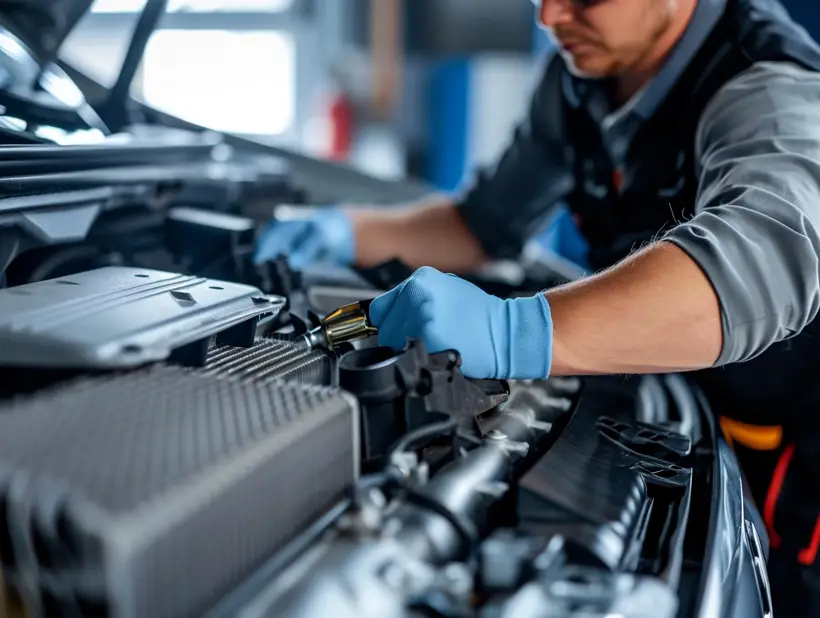
When we’re faced with an intermittent no-start issue, the first place we often check is the battery and its connections. It’s essential to perform a thorough inspection, as even minor issues here can lead to starting problems. Here’s our process:

Perform a Visual Inspection
Start by looking for obvious signs of wear and tear. We’re particularly alert for:
- Corrosion on the battery terminals
- Loose connections
- Cracked or broken cables
Test the Battery Voltage
To ensure the battery is holding a charge, we use a multimeter set to volts. Here’s what the readings might tell us:
| Voltage Reading | Battery Condition |
|---|---|
| 12.6V or above | Fully charged |
| 12.4V – 12.6V | Partially charged |
| Below 12.4V | Discharged |
A voltage check can reveal if the battery is the culprit or if we need to dig deeper.
Inspect for Tightness and Cleanliness
Next, we make sure the connections are tight and free from corrosion. For this, we:
- Wiggle the battery cables to check for looseness
- Clean any corrosion with a wire brush and apply anti-corrosive gel
It’s surprising how often a thorough cleanup can solve a starting issue.
Check Ground Connections
We move on to inspect the ground connections from the battery to the body and engine. It’s crucial these points are solid for the electrical system to function properly.
Load Test the Battery
Lastly, if the battery’s voltage appears normal, we run a load test. This simulates the battery’s performance under the typical strain of starting a car.
By systematically going through these steps, we can usually pinpoint if the starting issue is due to the battery or its connections. If everything checks out here, it’s time to investigate other systems that might be at fault.
Testing the Starter Motor
After ensuring our battery‚Äôs functionality, we turn our focus to the starter motor, which is crucial for ignition. When faced with intermittent no-start issues, testing the starter should be methodical. We’ll break down simple yet effective steps to assess the condition of this component.
Firstly, access the starter motor. In many vehicles, the starter is located at the lower part of the engine block. We look for any obvious signs of damage or corrosion which could impair its performance.
Next, we carry out a voltage drop test. This involves measuring the voltage drop across the starter circuit when the engine is being cranked. The test helps us determine if there’s excessive resistance in the circuit which might be the root cause of the problem. Ideally, the voltage drop should not exceed 0.5 volts on the ground side and 0.2 volts on the positive side. Here’s a simple table outlining acceptable voltage drop values:
| Side | Acceptable Voltage Drop |
|---|---|
| Ground | 0.5 volts or less |
| Positive | 0.2 volts or less |
For this test, we’ll need a multimeter. We attach the multimeter leads to the battery and the starter terminals, ensuring that we’ve got good connections.
Moreover, we check the starter solenoid separately as it plays a pivotal role in relaying power from the battery to the starter motor. We listen for a clicking sound when the ignition key is turned. No sound could imply a fault with the solenoid.
Performing a bench test is another strategy where we directly apply power to the starter to see if it operates. This test isolates the starter from the vehicle’s electrical system and provides conclusive evidence about the starter’s condition.
Throughout our diagnostic process, we keep in mind that the issue might also arise from poor connections or damaged cables. As such, we inspect all related wiring and connectors, looking for any wear and tear or loose connections that could impede electrical flow.
By methodically testing the starter motor and related components, we edge closer to pinpointing the exact cause of our intermittent no-start issues. Each test sheds more light on the health and performance of the starter system, guiding us towards the necessary repairs or replacements. Our diligence and attention to detail during these tests can save us both time and resources in the long run.
Inspecting the Ignition Switch and Key
When facing intermittent no-start issues in our vehicles, we tend to overlook the simpler components that are often the culprits. One such component that demands our attention is the ignition switch. This is where the process of starting our car begins, and its failure can mimic more complex problems.
Let’s delve into the inspection process:
- Visual Inspection: We start with a thorough visual check of the ignition switch and key. Wear and tear or damage to the key can prevent it from engaging correctly.
- Feel for Snags: We insert the key and gently turn it. We’re feeling for any unusual resistance or snags that suggest internal issues.
- Test the Electrical Continuity: Using a multimeter, we test for continuity. This helps us ensure that when the key is turned to the start position, the electrical path is intact.
Furthermore, do not discount the importance of a clean and functional keyway. Our keys accumulate dirt and debris which can prevent proper contact within the switch. Spraying some electrical contact cleaner can sometimes resolve what seems like a grave problem.
It’s also crucial for us to check the ignition switch’s electrical connections:
- Trace Wires: We follow the wires from the back of the ignition switch to their respective connections.
- Check for Corrosion or Wear: Connections should be free from corrosion and the insulation intact.
- Tighten Connections: We ensure that each connection is snug, as a loose wire can cause intermittent issues.
Once we’ve examined the ignition switch and key, we’ll often discover that this simple component was all that stood between us and a smooth start. And while it’s a relief to solve an elusive problem, the inspection of our vehicle’s starting system doesn’t end here. Moving on, we turn our focus to the battery terminals and ground connections, as these are also pivotal in ensuring a reliable start every time we turn the key.
Examining the Fuel System
When we’re tackling persistent no-start problems in vehicles, we can’t overlook the fuel system. It’s vital to ensure our engine receives the proper mixture of air and fuel to start. Let’s break down the components we’ll scrutinize in the fuel system:
- Fuel Pump: A silent fuel pump can indicate a problem. We’ll listen for a quiet hum in the fuel tank when the key is turned to the “on” position.
- Fuel Filter: A clogged filter can restrict fuel flow. We’ll check if it needs replacing, considering the manufacturer’s recommended intervals.
- Fuel Injectors: We’ll look for signs of blockage or electrical issues that could prevent them from delivering fuel effectively.
Fuel Pressure Test
To delve deeper, we’ll conduct a fuel pressure test. This reveals if the fuel pump is delivering the required pressure to the engine. We can use a fuel pressure gauge attached to the fuel rail for this purpose. The readings should match the specifications outlined in the vehicle’s service manual. Below is an example of what those pressure readings might look like:
| Engine State | Expected Pressure (psi) |
|---|---|
| Idle | 30-45 |
| Acceleration | 45-60 |
Electrical Connections and Relays
We’ll also inspect electrical connections and relays to the fuel pump for signs of corrosion or damage – a common culprit in intermittent issues. If damaged, these would require prompt attention.
By methodically examining each component of the fuel system, we can often pinpoint the source of the no-start problem. Checking the fuel system is a complex task, but by approaching it step by step, we maintain clarity and accuracy throughout the process. Remember, if you’re ever uncertain about any aspect of these inspections, seeking the expertise of a professional mechanic is a prudent decision.
Moving forward, let’s consider that once we’ve ensured a smooth fuel delivery, we ought to check the engine’s air intake system. A balanced air-fuel mixture is crucial, and issues with air intake can mirror those caused by fuel system glitches.