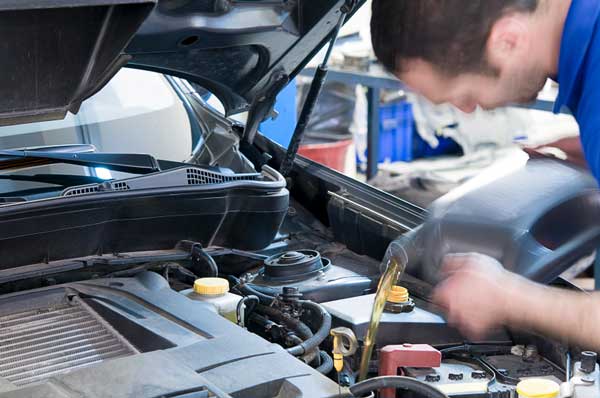
Oil and coolant are two completely different fluids that shouldn’t be mixed. But if it happens and you realize that the temperature gauge is reading just fine, you should find out the causes without being worried.
So why is oil in coolant reservoir but car not overheating? Clogged or malfunctioning PCV, a crack in the engine block or cylinder head cause this issue. And the continuous flow of coolant through the system cools the engine and prevents overheating even though the oil gets mixed with it.
To know further details, we’ll show you all the reasons why this happens and how you can fix it.
Oil In Coolant But Car Not Overheating?
You might think that having oil in the coolant would cause your car to overheat, but surprisingly, it may actually prevent it. For example, the oil acts as a barrier between the coolant and the engine, slowing down the transfer of heat.
But don’t be misled, this accidental occurrence will overtime lead to long-term damage to your engine. So don’t wait, get your car serviced as soon as possible to fix the root cause of the issue.
Reasons For Oil In The Coolant Reservoir But Car Not Overheating
When oil is found in the coolant reservoir, it is often a sign of a serious problem with the engine. However, there are certain circumstances where the car may not be overheating despite the presence of oil in the coolant reservoir. This can occur for some reasons.
Problem With The Head Gasket
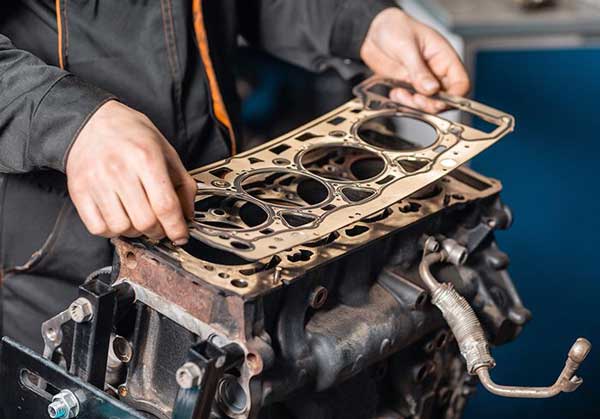
One possible reason for oil in the coolant reservoir is a blown head gasket. The head gasket is a seal that sits between the engine block and cylinder head, and its job is to keep oil and coolant from mixing together.
However, if the head gasket is damaged or worn out, oil can leak into the coolant system and end up in the reservoir. But the engine may not overheat because the coolant is still able to flow through the system and keep the engine cool.
A Malfunctioning PCV Valve
Another possibility is that the oil is getting into the coolant due to an issue with the PCV (positive crankcase ventilation) valve. The PCV valve is a one-way valve that allows pressure to escape from the crankcase.
Yet, it can become clogged or may malfunction and allow oil to enter the intake system and be drawn into the coolant system. But the continuous flow of coolant through the system will cool the engine and prevent overheating.
Worn Or Damaged Engine Bearings
Worn or damaged engine bearings can lead to a variety of problems, including oil leaking into the coolant reservoir. This can happen when the bearings, which help to support the movement of the engine’s internal components, become worn or damaged.
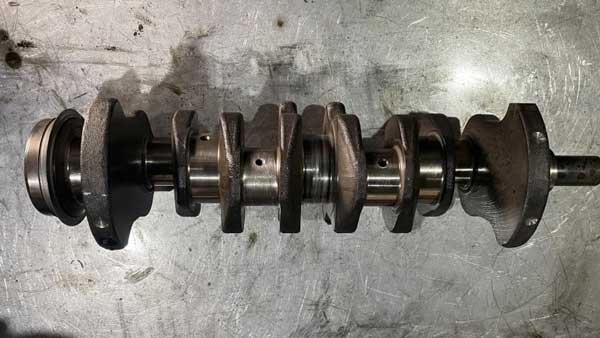
As a result, oil can seep into the coolant system, contaminating the coolant and causing it to appear in the reservoir. However, it’s important to note that this issue does not necessarily mean that the car is overheating.
Failure Of The Oil Separator
An oil separator is a device that separates oil from the engine’s blow-by gases. If the separator fails, oil can enter the intake system causing oil to be forced into the coolant reservoir. There may be no overheating of the engine because of constant coolant flow.
A Cracked Engine Block Or Cylinder Head
The engine block or cylinder head can suffer a crack from extreme heat. Therefore, the crack on the engine block or cylinder head allows oil to leak into the coolant system. And thereby contaminating the coolant and causing it to appear in the reservoir.
This is a serious issue, as the oil and coolant shouldn’t mix because they can cause significant damage to the internal engine parts.
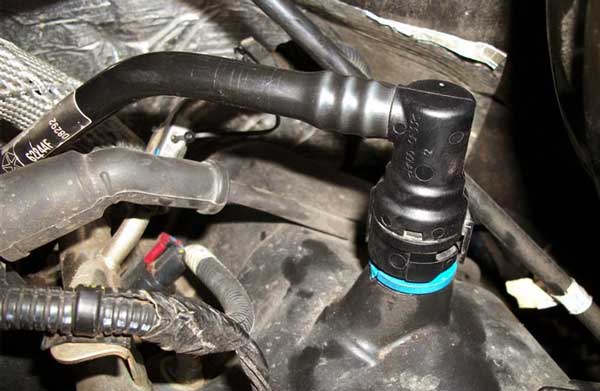
Leak In The Oil Cooler
If the oil cooler is damaged or leaking, oil can enter the coolant system. Ug engine overheating will likely not occur because there’s a steady coolant flow to cool the engine.
A Damaged Or Blocked Oil Filter
This can happen when the filter becomes clogged or damaged. Hence, preventing proper oil flow and allowing oil to seep into the coolant reservoir. In addition, this may not necessarily lead to engine overheating.
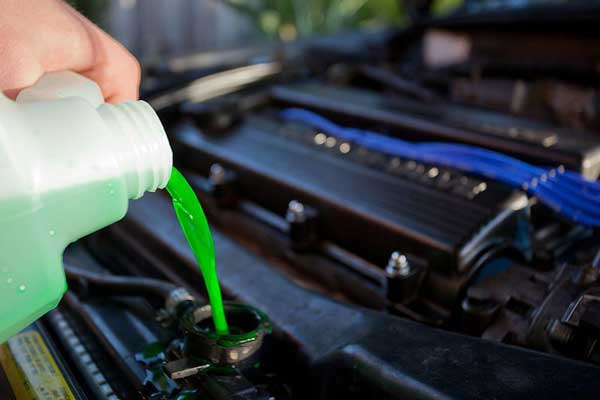
Overfilled Oil
It’s also possible that the oil in the coolant reservoir is simply the result of a spill or overfill during an oil change. If this is the case, the issue can be easily resolved by draining the excess oil from the system and properly disposing of it.
For further information, you can watch this video.
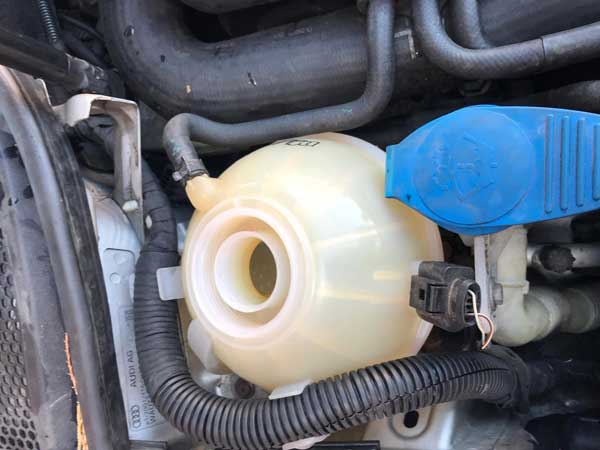
Symptoms Of Oil In The Coolant Reservoir
Here are some common symptoms of oil in the coolant reservoir:

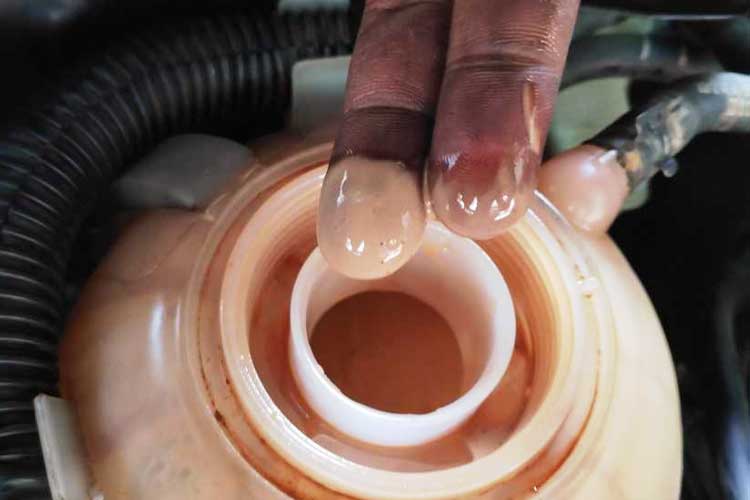
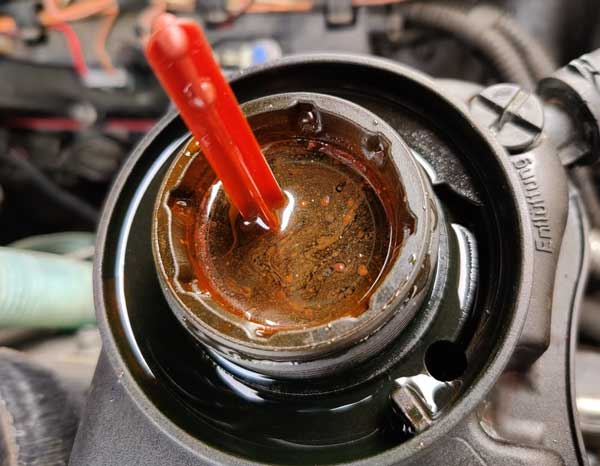
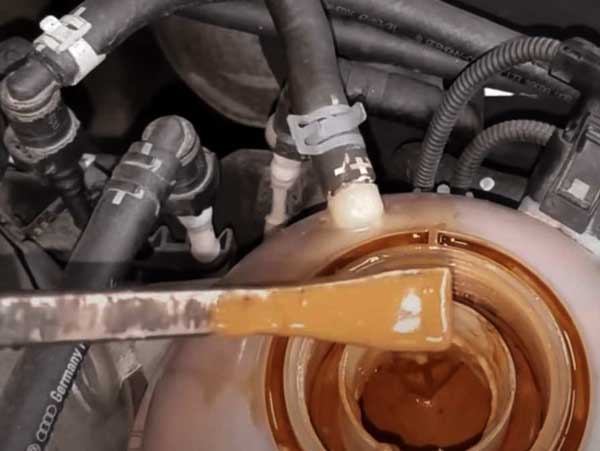
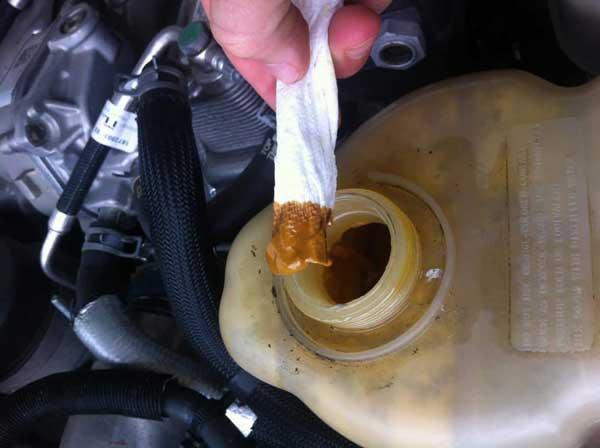
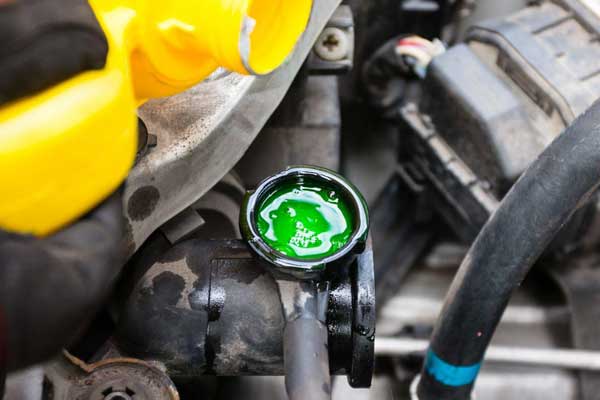
Milky Substance In The Coolant Reservoir
Are you noticing a milky substance in your coolant reservoir? This could be a sign of oil contamination and should not be ignored. This is the most obvious symptom of oil contamination in the coolant.
Low Coolant Levels
If you notice that the coolant levels in the reservoir are consistently low, it could be a sign of oil contamination.
White Smoke From The Exhaust
If you see white smoke coming from the exhaust, it could be a sign of oil present in the coolant reservoir.
Strange Noises From The Engine
Knocking or ticking noises coming from the engine could be a sign of oil contaminating the coolant system.
Warning Light
Some cars may have a warning light that illuminates when there is a problem with the coolant system.
How To Diagnose the Cause of Oil In a Coolant Reservoir?
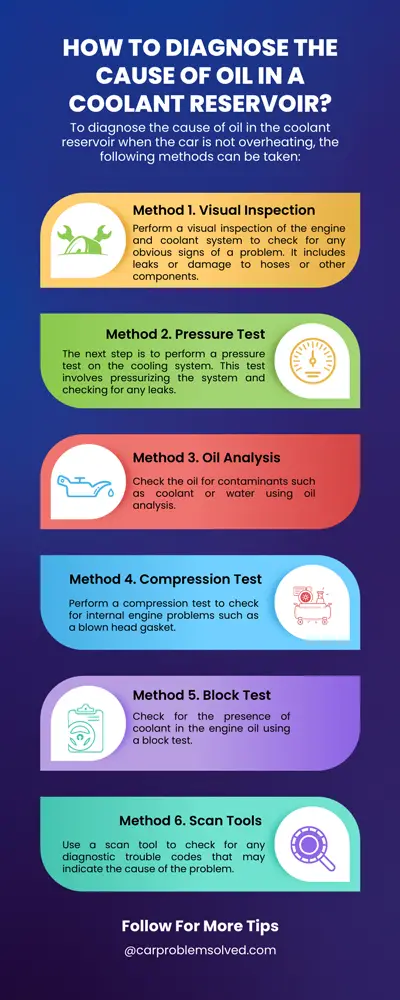
To diagnose the cause of oil in the coolant reservoir when the car is not overheating, the following methods can be taken:
Method 1. Visual Inspection
Perform a visual inspection of the engine and coolant system to check for any obvious signs of a problem. It includes leaks or damage to hoses or other components. This method can provide fast clues as to the cause of the problem.
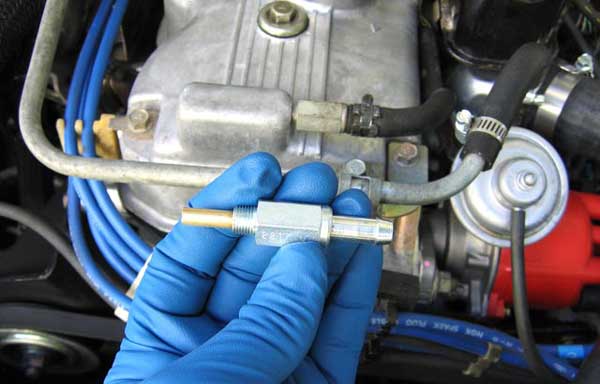
Method 2. Pressure Test
The next step is to perform a pressure test on the cooling system. This test involves pressurizing the system and checking for any leaks.
If a leak is detected, the mechanic can then use a borescope, which is a small camera that can be inserted into tight spaces. It helps to inspect the engine and determine the specific location of the leak.
Method 3. Oil Analysis
Check the oil for contaminants such as coolant or water using oil analysis.
Method 4. Compression Test
Perform a compression test to check for internal engine problems such as a blown head gasket.
Method 5. Block Test
Check for the presence of coolant in the engine oil using a block test.
Method 6. Scan Tools
Use a scan tool to check for any diagnostic trouble codes that may indicate the cause of the problem.
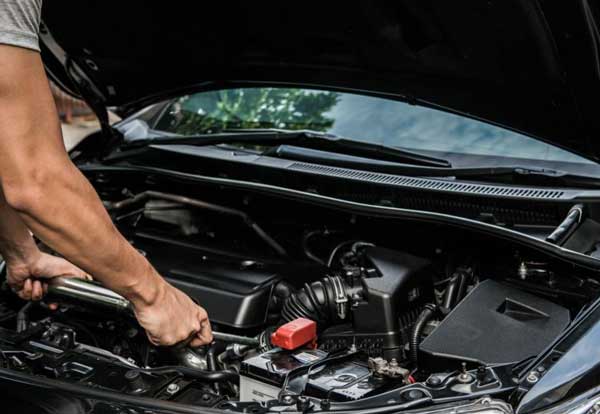
Best Steps To Fix Oil In The Coolant Reservoir Problems
Fixing oil in the coolant reservoir can be a daunting task, but with the right tools and knowledge, it won’t give you a headache. However, always consult a professional if you are unsure about any step of the process. But if you can fix it, here are some steps you can take to fix the problem:
Step 1: Identify The Source Of The Leak
The first step is to determine where the oil is coming from. Check the oil level in the engine and look for any visible signs of leakage. If the oil level is low, it could be a sign of a blown head gasket or a cracked engine block.
Step 2: Inspect The Head Gasket
If the head gasket is the suspected source of the leak, remove the cylinder head to inspect it. Look for any visible signs of damage or wear, such as cracks or deformities. If the head gasket is damaged, it will need to be replaced.
Step 3: Check The PCV
- Locate the PCV valve. It is usually located on the valve cover or intake manifold of the engine.
- Check the valve for any visible signs of damage or wear, such as cracks or leaks.
- Also, remove the valve by unscrewing or unclipping it from its location.
- Clean the valve and the surrounding area thoroughly to remove any dirt or debris.
- Furthermore, inspect the valve to ensure that it is not clogged or stuck. If it is, gently tap the valve to free it.
- Reinstall the valve and make sure it is properly seated and tightened.
Step 4: Check The Engine Block
If the engine block is presumed to be the source of the leak, it will need to be inspected for cracks or other damage. This may require removing the engine from the vehicle. Also, a damaged engine block will need to be replaced.
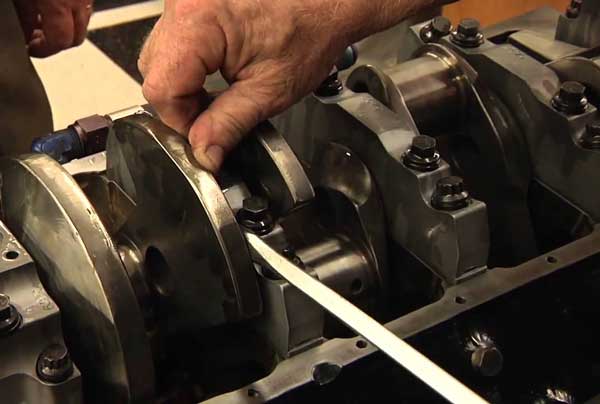
Step 5: Check The Engine Bearings
The first step is to diagnose the problem. This can be done by checking the oil and coolant levels, as well as performing a visual inspection of the engine. If you notice an excessive amount of oil in the coolant, the bearings are likely the culprit.
Step 6. Fix the engine bearings
- To fix this problem, the engine will need to be disassembled,
- Then the damaged bearings will need to be replaced. This is a complex and time-consuming process that a trained and experienced mechanic should only perform.
- Once the new bearings are installed, the engine will need to be reassembled and properly lubricated.
Step 7: Check The Oil Separator
- Before you begin working on the oil separator, drain the coolant reservoir. This will prevent any coolant from spilling out when you want to remove the separator.
- Next, remove the oil separator with a socket wrench,
- Then inspect for any signs of damage or wear.
- If you notice any cracks, leaks, or other damage, the separator will likely need to be replaced.
Make sure to use the correct replacement part for your vehicle, and follow the manufacturer’s instructions for installation.
Step 8: Flush The Coolant System
After any repairs have been made, the coolant and oil systems will also need to be flushed and refilled. Hence, to remove any oil or debris that may have accumulated and contaminated the reservoir.
Cost Of Repair And Replacement
On average, the estimated replacement cost is $410 to $450. Labor costs range from $70 to $90. While parts can cost anywhere from $340 to $360 or more.
However, it’s important to note that the cost can vary greatly depending on the make and model of your car, as well as the specific cause of the problem
Frequently Asked Questions
Let’s look at some questions people also ask about oil leakage into the coolant and provide answers to them
Yes, you can. But it’s not best to drive a car with oil seeping into the coolant. This is because it can damage your engine beyond repair in the long run and accumulate costly repairs.
Because the pressure of oil is higher than that of coolant when the car is in motion. Hence if the leakage takes place at 20 to 25psi or more, the coolant will not seep into the oil.
No, not all oil found in the coolant is caused by defective head gaskets.
Conclusion
Finding oil in the coolant reservoir can be a concerning sight, but it’s vital to understand that there are a variety of possible causes. In some cases, it may be as simple as a quick fix, such as replacing a valve or gasket. While in more severe cases, it may require more extensive repairs, such as an engine rebuild.
However, it turns out it’s always best to have a professional mechanic inspect the vehicle. This will enable them to determine the cause of the problem and provide an appropriate solution.