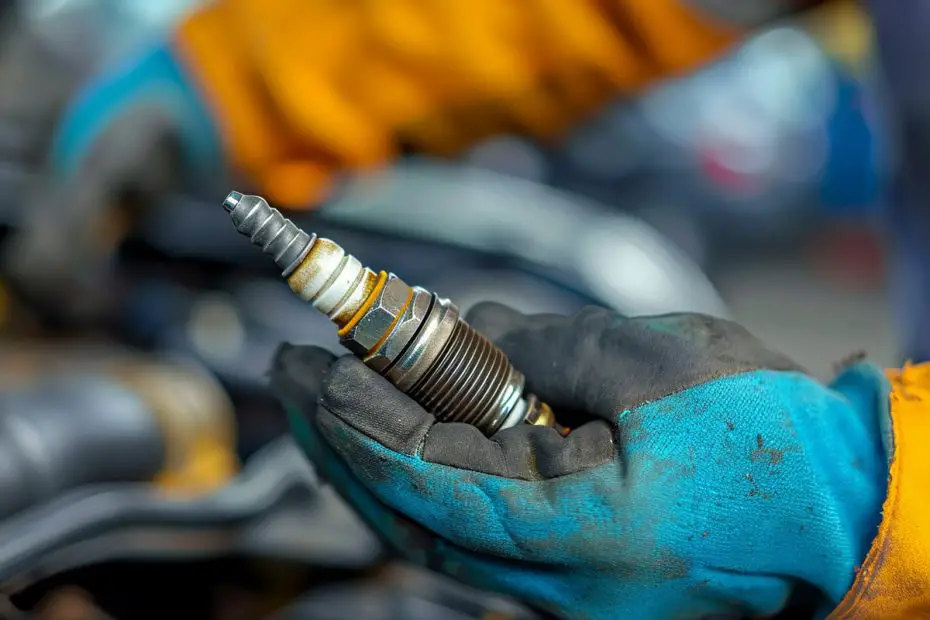
If you’ve noticed a decrease in your car’s performance or a rough idle, it could be a sign that your spark plug wires are worn out and in need of replacement. Ignoring this issue can lead to misfires, reduced fuel efficiency, and even engine damage. But don’t worry, we’re here to guide you through the process of replacing your spark plug wires, ensuring your engine runs smoothly and efficiently.
In this article, we’ll walk you through the step-by-step process of replacing your spark plug wires. We’ll cover everything from identifying the signs of worn-out wires to choosing the right replacement wires for your vehicle. By following our expert advice, you’ll be able to prevent misfires and keep your engine running at its best. So let’s get started and tackle this common maintenance task that can make a big difference in your car’s performance.
Signs of Worn-out Spark Plug Wires
One of the key steps in preventing misfires is to identify the signs of worn-out spark plug wires. Ignoring these signs can lead to reduced performance, rough idle, misfires, reduced fuel efficiency, and even engine damage. By being aware of these signs, you can take proactive measures to replace your spark plug wires and keep your engine running smoothly.
Here are some common signs that indicate your spark plug wires may be worn out:
- Poor engine performance: If you notice a decrease in power or acceleration, it could be a sign that your spark plug wires are worn out. This can result in a sluggish engine and reduced overall performance.
- Rough idle: A rough or unstable idle is another indication of worn-out spark plug wires. If you feel vibrations or hear unusual sounds when your vehicle is idling, it’s time to check your spark plug wires.
- Misfires: Misfires occur when the spark plugs fail to ignite the fuel mixture properly. If you experience irregular engine firing, stumbling, or hesitation, it could be due to worn-out spark plug wires.
- Reduced fuel efficiency: Worn-out spark plug wires can lead to incomplete combustion, which in turn affects your vehicle’s fuel efficiency. If you find that you’re visiting the gas station more frequently than usual, it’s worth considering a check of your spark plug wires.
To summarize, being able to recognize the signs of worn-out spark plug wires is essential in maintaining the performance and overall health of your vehicle’s engine. By paying attention to poor engine performance, rough idle, misfires, and reduced fuel efficiency, you can take the necessary steps to prevent further issues and ensure your engine runs smoothly.
Tools and Materials You’ll Need
When it comes to replacing spark plug wires in your vehicle, having the right tools and materials on hand is crucial. This will ensure that you can complete the job efficiently and effectively. Here’s a list of what you’ll need:
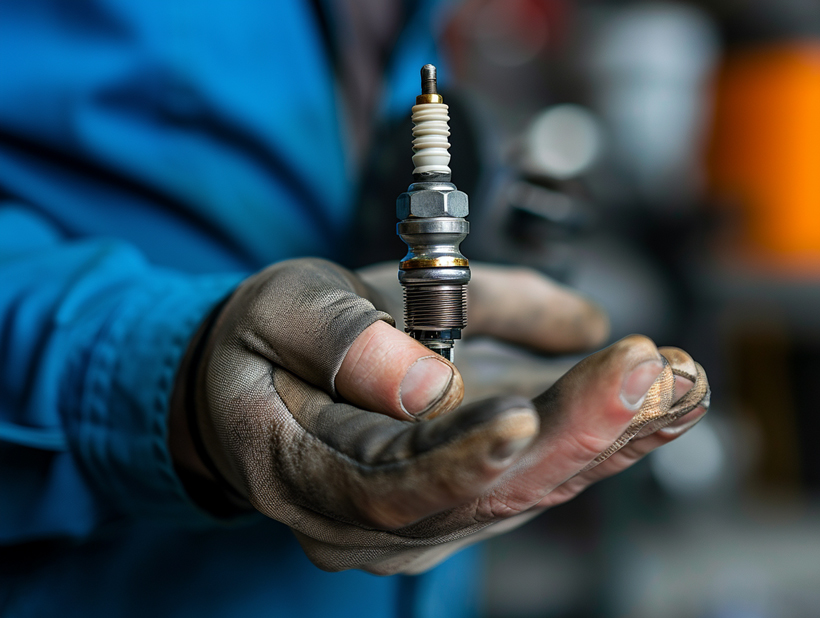
- New Spark Plug Wires – Make sure to purchase the correct spark plug wires for your specific vehicle make and model. It’s important to get high-quality wires that are designed to withstand the heat and electrical currents generated by your engine.
- Spark Plug Wire Puller – This tool is a must-have for removing the old spark plug wires. It allows you to grip the wire firmly and pull it off without damaging the wire or the spark plug.
- Diagonal Pliers – These pliers will come in handy when removing the spark plug boots from the spark plugs. They provide a firm grip and make it easier to detach the boots without causing any damage.
- Socket Wrench Set – A socket wrench set with various sizes will be necessary to remove the spark plugs. Make sure you have the correct size socket to fit your spark plugs.
- Spark Plug Socket – This specialized socket has a rubber insert that holds onto the spark plug and prevents it from slipping out during removal or installation.
- Anti-Seize Compound – Applying a small amount of anti-seize compound to the threads of the spark plugs can help prevent them from seizing in the engine block. This compound makes future removal easier.
- Dielectric Grease – Apply a thin layer of dielectric grease to the inside of the spark plug boots before installing the new spark plug wires. This helps create a watertight seal and prevents moisture from entering the spark plug wire connections.
It’s important to have these tools and materials ready before getting started with the spark plug wire replacement. This will make the process smoother and ensure that you have everything you need on hand. Now that we have the necessary tools and materials, let’s move on to the next step: “Removing the Old Spark Plug Wires.”
Remember, by replacing your worn-out spark plug wires, you can prevent misfires and keep your engine running smoothly.
Step 1: Prepare Your Vehicle
Before you begin replacing your spark plug wires, it’s important to make sure your vehicle is properly prepared. This will help ensure a smooth and successful replacement process. Here are a few things to consider:
- Safety first: Park your vehicle on a flat and stable surface, engage the parking brake, and turn off the engine. Always work on a cool engine to avoid burns.
- Gather your materials and tools: Make sure you have all the necessary tools and materials ready before you start. This will save you time and frustration later on. Here’s a handy checklist:
- Identify the spark plug wires: Locate the spark plug wires on your engine. They are typically connected to the distributor cap or ignition coils and attach to the spark plugs. Familiarize yourself with their routing and connections, taking note of any clips or holders that may need to be removed.
- Inspect the area: Before removing the old spark plug wires, visually inspect the surrounding area for any signs of damage or debris. Clear away any dirt or debris that could interfere with the replacement process.
Remember, proper preparation is key to a successful spark plug wire replacement. By ensuring your vehicle is ready and having all the necessary tools and materials on hand, you’ll be well-prepared to tackle the next steps in the process. Stay tuned for the next section, where we’ll cover how to safely remove the old spark plug wires.
Step 2: Locate the Spark Plug Wires
Now that we’ve gathered our tools and materials and ensured our safety, it’s time to locate the spark plug wires. The spark plug wires are responsible for delivering the electrical current from the ignition coil to the spark plugs, igniting the fuel-air mixture in each cylinder. Over time, these wires can become worn out or damaged, leading to misfires and a decrease in engine performance.

Locating the spark plug wires may vary depending on the make and model of your vehicle, but here are some general steps to help you find them:
- Refer to the owner’s manual: The owner’s manual is a valuable resource that provides detailed information specific to your vehicle. It will usually include a diagram or description of the engine layout, indicating the location of the spark plugs and the wires connected to them.
- Follow the ignition coil: The ignition coil is typically located near the top of the engine and is connected to the spark plug wires. Start by locating the ignition coil, which is usually a cylindrical or rectangular-shaped component. The number of ignition coils will correspond to the number of cylinders in your engine.
- Trace the wires: Once you’ve located the ignition coil, trace the wires connected to it. Each wire will lead to a spark plug. Depending on the design of your engine, the spark plug wires may be neatly organized and secured with clips or holders, making them easier to identify.
- Note the wire order: It’s important to note the order in which the spark plug wires are connected to the ignition coil and the spark plugs. This information will be useful when it comes time to install the new wires. You can either take a photo or make a simple diagram to ensure that you reconnect everything correctly.
Locating the spark plug wires may require some patience and careful observation, but it is an important step in the process of replacing them. By knowing where the wires are, you can proceed with confidence and ensure a successful replacement.
Remember, if you’re ever unsure or uncomfortable with this process, it’s always best to seek the assistance of a qualified mechanic. They have the expertise and experience to perform the task safely and efficiently.
Stay tuned for the next step, where we will guide you on how to remove the old spark plug wires and prepare for the installation of new ones.
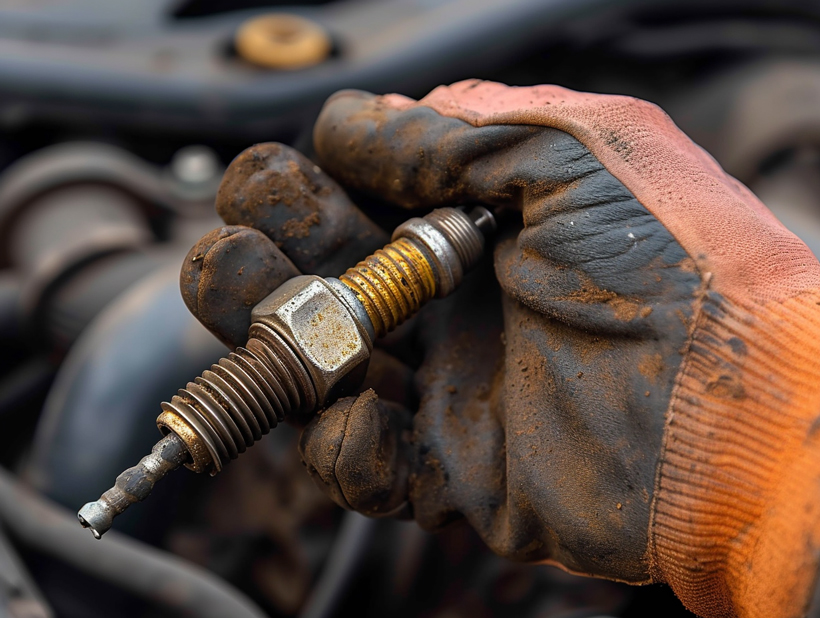
Step 3: Remove the Old Spark Plug Wires
Now that we have located the spark plug wires in our vehicle, it’s time to move on to the next step: removing the old spark plug wires. This is a crucial step in the process of preventing misfires caused by worn-out wires. Follow these simple instructions:
- Start by identifying the first spark plug wire that needs to be removed. It’s important to remove one wire at a time to avoid mixing up the order. Refer to the owner’s manual or consult a reliable online resource if you’re unsure about the wire order.
- The spark plug wires are connected to the spark plugs at one end and to the ignition coil at the other end. Begin by gripping the boot, or the rubber portion, of the spark plug wire firmly near the spark plug. Give it a gentle twist to break the seal.
- Once the boot is loose, carefully pull the wire straight out of the spark plug. Be cautious not to pull on the wire itself, as this could damage the internal components. Using a slight back-and-forth motion while pulling can help loosen the wire if it’s stuck.
- With the wire removed from the spark plug, proceed to detach it from the ignition coil. Follow the wire to where it connects to the coil. Similar to the spark plug end, twist and gently pull the boot out of the ignition coil.
- Repeat these steps for each spark plug wire, one at a time, until all the old wires are removed. Make sure to keep track of the wire order to ensure correct installation later on.
Remember, if you encounter any difficulties or are unsure about the process, it’s always recommended to seek the assistance of a qualified mechanic. They have the knowledge and experience to handle the job efficiently and effectively.
Removing the old spark plug wires is an essential part of the spark plug replacement process. By following these steps carefully, we can prevent misfires caused by worn-out wires and maintain the optimal performance of our vehicle. With the old wires removed, we’re ready to move on to the next step of installing the new spark plug wires.
Step 4: Install the New Spark Plug Wires
Now that we have successfully removed the old spark plug wires, it’s time to install the new ones. Follow these simple steps to ensure a smooth and effective installation process:
- Match the wires: Start by matching each new spark plug wire with the corresponding old wire that you removed. This is important to ensure that you don’t mix up the order and create potential misfires. Double-check that the lengths of the new wires match the old ones.
- Attach one end to the spark plug: Take one of the new spark plug wires and connect it to the spark plug. Make sure it fits securely and is pushed all the way onto the spark plug. A loose connection can result in poor performance and misfires. Repeat this step for each spark plug.
- Connect the other end to the ignition coil: Once all the spark plugs are connected, move on to the other end of the wires. Locate the ignition coil, which is usually located near the engine or on the firewall. Attach the opposite end of each spark plug wire to the corresponding terminal on the ignition coil. Ensure a snug and secure connection.
- Organize the wires: Take a moment to organize the spark plug wires neatly, making sure they are not tangled or in contact with any hot surfaces. Properly routing the wires will help prevent interference and ensure optimal performance.
- Repeat for remaining wires: Repeat the above steps for each of the remaining spark plug wires, following the correct order and ensuring secure connections at both ends.
Congratulations! You have successfully installed the new spark plug wires in your vehicle. By doing this simple maintenance task, you can prevent misfires and ensure that your engine is running efficiently.
Remember, if you are unsure or uncomfortable with this process, it is always best to seek the assistance of a qualified mechanic.
Step 5: Test the New Spark Plug Wires
After installing the new spark plug wires, it is important to test them to ensure that they are functioning properly. Testing the wires will help prevent misfires and ensure that your engine is running at its best. Here are the steps to test your new spark plug wires:
1. Start the engine: Begin by starting your vehicle’s engine. Allow it to idle for a few minutes to warm up.
2. Observe for any misfires: Pay close attention to how the engine is running. Look for any signs of misfires such as a rough idle, hesitation, or a loss of power. If you notice any of these symptoms, it may indicate that there is an issue with the spark plug wires.
3. Conduct a visual inspection: Take a close look at the spark plug wires. Check for any visible signs of damage or wear, such as cracks, fraying, or corrosion. If you notice any of these issues, it may be necessary to replace the wires again.
4. Use a spark tester: To further test the spark plug wires, you can use a spark tester. This tool will allow you to check if there is a strong spark being produced by each wire. Follow the instructions provided with the spark tester to perform the test.
5. Check for consistent spark: While testing each spark plug wire, ensure that there is a consistent spark being produced. Inconsistent spark or a weak spark may indicate a problem with the wire.
6. Repeat the process: If you find any issues with the spark plug wires or if any misfires are detected, it is important to repeat the installation process and ensure that the wires are properly connected at both ends.
By following these steps and testing your new spark plug wires, you can prevent misfires and keep your engine running smoothly. If you are unsure or uncomfortable with the process, it’s always best to seek the assistance of a qualified mechanic. Now, let’s move on to the next step to complete the installation.
Conclusion
Testing and replacing spark plug wires is an essential maintenance task that can prevent misfires and ensure optimal engine performance. In this article, we have provided step-by-step instructions on how to test and replace spark plug wires, highlighting the importance of this process.
By following the outlined steps, you can easily test the new spark plug wires after installation. This includes observing for misfires, conducting a visual inspection, using a spark tester, and checking for consistent spark. These tests will help you identify any issues and ensure that the wires are functioning properly.
Remember, if you encounter any problems during the installation or testing process, it’s always a good idea to seek the assistance of a qualified mechanic. They have the expertise and tools to diagnose and address any issues that may arise.
By regularly testing and replacing spark plug wires, you can prevent misfires caused by worn-out wires and keep your engine running smoothly. So, don’t overlook this important maintenance task and enjoy the benefits of a well-maintained engine.