Testing a boost pressure sensor is crucial for maintaining the performance of turbocharged and supercharged engines. We’ll guide you through the process, ensuring you can pinpoint issues before they turn into costly repairs.
We understand the importance of accurate sensor readings for engine efficiency. That’s why we’re here to help you perform reliable checks on your boost pressure sensor, keeping your ride running smoothly.
Join us as we dive into the nitty-gritty of boost pressure sensor testing. We’ll make it simple, whether you’re a seasoned gearhead or a curious car owner looking to learn more about your vehicle’s inner workings.
Understanding Boost Pressure Sensors
When delving into the world of turbocharged and supercharged engines, knowing what a boost pressure sensor does is crucial for our maintenance regimen. This component is vital for reading the pressure inside the intake manifold, which fluctuates based on how much boost the turbo or supercharger is creating.
Boost pressure sensors function by sending data to the engine’s control unit (ECU). This data is pivotal for the ECU to adjust fuel injection and ignition timing correctly. Here’s what we need to keep an eye on when dealing with these sensors:
- Voltage Range: Typically, a boost pressure sensor operates within a specific voltage range to ensure accurate readings.
- Pressure Range: It’s designed to measure pressure over a broad spectrum, which is critical for engines operating under various conditions.
- Temperature Compensation: As temperature affects air density, sensors often include compensation for temperature changes to maintain accuracy.
But why test a boost pressure sensor in the first place? Let’s look at the primary reasons:
- To check for consistent sensor performance which is key for optimal fuel combustion and engine power output.
- To uncover any potential issues that could lead to engine inefficiency or damage if left unaddressed.
Identifying a malfunctioning sensor early can save us from a heap of trouble. Symptoms such as erratic idling, power loss, or check engine lights can suggest a sensor issue. Regular checks are not just about prevention; they help us understand the health of our vehicle’s engine.
To ensure that our testing is effective, we’ll need some basic tools:
- A multimeter to measure voltage and resistance.
- A vacuum pump for simulating various engine loads and conditions.
- Access to the vehicle’s service manual for specific sensor readings typical for our engine type.
By keeping these tools handy and learning how to interpret the readings, we empower ourselves to maintain our engines and potentially avoid costly repairs down the road. This knowledge can be a game-changer for our vehicle’s longevity and performance.
Why Testing Boost Pressure Sensors is Important
When we’re talking about turbocharged and supercharged engines, the boost pressure sensor plays a pivotal role. Its primary function is to monitor the air pressure within the intake manifold and feed this data back to the Engine Control Unit (ECU). Why is this essential? Well, the ECU relies on this data to optimize fuel delivery and ignition timing, which are key to maintaining an engine’s performance.
- Accurate Air-Fuel Ratio: The sensor’s readings directly affect the air-fuel mixture. A faulty sensor could lead to a mixture that’s too rich or too lean, affecting performance and emissions.
- Prevent Engine Damage: High-performance engines are finely tuned machines. Incorrect readings from a failing boost pressure sensor can lead to knock, pre-detonation, or even engine failure.
- Fuel Efficiency: A properly functioning sensor contributes to optimal fuel consumption. This is because the ECU adjusts fuel delivery based on accurate boost pressure readings.

Considering these points, there are a few standout reasons we insist on regular testing of boost pressure sensors:
- Detect Performance Issues: Before a complete sensor failure occurs, its performance may degrade. This can be seen in uneven acceleration or a decrease in power. Regular testing can help catch these issues early.
- Save on Costly Repairs: Detecting a failing sensor and replacing it promptly can prevent additional damage to the engine that would result in more expensive repairs down the road.
- Regulatory Compliance: Automotive regulations are getting stricter, especially concerning emissions. A well-functioning boost pressure sensor is vital to ensure that vehicles meet these standards.
Let’s expand a bit on the symptoms that may indicate it’s time for a boost pressure sensor check. If we’re noticing symptoms such as engine misfires, surging power, or even a check engine light, it could very well point toward a sensor issue. Here’s when we dive into testing, using tools like a multimeter and vacuum pump, to confirm the health of our boost pressure sensor and keep our engine running smoothly.
Tools Needed for Testing a Boost Pressure Sensor
When we’re set to test the boost pressure sensor on our vehicle, gathering the right tools is the first step. Accurate diagnosis hinges on having the necessary gadgets at our disposal. Let’s go through the essential items we’ll need to perform an effective check on the sensor.
Key Diagnostic Tools
To approach this process methodically, here’s a concise list of equipment that should be on hand:
- Multimeter: This versatile tool allows us to check the sensor’s voltage and resistance, helping us determine its health.
- Vacuum Pump: By simulating the engine’s boost conditions, a manual or electric vacuum pump is instrumental in verifying the sensor’s operation.
- OBD-II Scanner: For modern cars with onboard diagnostics, an OBD-II scanner can read codes and live data, revealing issues related to the boost pressure sensor.
Supplementary Equipment
To complement our key tools, we should also have:
- A selection of wrenches and screwdrivers for sensor removal if required.
- A vehicle service manual specific to our car’s make and model, providing guidelines and specifications for the sensor.
- A clean, well-lit workspace to ensure that we don’t overlook any details.
Preparing for the Test
Before diving into the actual testing, we need to ensure that our vehicle is parked on a flat surface and that we’ve taken safety precautions, like disconnecting the battery. Double-checking the service manual can save us from potential mishaps due to unknown or unconventional setup peculiarities.
We believe in empowering every car owner with the knowledge to conduct their vehicle maintenance. Equipped with these items, we’re ready to start the diagnostic procedure, following the steps meticulously for a reliable assessment of the sensor’s performance.
Maintaining our vehicle’s components not only safeguards its operation but also educates us on the complex interplay of modern automotive systems. By handling tasks such as testing the boost pressure sensor ourselves, we stay informed about our vehicle’s condition and gain a greater sense of ownership over the maintenance process.
Step-by-Step Guide to Testing a Boost Pressure Sensor
When we’re ready to test the boost pressure sensor, it’s essential to follow a precise, methodical approach. Let’s begin:
- Ensure Safety: Before diving into the testing process, we confirm the engine is off and the vehicle is in park or neutral with the parking brake engaged. Safety glasses and gloves are worn to protect against accidental injury.
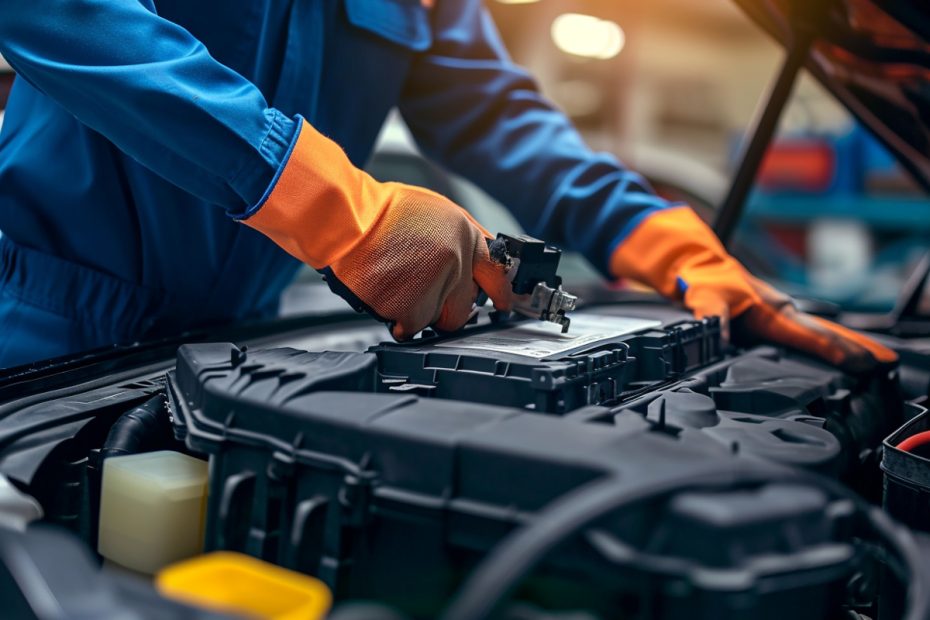
- Locate the Sensor: Usually found attached to the intake manifold, we locate the boost pressure sensor. We refer to the vehicle’s service manual for exact positioning as it can vary between models.
- Inspect the Sensor Visually: Any signs of damage, such as cracks or wear, on the sensor are noted. Electrical connections are checked for security and the absence of corrosion.
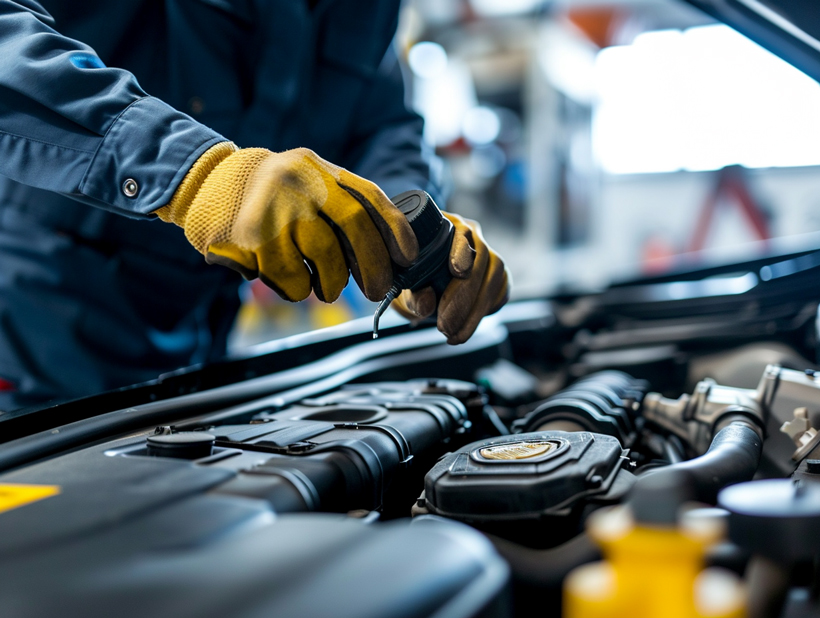
- Check the Voltage: We connect a digital multimeter to the sensor’s wiring according to the service manual’s specifications. The key is turned to the “On” position, but the engine isn‚Äôt started. Our goal is to measure the sensor’s voltage and ensure it aligns with the specifications.
- Perform a Manual Pressure Test: Using our vacuum pump, we apply pressure to the sensor and monitor how the voltage changes on the multimeter. The readings should vary corresponding to the pressure applied if the sensor is functioning properly.
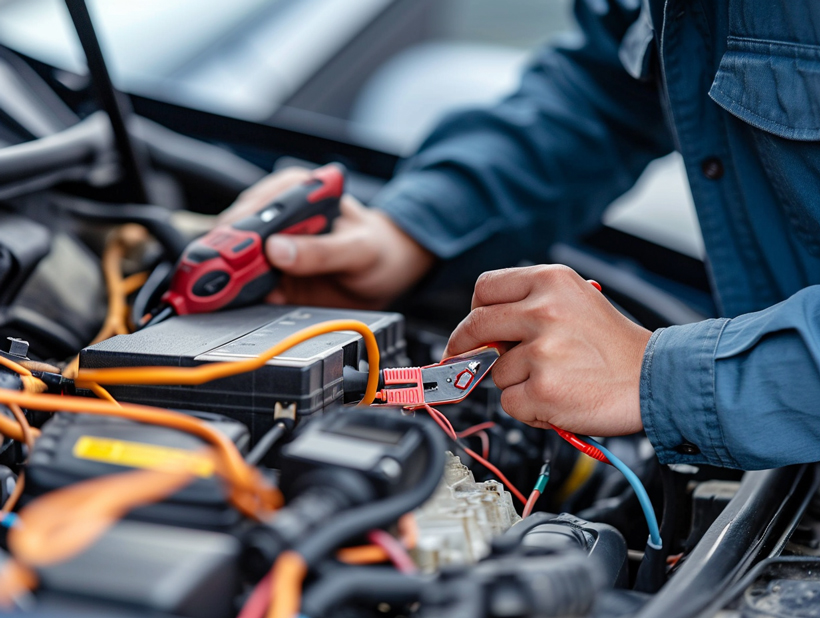
- Analyze Scan Tool Data: An OBD-II scanner is connected to interface with the car’s ECU. We observe the boost pressure readings during engine operation and compare them with the manual test results to ensure consistency.
Readings and Diagnosis
For clarity, here’s what we expect from a healthy boost pressure sensor:
| Condition | Expected Reading |
|---|---|
| Idle | Low voltage due to minimal boost pressure |
| Pressure | Voltage increases with rising pressure |
If the voltages recorded during the manual test and the OBD-II scanner’s data align within the manufacturer’s specified range, the sensor is likely in good shape. Deviation from these values could signal a sensor malfunction.
Final Steps Before Reassembly
After completing the tests, we make sure the sensor and wiring are returned to their original position and secured properly. It’s vital to clear any diagnostic codes that may have been set during testing using the scanner before we consider the test complete. This ensures the vehicle’s ECU is reset, and any troubleshoot codes related to our maintenance have been cleared.
Common Issues and Troubleshooting
When tackling boost pressure sensor problems, we often encounter a handful of common issues. Familiarizing ourselves with these can expedite our troubleshooting process.

Incorrect Readings and Potential Causes
Sometimes, the boost pressure sensor might give incorrect readings. Here’s what might be causing such discrepancies:
- Vacuum Leaks: Broken or worn vacuum lines can lead to false readings.
- Wiring Issues: Frayed or corroded wires might affect sensor output.
- Sensor Contamination: Dirt or oil on the sensor can skew the results.
Vacuum Leaks
Let’s delve into vacuum leaks, often marked by a hissing sound or a check engine light. These leaks can cause the turbo or supercharger to work overtime, throwing off sensor readings. We’ll want to thoroughly check all connection points and hoses.
Wiring and Electrical Connections
Wiring problems can be tricky. To confirm that the issue lies here, we’ll check for:
- Damaged connectors or wires
- Poor grounding points
- Faulty connections at the sensor
A multimeter comes in handy to check for continuity and proper voltage supply to the sensor.
Sensor Blockage
Over time, the sensor might get clogged with debris. We should clean the sensor using appropriate cleaners and methods specific to the sensor type without damaging it.
Other Diagnostic Approaches
Beyond visual inspection and manual checks, we can also consider the following:
- Sensor Calibration: Ensuring the sensor is calibrated correctly per the manufacturer’s specifications.
- Boost Leak Tester: This device allows us to pressurize the intake system and identify any leaks accurately.
- Replacement Sensors: If the original sensor is faulty, comparing its performance to a known good sensor can be revealing.
By methodically working through these common issues, we strengthen our understanding of the problem at hand and move closer to a solution. Each step brings us more information and directs us toward the next logical action in our diagnostic journey.
Conclusion
We’ve armed you with the knowledge to tackle boost pressure sensor issues head-on. Remember, a methodical approach is key to diagnosing and fixing problems effectively. Whether it’s a vacuum leak or a wiring mishap, we’re confident you now have the tools to restore your turbo or supercharger sensor to peak performance. Trust in your newfound skills and don’t hesitate to revisit our guide whenever you need a refresher. With patience and precision, you’re well on your way to mastering the art of boost pressure sensor troubleshooting.