
Fuel injectors are the unsung heroes of our vehicle’s engine, ensuring that just the right amount of fuel mixes with air for efficient combustion. But when they’re not working properly, it can spell trouble for your engine’s performance and your wallet. I’ve been through the frustration of diagnosing engine issues, and I know how vital it is to pinpoint the problem quickly.
Testing fuel injectors might seem daunting, but it’s a crucial skill I’ve honed to keep my ride running smoothly. Whether you’re a seasoned gearhead or a curious car owner, understanding how to test your fuel injectors can save you time and money. Let’s dive into the tell-tale signs of injector issues and explore some simple methods to test their performance.
Signs of Fuel Injector Problems
When it comes to maintaining your vehicle’s engine, understanding the symptoms of failing fuel injectors is imperative. As a critical component, fuel injectors that don’t perform correctly can lead to a range of issues affecting your driving experience and vehicle health. Let me share the common signs that might indicate a problem with your fuel injectors:
Engine Performance Issues
The clearest indication of trouble is a decline in engine performance. Here’s what to look out for:
- A noticeable lack of power when accelerating
- An engine that stumbles or hesitates when you apply the throttle
- An engine that idles roughly or stalls
- Surging and bucking under various throttle loads
Fuel Efficiency Decrease
Another red flag is a drop in fuel efficiency. If your fuel injectors are clogged or leaking, they won’t deliver the correct fuel spray pattern or amount, leading to:
- Increased fuel consumption
- A significant decrease in miles per gallon
Emissions and Odor
Faulty injectors can also cause your vehicle to fail an emissions test due to:
- Higher levels of unburned fuel exiting the exhaust
- More pollutants being emitted than usual
Additionally, you might notice a strong fuel smell around your vehicle, signalling a potential fuel leak from an injector.
Check Engine Light
One of the most common alerts comes when your Check Engine Light turns on. Many modern vehicles can diagnose a failing injector or one that’s outside of its operational parameters, triggering the warning light.
Misfires and Noises
Lastly, faulty injectors can lead to engine misfires, which are often accompanied by:
- A popping noise from the engine bay
- A knocking sound that coincides with the engine misfires
Understanding and recognizing these telltale signs is a solid foundation for diagnosing fuel injector issues. Equipped with this knowledge, you’re better prepared to delve into testing and ensuring each injector’s optimal performance.
Tools You’ll Need

Before diving into fuel injector testing, it’s crucial to equip yourself with the right tools. Gathering these tools not only ensures accuracy in diagnosis but also keeps you safe during the process. Here’s what you’ll need:
- Fuel Pressure Gauge: This device will help you measure the pressure in the fuel rail, which is vital for identifying if injectors are delivering the correct amount of fuel.
- Noid Light: A noid light is used to confirm if the electrical signal is reaching the fuel injector. It’s an essential tool for pinpointing electrical faults.
- Ohm Meter: With an ohm meter, you can check the electrical resistance of each injector to assess if it’s within the specified range.
- Injector Cleaner Kit: An injector cleaner kit can help you flush out any clogs or debris within the injectors without needing to remove them from the engine.
- Screwdrivers and Wrenches: Various sizes may be necessary to remove components for access to the fuel injectors.
Before starting, I always ensure my work area is well-ventilated and that I’m wearing safety goggles and gloves. Fuel injector diagnosis can involve exposure to fuel and chemicals, so personal protective equipment is a must. It’s also invaluable to have the vehicle’s repair manual handy. It’ll guide you on the specified resistance values for your injectors and provide detailed steps on accessing them.
Once I have these tools ready, I feel confident to proceed with testing each fuel injector. Performing the tests accurately requires a steady hand and a bit of patience, but with the right tools by your side, you’ll navigate the process with more ease. Starting with the fuel pressure gauge gives a good baseline reading of the system’s health before moving on to test the electrical aspects of the fuel injectors with a noid light and ohm meter.
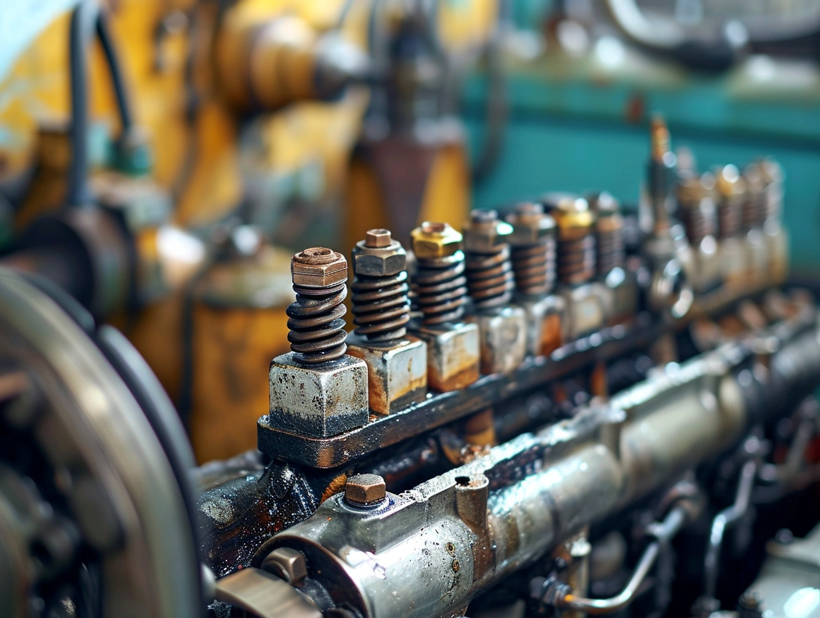
Method 1: Visual Inspection and Listening Test
Before I delve into the technical aspect of fuel injector testing, it’s wise to start with the basics: a visual inspection and listening test. These methods are straightforward and can often reveal issues without the need for specialized tools.
When I’m assessing fuel injectors, the first thing I do is look for any Signs of External Damage. This includes checking for:
- Cracks or breaks in the injector body
- Signs of fuel leaks around the injector
- Damage to the electrical connector or wiring
If any of these issues are evident, it’s a clear indication that there’s a problem that needs immediate attention.
Once a thorough visual inspection is complete, I perform a Listening Test. This process involves me using a mechanic’s stethoscope‚Äîa simple but effective tool‚Äîto listen to each injector’s operation. A functioning injector will make a distinct clicking sound as it opens and closes. If I don’t hear this clicking, or if it’s irregular, that’s a red flag.

Even without a stethoscope, I can still conduct this test by using a long screwdriver. I place the metal end against the injector and my ear against the handle, listening for the same clicking sound. This method isn’t quite as sensitive as using a stethoscope, but in many cases, it’s sufficient to detect problems.
Should the visual inspection or listening tests reveal potential issues, it’s important to proceed with more in-depth diagnostic tests. Think of these initial steps as the first line of defense, a means to catch any glaring issues before moving on to using the more detailed diagnostic tools like a fuel pressure gauge, noid light, and ohm meter. These instruments will provide a more definitive answer on the health of the fuel injectors but starting simple can save time and effort.
Method 2: Fuel Pressure Test
After checking the basics through a visual inspection and a listening test, it’s time to delve a bit deeper with a fuel pressure test. This test can provide a clearer picture of the health of the injectors and help pinpoint where any failures might lie within the fuel system.
Gathering Tools and Preparing the Vehicle
To perform a fuel pressure test, I’ll need a few specific tools:
- Fuel pressure gauge
- Vehicle service manual
- Gloves and safety glasses for protection
I always make it a point to consult the vehicle’s service manual before I start. It contains crucial information such as the recommended fuel pressure range for the engine. Safety can’t be overlooked, so I’m diligent about wearing gloves and safety glasses to protect myself from any fuel that might be released during the test.
Performing the Fuel Pressure Test
Here’s how I execute the fuel pressure test step-by-step:
- Locate the fuel pressure test port, which is typically found along the fuel rail.
- Connect the fuel pressure gauge to the test port.
- Turn on the ignition to power the fuel pump; this can usually be done by turning the key to the ‘on’ position without starting the engine.
- Read the pressure indicated on the gauge and compare it to the specification in the service manual.
| Step | Action | Expected Result |
|---|---|---|
| 1 | Locate and connect the gauge | Gauge securely attached |
| 2 | Turn on the ignition | Fuel pump activates |
| 3 | Read the pressure gauge | Pressure within the specified range |
If the pressure is outside the recommended range, it’s a strong sign that there may be an issue such as a clogged injector, a faulty fuel pump, or a problem in the fuel pressure regulator. By using this method, I can rule out or identify any related concerns that could be impacting engine performance.
Interpreting the Results
The reading I get from the fuel pressure gauge tells me a lot. A low pressure reading suggests a fuel delivery problem, which might stem from a clogged filter or failing fuel pump. On the flip side, high pressure could indicate a malfunctioning pressure regulator or blocked return line. Each reading prompts me to consider various potential faults in the system, allowing for a methodical approach to pinpointing and addressing the issue.
Method 3: Injector Flow Test
After you’ve determined the fuel pressure is within specs, it’s time to move on to the injector flow test. This procedure is more involved but provides critical insights into each injector’s performance. Here’s how I tackle this method:
Prepare Your Vehicle and Workspace
To start, make sure your vehicle is turned off and safely parked. You’ll want to work in a well-lit, ventilated area as you’ll be dealing with fuel. Gather the necessary tools, including the injector flow test kit, safety equipment, like gloves and glasses, and a container to catch fuel.
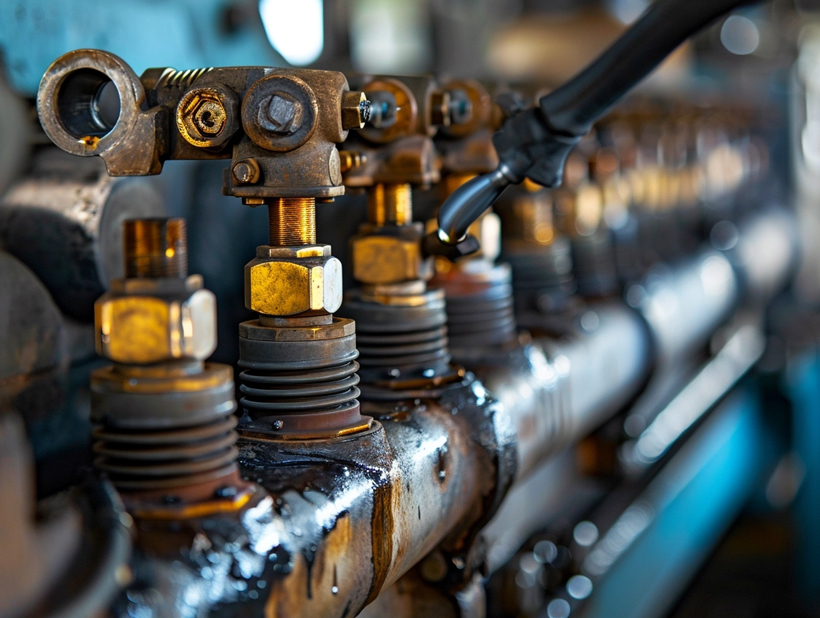
Remove the Fuel Rail
The first step is to carefully remove the fuel rail along with the injectors. This requires precision as any damage could lead to more significant problems. Make sure to keep the injectors connected to the fuel rail, and if they need to be disconnected, label each one to ensure proper reinstallation.
Conduct the Test
Now it’s time to get down to the nitty-gritty:
- Set up your flow test kit according to the manufacturer’s instructions.
- Place the measuring container under each injector to catch the expelled fuel.
- Activate the injectors for a specific duration, this is often done using a dedicated tester that pulses the injectors.
Compare the Results
Once the test runs its course, it’s time to compare results. Ideally, you’re looking for an even flow from each injector. If there’s a disparity, it could be an indication of clogging or an injector malfunction. Here’s a basic table representing what your results might look like:
| Injector # | Flow Measurement |
|---|---|
| 1 | 25 ml |
| 2 | 24 ml |
| 3 | 23 ml |
| 4 | 15 ml |
In this scenario, Injector 4 clearly isn’t performing on par with the others. A difference of 1-2 ml can be normal, but a significant variance suggests that the injector may be clogged or damaged. Further investigation or replacement would be the recommended course of action.
Remember, precise measurements and careful observations during the injector flow test can pinpoint issues that aren’t always apparent during a standard inspection. It’s all about the details when you’re trying to maintain the health of your vehicle’s fuel system.
Conclusion
Testing fuel injectors is crucial for maintaining optimal engine performance. I’ve walked you through the intricacies of the fuel pressure test and the injector flow test, two reliable methods to diagnose and pinpoint issues. Remember, accurate pressure readings can reveal a lot about injector health while the flow test offers a deeper dive into each injector’s efficiency. Tackling these tests with precision and attention to detail ensures your vehicle’s fuel system runs smoothly. Armed with this knowledge, you’re now well-equipped to identify and address fuel injector failures, safeguarding your engine’s longevity and reliability.