
When that pesky check engine light pops on, it’s like your car’s cry for help. We’ve all been there, staring at the dashboard, wondering what’s gone wrong now. But don’t fret‚Äîwe’re here to guide you through the maze of unknown check engine light causes.
Understanding what’s under your hood can seem daunting, but with a code reader, it’s easier than you might think. We’ll show you how to use this handy tool to tap into your car’s diagnostic system, providing you with the insights needed to address those mysterious issues.
Armed with a code reader and a bit of know-how, you’re on your way to becoming your vehicle’s own personal detective. Let’s decode those cryptic messages and turn that check engine light from a source of stress into a problem solved.
Common Check Engine Light Causes
When a check engine light illuminates, it often indicates a range of potential issues that can vary from minor to severe. Through the use of a code reader, we’re able to narrow down the possibilities. Let’s delve into some common causes that trigger the check engine light.
- Loose Gas Cap: A gas cap that isn’t sealed correctly can lead to fuel vapors leaking into the atmosphere, causing the check engine light to come on.
- Oxygen Sensor Failure: This sensor measures the amount of unburned oxygen in the vehicle’s exhaust system. If it fails, it can lead to decreased fuel economy and increased emissions.
- Faulty Catalytic Converter: The catalytic converter helps protect our environment by converting harmful carbon monoxide into carbon dioxide. Damage to this component can result in a significant drop in performance.
- Spark Plug/Ignition Coil Issues: Worn or faulty spark plugs or ignition coils can cause misfires, poor acceleration, and reduced power.
Here’s a quick rundown of the data surrounding these issues:
| Cause | Possible Symptoms | Potential Cost to Fix |
|---|---|---|
| Loose Gas Cap | None to Minor | $0 – $25 |
| Oxygen Sensor Failure | Poor Mileage, Rough Idle | $200 – $500 |
| Faulty Catalytic Converter | Reduced Performance, Failed Emission Test | $1000 – $2500 |
| Spark Plug/Ignition Coil Issues | Misfires, Poor Acceleration | $100 – $400 |
Acknowledging these common triggers is the first step in understanding the root cause of a check engine light warning. Armed with our code reader, we can investigate further to determine whether the issue is a quick fix or if it requires more extensive repairs. Diagnostic codes pulled from the car’s system shouldn’t be overlooked, as they provide the insights needed to address the issue efficiently.
By staying attentive to changes in our vehicle’s performance and conducting regular maintenance checks, we manage to prevent some of these issues from escalating. Remember that timely interventions can save us significant amounts in potential repair costs and help maintain the longevity and performance of our beloved vehicles.
Understanding Code Readers
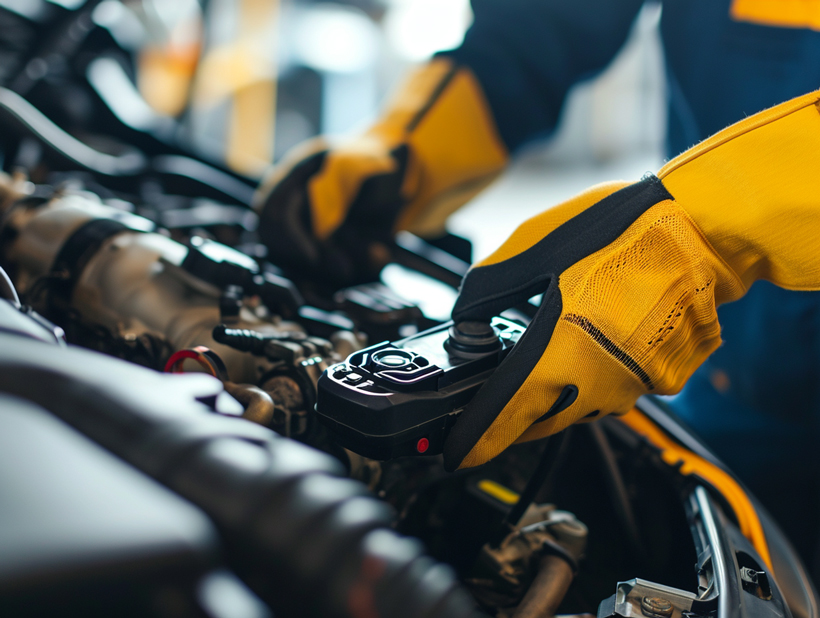
When delving into the intricacies of a check engine light issue, using a code reader becomes a pivotal step. Essentially, a code reader is a specialized tool that plugs into your car’s onboard diagnostics port, often referred to as OBD-II. This handy device reads Diagnostic Trouble Codes (DTCs) that have been logged by your car’s computer, offering a starting point for diagnosing problems.
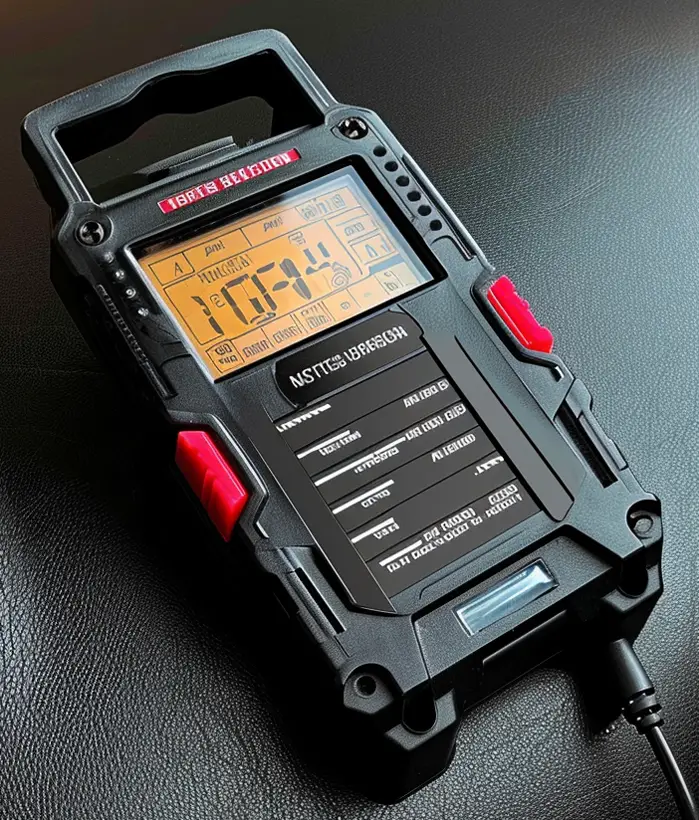
There are several types of code readers available:
- Basic Code Readers: These provide the raw codes which reference specific issues but may not offer detailed explanations.
- Advanced Scanners: Offer comprehensive data, including a description of the codes, live feed of engine parameters, and potential troubleshooting steps.
- Professional-Grade Tools: Used by mechanics and feature the most extensive range of functions, such as advanced diagnostics and predictive failure analysis.
Using a code reader is straightforward:
- Locate your car‚ OBD-II port, commonly under the dashboard near the steering column.
- Plug in the code reader and turn on your ignition to the accessory position.
- Follow the device‚ prompts to retrieve the codes.
- Note down the codes for further investigation or cross-reference them with a reliable database.
Understanding what the codes represent is crucial; they generally start with a letter followed by four numbers. The letter indicates the system related to the fault:
| Letter | System |
|---|---|
| P | Powertrain (engine and transmission) |
| B | Body (includes things like power seating or airbags) |
| C | Chassis (includes the frame, brakes, and suspension) |
| U | Network and Vehicle Integration (onboard computer and wiring systems) |
Armed with the DTCs, you can narrow down the potential causes of your check engine light. But remember, these codes are just the tip of the diagnostic iceberg. They lead us to problem areas but don’t specify the exact failing component. For that, further investigation or professional expertise is often required.
Moreover, while a code reader can provide valuable insights, it’s also important to pair the gathered data with any symptoms your car might be showing. Unusual noises, odd smells, or changes in performance can all offer additional clues that, when combined with our DTCs, help us piece together a more complete understanding of our car’s health.
Choosing the Right Code Reader
When we’re faced with a perplexing check engine light, the right code reader can make all the difference. There’s a wide array of options on the market, and picking the best fit requires us to consider several key factors.
Firstly, let’s evaluate the compatibility of the code reader with our vehicle. Modern cars typically support OBD2 protocols, but if we’re working with a model manufactured before 1996, we’ll need an OBD1 reader. To ensure a seamless connection, it’s advisable to check the code reader’s specifications against our car’s make, model, and year.
Next, the functionality of the code reader is paramount. Basic models can read and clear codes, whereas more advanced units offer live data streaming, readiness monitors, and even predictive analysis. Our decision should align with our level of expertise and the depth of diagnostic features we require.
Consider these features when choosing a code reader:
- Ease of use: Is the interface user-friendly?
- Update frequency: How often can the software be updated?
- Data storage: Can the reader store diagnostic information for later review?
- Support and warranty: What kind of customer support is provided, and is there a warranty?
Prices vary widely among code readers, reflecting their range in complexity. Simple readers may cost as little as $20, while more sophisticated tools can approach several hundred dollars. It’s important to find a balance between budget constraints and the diagnostic capabilities we need.
Here’s a breakdown of common price ranges for code readers:
| Feature Set | Price Range (USD) |
|---|---|
| Basic Readers | $20 – $50 |
| Intermediate Readers | $50 – $150 |
| Advanced Readers | $150 – $500+ |
By considering these aspects, we ensure that we invest in a code reader that not only serves our immediate needs but also stands ready for future challenges. It’s all about pairing the right technology with our skill set and the specific requirements of our vehicle. With the right tool in hand, demystifying those cryptic codes becomes a straightforward task.
Connecting and Using a Code Reader
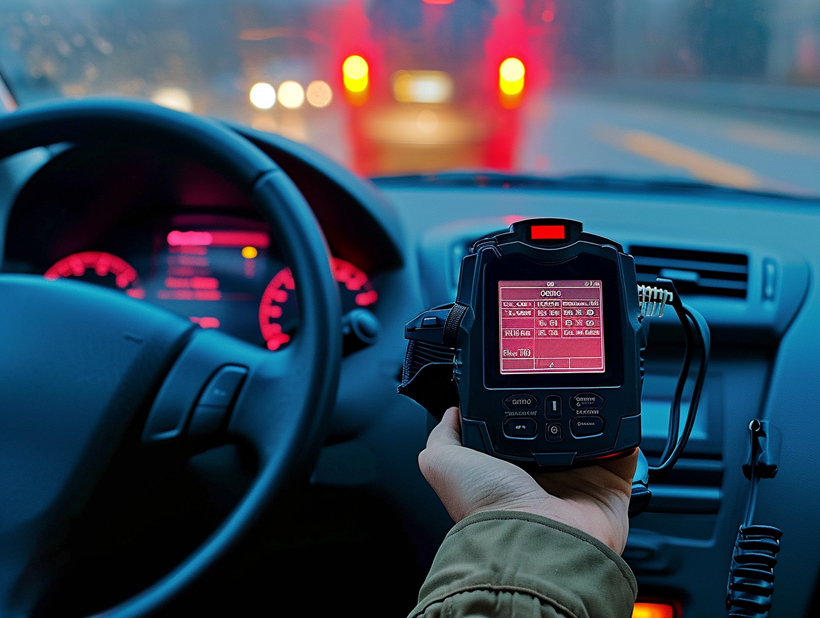
When it’s time to delve into the unknown issues triggered by the check engine light, a code reader becomes an invaluable tool. Navigating the use of this gadget might seem daunting at first, but we’ll walk you through the basic steps to ensure you’re well-equipped to handle this part of the diagnostic process.
Initial Setup
Before we can begin diagnosing, initial setup is crucial. Here’s how we generally prepare:
- Vehicle Preparation: Ensure the vehicle is in park or neutral with the engine off.
- Code Reader Inspection: Examine the code reader for any physical damage which could affect functionality.
- Manual Review: Peruse the user manual to familiarize ourselves with the device-specific procedures.
Connecting the Code Reader
Once we’re ready to connect, it’s straightforward. Most vehicles have an OBD-II port under the dashboard near the steering wheel. It’s here we plug in the reader, ensuring it’s firmly seated.
- Turn the vehicle’s ignition to the ‘On’ position without starting the engine‚Äîthis powers the electrical systems, including the diagnostic port.
- The code reader should power on, and we may need to enter specific vehicle information like make, model, and year if prompted.
Interpreting the Codes
After the setup, the reader will scan the vehicle’s system for error codes.
- Code Identification: Each code consists of a combination of letters and numbers indicating where the problem lies.
- Analysis: Cross-reference these codes with the code reader’s manual or an online database to interpret their meaning.
- Further Diagnostics: Sometimes, a single code might suggest multiple potential issues, making further investigation necessary.
Moving on to troubleshooting these issues may involve additional tests or inspection. We keep an eye out for multiple error codes as they can offer clues towards a larger underlying problem. With patience and careful analysis, we use these codes as a starting point to guide our next steps in the diagnostic journey.
Interpreting Diagnostic Trouble Codes (DTCs)
Once we’ve successfully connected our code reader and retrieved the Diagnostic Trouble Codes (DTCs), it’s crucial to understand what these codes signify. DTCs are alphanumeric codes that the vehicle’s system generates when it detects irregularities or malfunctions. Each code corresponds to a specific fault within the vehicle, providing us with a pinpointed starting point for our diagnostics.
DTCs typically begin with a letter followed by four numbers. The letter indicates the system related to the fault:
- P for Powertrain, which includes the engine and transmission
- B for Body, affecting areas like power seating or airbags
- C for Chassis, which encompasses functions such as braking and steering
- U for Network and Vehicle Integration, covering issues with wiring or data networks
Given these codes, here’s how we decipher the subsequent digits:
- The first number tells us if the code is generic (0) or manufacturer specific (1)
- The second number pinpoints the system subset, such as fuel management for the Powertrain
- The last two numbers identify the specific error or fault
We‚Äôll often find that a DTC points us toward a particular sensor or system that’s malfunctioning. However, it‚Äôs worth noting that a single issue can trigger multiple codes, and some codes can be symptomatic of more than one problem.
Here’s an example of interpreting a common code:
| Code | System | Subsystem | Problem |
|---|---|---|---|
| P0301 | Powertrain | Ignition System | Cylinder 1 Misfire |
This indicates that Cylinder 1 in our engine is misfiring, and we’ll want to inspect components like spark plugs, ignition coils, and fuel injectors related to that cylinder.
Additionally, it’s important to gather data on when the fault occurs. Factors such as engine temperature or vehicle speed at the time of the malfunction can reveal more about the underlying issue. Some advanced code readers can provide real-time data, which is invaluable for understanding intermittent problems.
When reviewing the DTCs, don’t jump straight to replacing parts. Further testing is essential to confirm the root cause‚Äîa code indicating an oxygen sensor issue doesn’t necessarily mean the sensor itself is defective. It could be related to fuel mixture problems or an exhaust leak, affecting the sensor’s readings. Always double-check to ensure accurate diagnostics.
Troubleshooting Common DTCs
When the check engine light illuminates, connecting a code reader may uncover Diagnostic Trouble Codes that signify different types of issues with the vehicle. Common DTCs often include codes related to the engine, transmission, emissions systems, and other vital components. We’ll walk through the process of troubleshooting some of these codes to better understand what your car might be signaling.
To begin, let’s look at a few examples:
- P0300: This code indicates a random/multiple cylinder misfire. It’s a signal that one or more cylinders are not firing properly, affecting the engine’s performance. Troubleshooting this issue may involve inspecting the spark plugs, ignition coils, and fuel system.
- P0171: Signifying a system too lean (Bank 1), this code suggests that there’s too much air and not enough fuel in the air-fuel mixture. Potential causes include vacuum leaks, faulty fuel injectors, or a failing oxygen sensor.
In confronting these issues, we should proceed methodically:
- Verify the DTC with a reliable code reader to ensure accuracy.
- Check the related technical service bulletins (TSBs) for any known issues specific to your vehicle model.
- Inspect the most common culprits corresponding to the particular DTC, such as sensors, wiring, or mechanical components.
To make matters simpler, here’s a breakdown of common DTC categories and their usual suspects:
| DTC Range | System | Typical Issues |
|---|---|---|
| P0001-P0099 | Fuel and Air Metering and Auxiliary Emission Controls | Fuel pump, air filter, mass air flow sensor |
| P0100-P0199 | Fuel and Air Metering | Oxygen sensors, injectors |
| P0200-P0299 | Injector Circuit/Fuel | Wiring, injector circuitry |
| P0300-P0399 | Ignition System or Misfire | Spark plugs, ignition coils |