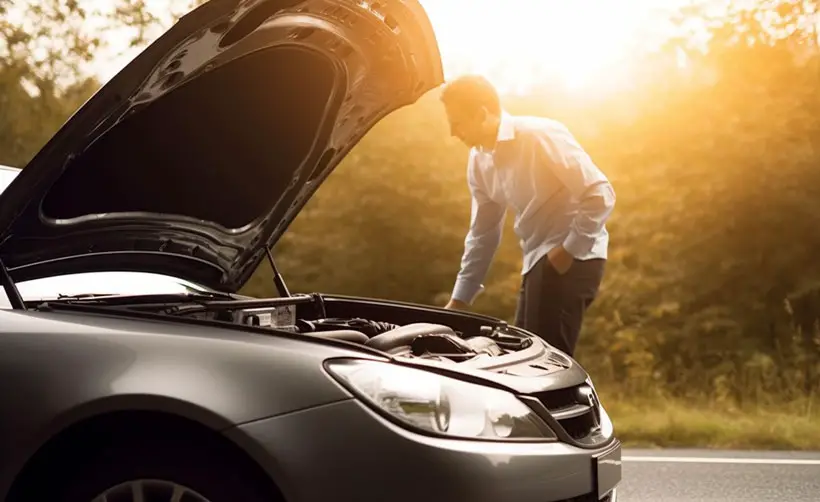
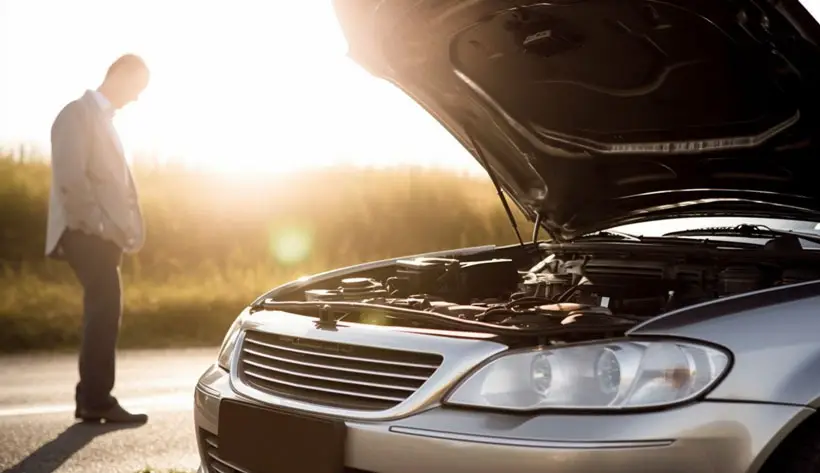
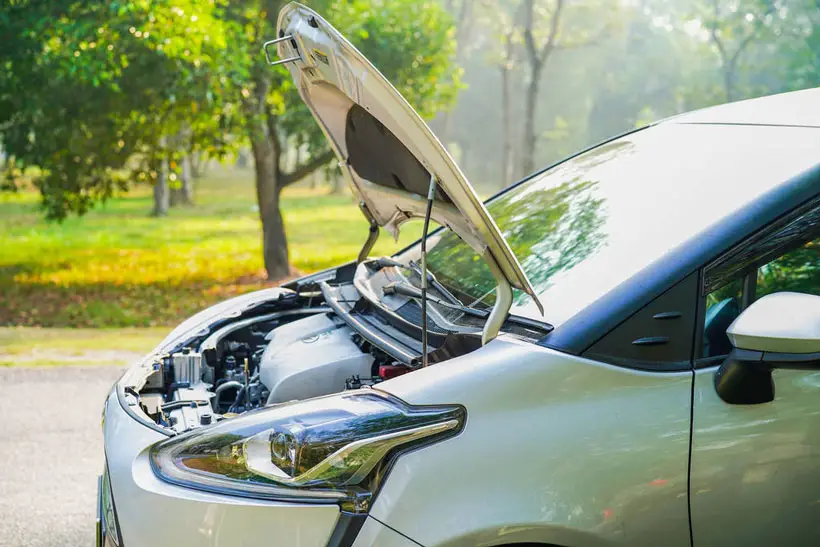
Engine coolant is an essential fluid for the proper functioning of a vehicle’s engine. However, it can be frustrating when the coolant level keeps dropping without any visible signs of a leak or other issues.
If you find yourself constantly topping up the coolant level in your vehicle, you may ask why does my engine coolant keep disappearing? The common causes of engine coolant disappearance include
- Coolant leaks
- Blown head gaskets
- Damaged radiators
- Faulty water pumps
In this article, we will explore these common causes and solutions to these causes to address engine coolant disappearance. We will also discuss the diagnosis process available for each issue, helping you to keep your vehicle’s engine running smoothly and safely.
The Importance of the Proper Balance of Coolant in the Engine
Maintaining the proper coolant balance in your engine is crucial for its optimal performance and longevity.
- This radiator fluid plays a vital role in regulating the engine’s temperature.
- Moreover, it’s essential to prevent the engine from overheating or freezing in extreme weather conditions.
- It also lubricates the water pump and other components of the cooling system, preventing corrosion and rust buildup.
However, when the coolant level drops below the recommended level, this can provoke several problems. The engine may overheat, leading to costly repairs and even engine failure.
Low coolant levels can also induce damage to the water pump, radiator, and other parts of the engine’s cooling system. This can lead to more extensive repairs.
Therefore, if you notice your engine coolant disappearing, it’s necessary to take action and identify the cause of the problem. Ignoring the issue can lead to severe engine damage, leaving you with a hefty repair bill.
Diagnosing Engine Coolant Disappearance
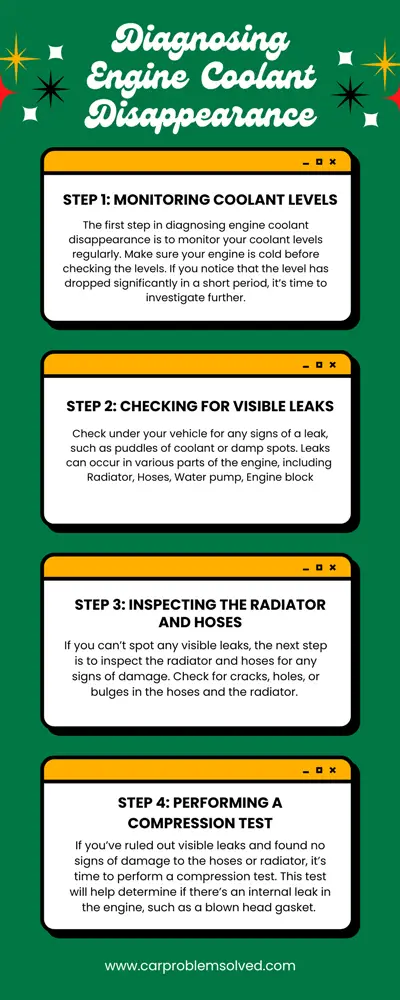
To prevent severe engine damage, you must diagnose a frequent loss of engine coolant. Diagnosing disappearing coolant involves the following steps:
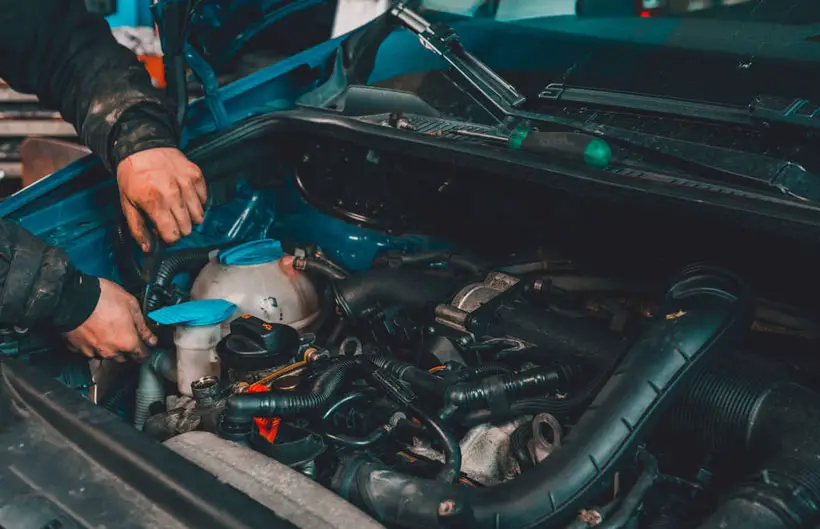
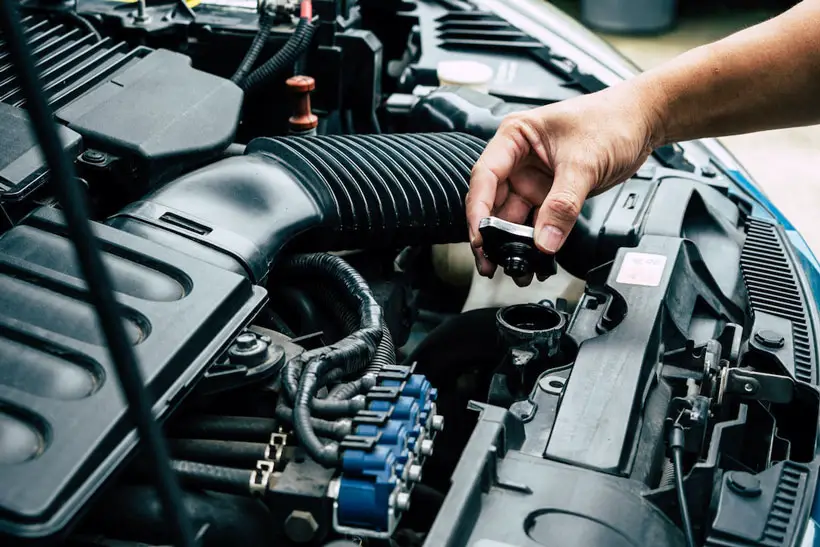
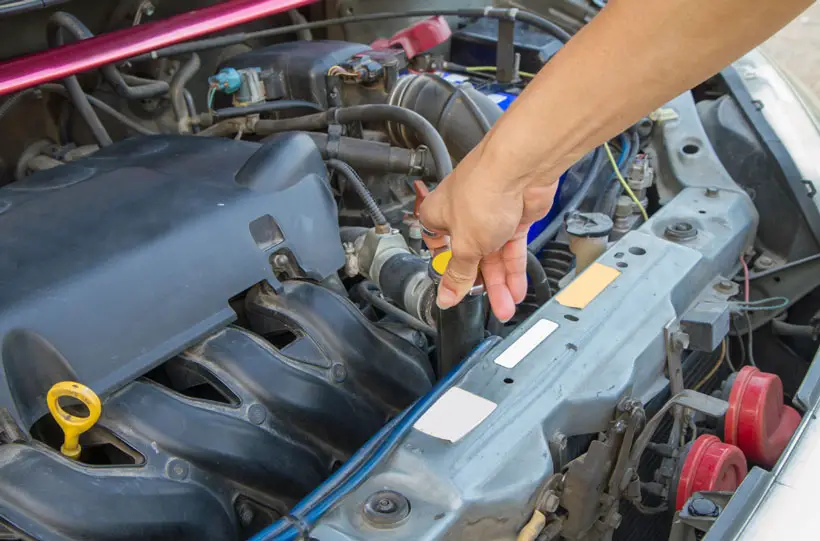
Step 1: Monitoring Coolant Levels
The first step in diagnosing engine coolant disappearance is to monitor your coolant levels regularly. Make sure your engine is cold before checking the levels. If you notice that the level has dropped significantly in a short period, it’s time to investigate further.
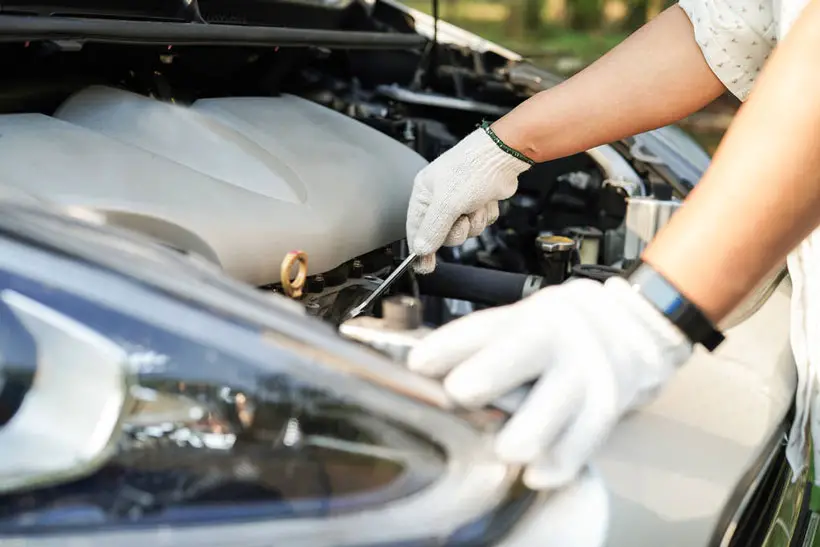
Step 2: Checking for Visible Leaks
Check under your vehicle for any signs of a leak, such as puddles of coolant or damp spots. Leaks can occur in various parts of the engine, including
- Radiator
- Hoses
- Water pump
- Engine block
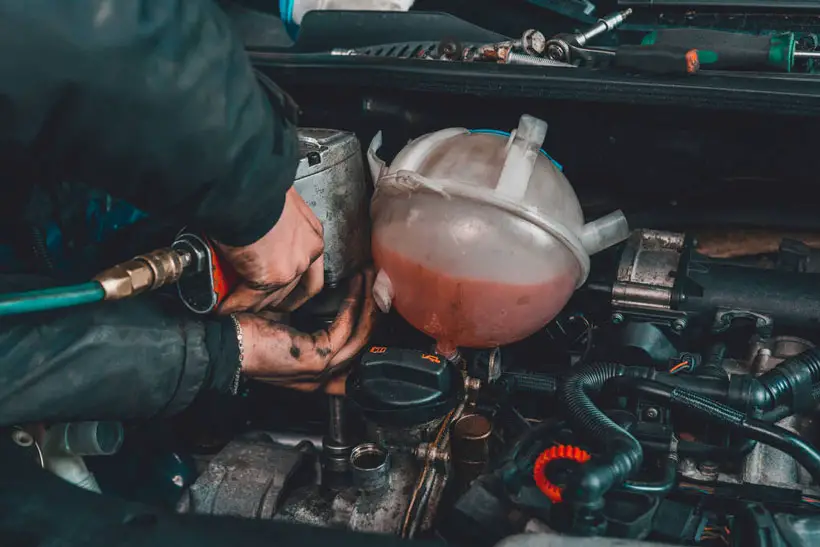
Step 3: Inspecting the Radiator and Hoses
If you can’t spot any visible leaks, the next step is to inspect the radiator and hoses for any signs of damage. Check for cracks, holes, or bulges in the hoses and the radiator. These can be indicators of a leak, and the damaged parts will need to be replaced.
Step 4: Performing a Compression Test
If you’ve ruled out visible leaks and found no signs of damage to the hoses or radiator, it’s time to perform a compression test. This test will help determine if there’s an internal leak in the engine, such as a blown head gasket.
Here’s how it’s done:
- Make sure the engine is cold and turned off
- Remove the spark plugs from the engine
- Screw the compression tester into a spark plug hole
- Ask an assistant to press the accelerator pedal to the floor and crank the engine for a few seconds
- Record the pressure reading on the compression tester
- Repeat process 3 to 5 for the other cylinders
- Compare the pressure readings to the manufacturer’s specifications for your vehicle
- If any cylinder has significantly lower pressure than the others, it may indicate an internal engine issue such as a blown head gasket
- Consult with a mechanic to determine the best course of action to fix the issue
Note: A compression test should be performed by a qualified mechanic. That’s because it involves working with the engine’s internal components and requires specialized equipment.
Common Causes of Engine Coolant Disappearance
Here are some common causes of engine coolant disappearance:
Coolant Leak
This is a common cause of engine coolant disappearance. The leak can come from various parts of the engine, such as the radiator, hoses, water pump, or engine block.
A coolant leak can be easy to spot as you may notice a puddle of coolant under your vehicle or white smoke coming from the exhaust pipe.
Blown Head Gasket
This is a severe problem causing coolant to disappear quickly. The head gasket seals the combustion chamber, and if it fails, it can allow coolant to mix with the engine oil. This leads to heat buildup and engine damage.
Signs of a blown head gasket include white smoke coming from the exhaust, milky oil, or a sweet-smelling exhaust.
Damaged Radiator
A damaged radiator can result from corrosion, physical damage, or clogging. Symptoms of a sabotaged radiator include overheating, a visible leak, or a radiator that feels warm on one side and cool on the other.
Faulty Water Pump
Pumping engine coolant throughout the cooling system is the responsibility of the water pump. If it dies, it can drive the coolant to disappear, leading to extreme heating and engine damage.
Signs of a faulty water pump include coolant leaks near the pump, unusual noises, or an overheating engine.
Solutions for Addressing Engine Coolant Disappearance
There are several solutions to address engine coolant disappearance. The appropriate solution depends on the underlying cause. Some of the common solutions include:
Repairing the Coolant Leak
When a coolant leak is causing the coolant to disappear, repairing the leak is the most effective solution. The leak may be due to a damaged radiator, or a faulty gasket.
Here’s a general process for repairing the leak:
- Step 1: Identify the source of the leak through visual inspection or a pressure test.
- Step 2: Determine the extent of the damage to understand what kind of fix will be required.
- Step 3: If the damage is minor, a simple patch or tightening of a loose connection may be all that is necessary. Otherwise, the next steps will come into action.
- Step 4: Prepare the repair area by draining the coolant, removing any debris or contaminants, and drying the area.
- Step 5: Repair or replace the damaged component if the leak is due to a damaged component, such as a radiator or gasket.
Fixing the Blown Head Gasket
If the engine has a blown head gasket, the coolant may be leaking into the combustion chamber, causing the coolant to disappear.
Here are the steps involved in fixing a blown head gasket:
- Step 1: Look for the blown head gasket symptoms, such as overheating, white smoke from the exhaust, and loss of engine power.
- Step 2: Disassemble the engine by removing the cylinder head and other components, which can be a time-consuming process.
- Step 3: Remove the old gasket by scraping, grinding, or using chemical solvents to loosen the gasket.
- Step 4: Install a new and high-quality gasket by reversing the steps used to remove the old gasket.
- Step 5: Reassemble the engine by reinstalling the cylinder head, bolts, and other components.
- Step 6: Start and test the engine for leaks.
Replacing the Damaged Radiator
If the radiator is damaged, replacing it is the only solution. Here are the steps to follow:
- Step 1: Drain the coolant by opening the drain valve on the radiator or by removing the lower radiator hose.
- Step 2: Remove the old radiator by disconnecting the hoses and electrical connections, as well as removing any brackets or bolts that are holding the radiator in place.
- Step 3: Install the new radiator by reversing the steps used to remove the old radiator.
- Step 4: Refill the coolant with the appropriate amount of coolant and water mixture.
- Step 5: Start and test the engine for leaks.
Repairing or Replacing the Faulty Water Pump
If the water pump is faulty, this can lead to coolant leaking and coolant disappearance. Depending on the severity of the damage, repairing the water pump may involve replacing the faulty part or the entire pump.
Here are the steps involved in repairing or replacing a faulty water pump:
- Step 1: Look for the symptoms of a faulty water pump, such as overheating, coolant leaks, and sound.
- Step 2: Disconnect the hoses and electrical connections, along with bolts or brackets that are holding the old water pump in place, and remove them.
- Step 3: Depending on the severity of the damage, the water pump may be repaired by replacing a faulty part, such as the impeller or seal. Otherwise, the entire pump may need to be replaced.
- Step 4: Install the new water pump by reversing the steps used to remove the old pump.
- Step 5: Start the engine and test for leaks.
Preventive Maintenance: Tips for Avoiding Coolant-Related Problems

Here are some tips to prevent coolant-centric issues
Regular Maintenance
It’s recommended to follow the manufacturer’s recommended maintenance schedule. This usually includes changing the coolant every 30,000 miles or every two to five years, depending on the type of coolant used. Regular maintenance also includes
- Checking for leaks
- Ensuring that all components of the cooling system are working correctly
Coolant System Checks
Start by inspecting the radiator, hoses, water pump, and heater core for any signs of leaks or damage. If you notice any leaks, have them repaired immediately to avoid extra damage to the cooling system.
Monitoring Temperature Gauge
If the temperature gauge indicates that the engine is running hot, it could be a sign of a coolant leak or a malfunctioning component in the cooling system. In such cases, stop the vehicle immediately and have it towed to a mechanic for repairs.
If you’re experiencing a recurring issue of engine coolant disappearing from your car, it’s important to address the underlying cause to prevent potential engine damage and overheating. Our article on what happens when a car overheats provides valuable insights into the consequences of engine overheating and the potential damages it can cause. Understanding these effects can help you recognize the importance of resolving coolant loss issues promptly. Additionally, troubleshooting car overheating problems is crucial in identifying the specific cause of coolant disappearance. Our article on car overheating troubleshooting offers step-by-step guidance to help diagnose and resolve common causes of car overheating, which may include coolant leaks or other cooling system issues. By exploring these related topics, you can gain a better understanding of the potential consequences of coolant loss and take appropriate measures to address the underlying problem.Conclusion: Addressing Engine Coolant Disappearance to Prevent Engine Damage
In conclusion, you should address engine coolant disappearance as soon as possible to prevent engine damage. Ignoring the problem can lead to excessive heat and potential engine failure. This can be both costly and dangerous. Follow this article’s instructions to diagnose and fix the causes.
Moreover, regular maintenance, such as checking your coolant level and inspecting your vehicle for leaks, can assist in avoiding coolant disappearance. Overall, keeping your engine running smoothly and avoiding overheating is crucial for the longevity and safety of your vehicle.