As a car owner, it’s crucial to keep an eye on the condition of your vehicle’s engine coolant. The coolant is responsible for maintaining a stable temperature in the engine by absorbing and dissipating heat.
Over time, coolant can become contaminated or develop a milky appearance, indicating a problem with the engine. Milky coolant is a sign of trouble and should be addressed promptly to avoid potential engine damage.
We shall address the reasons for milky coolant and give cures to the problem here. We will also discuss troubleshooting and preventive actions. So, continue reading to get more!
The Importance of the Proper Balance of Coolant in the Cooling System

Proper coolant balance is important to keep your car in a very good structure. Following are some precise aspects that proper coolant ensures.
Prevents Overheating and Freezing
The primary function of the coolant in a vehicle’s cooling system is to absorb heat from the engine and dissipate it through the radiator. Without the proper balance of coolant, the engine may overheat. Eventually, this causes significant damage to the engine components.

In addition to preventing overheating, the coolant also helps to prevent freezing in cold weather. If the coolant becomes too light, it may not be able to protect the engine from freezing. Consequently, this can cause severe damage to the engine and cooling system.
Lubricates Engine Components
Coolant also lubricates various engine components such as the water pump, thermostat, and radiator. A lack of coolant can cause these components to wear out more quickly, leading to premature failure and potentially costly repairs.
Prevents Corrosion
Coolant contains additives that prevent rust and corrosion from forming inside the engine and cooling system. If the coolant becomes too diluted or contaminated, it may not be effective at preventing corrosion, which can lead to leaks and other problems.
Reduces Maintenance Costs
Maintaining the proper balance of coolant helps to reduce maintenance costs by preventing expensive repairs and extending the life of engine components.

Improves Performance
A properly balanced cooling system can help to improve the overall performance of the vehicle. This includes better fuel economy, smoother operation, and fewer emissions.
Lastly, a well-maintained cooling system ensures the driver’s and passengers’ safety by preventing engine overheating and potential breakdowns on the road.
Common Causes of Milky Coolant
There are some reasons behind milky coolant. But a blown head gasket and engine block crack are the key reasons here. We are going to have more details on the common causes now, as well as the symptoms.
Cause 1: Head Gasket Failure
A head gasket seals the cylinder head to the engine block. It is designed to keep the coolant and oil channels separate and prevent them from mixing.
When a head gasket fails, it can allow coolant to leak into the engine’s oil passages, resulting in milky coolant oil.
The symptoms to identify a blown head gasket are mentioned below:
- From the tailpipe, white smoke can be generated.
- The presence of bubbles in the radiator and coolant reservoir.
- Coolant loss without any apparent leaks or explanation.
- The presence of a milky white color in the oil.
- Engine overheating.
If you notice all those symptoms in your automobile engine, you may assume your coolant is milky and should take the necessary measures immediately.

Cause 2: Cracked Engine Block
The engine block is responsible for holding the coolant that circulates through the engine to prevent overheating. If there is a crack in the engine block, coolant can leak into the oil passages. Therefore it gets to mix with the oil, creating a milky substance.
The symptoms of a cracked engine block are mentioned below:
- Engine Overheating
- Engine misfire
- Low compression
- Coolant and oil contamination
- Dirty oil and low oil level
Diagnosing Milky Coolant

Milky coolant in a vehicle’s cooling system can be a sign of a serious problem. It is important to diagnose the issue quickly to prevent further damage to the engine. Here are the steps that can be taken to diagnose a milky coolant.
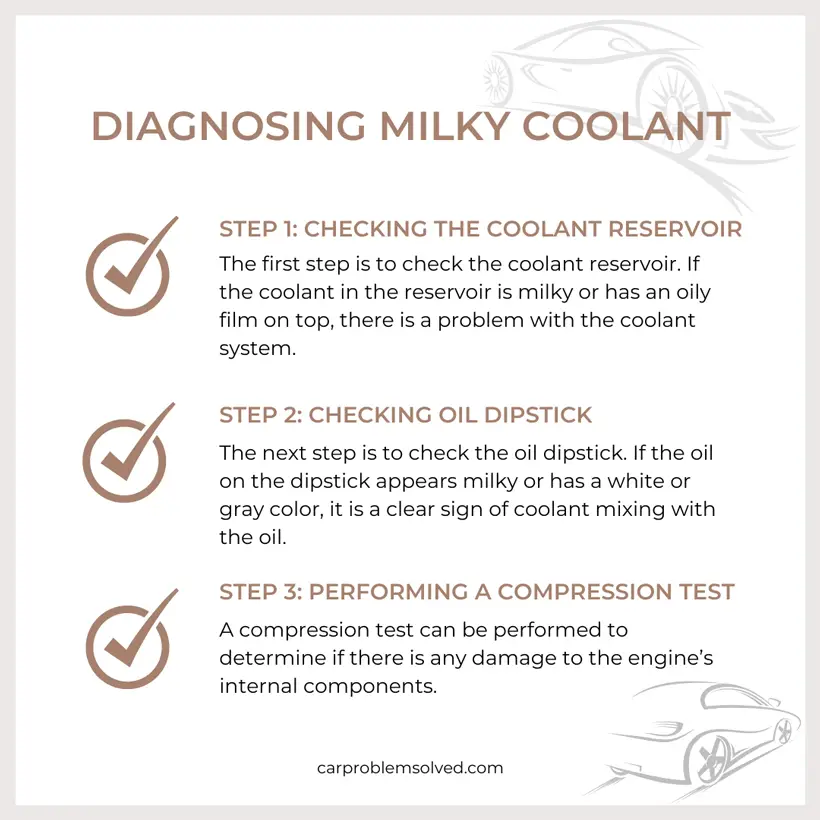
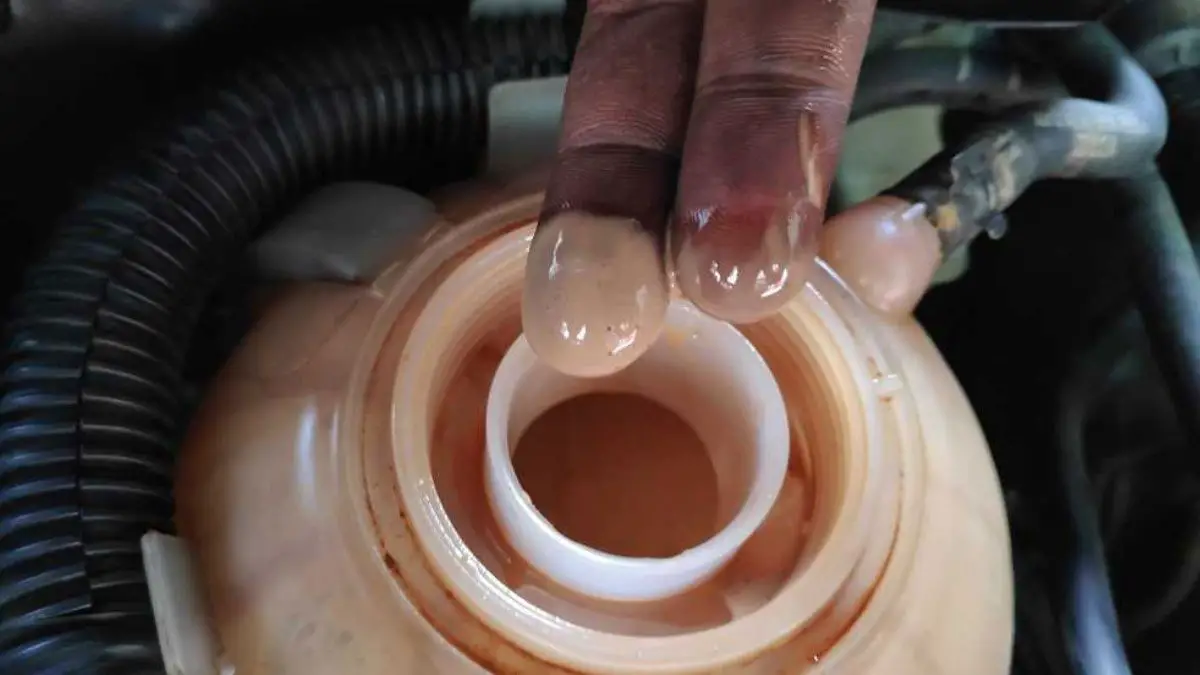
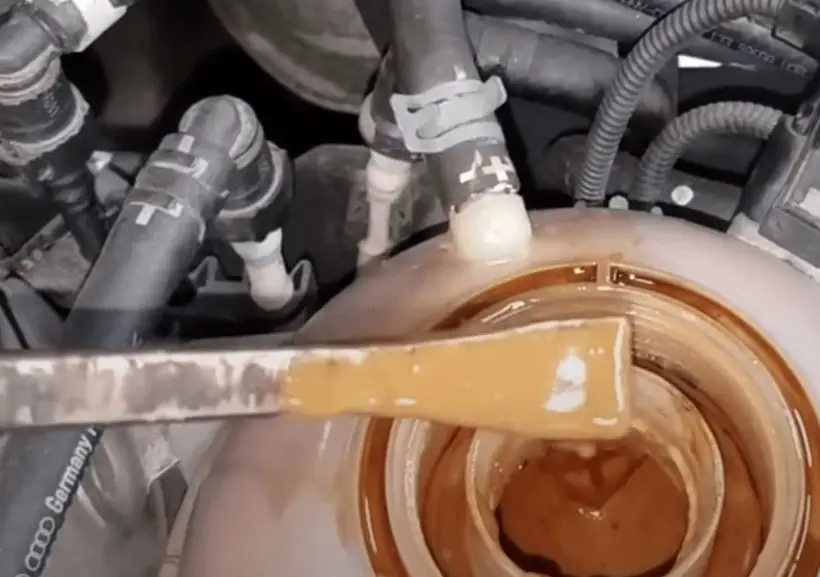
Step 1: Checking the Coolant Reservoir
The first step is to check the coolant reservoir. If the coolant in the reservoir is milky or has an oily film on top, there is a problem with the coolant system. The coolant reservoir should also be checked for any signs of leaks or cracks.
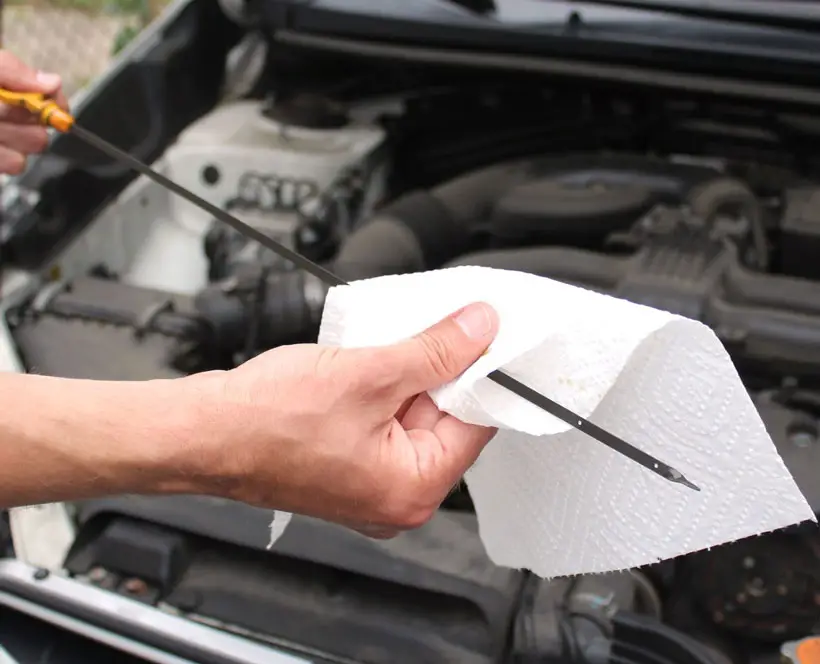
Step 2: Checking Oil Dipstick
The next step is to check the oil dipstick. If the oil on the dipstick appears milky or has a white or gray color, it is a clear sign of coolant mixing with the oil. This indicates a blown head gasket, cracked engine block, or a damaged cylinder head.
Step 3: Performing a Compression Test
A compression test can be performed to determine if there is any damage to the engine’s internal components. Low compression readings may indicate a blown head gasket or other internal engine problems.
Once the problem has been diagnosed, it is important to address the issue quickly to prevent further damage to the engine.
Repairs can include replacing the head gasket, and repairing the cracked engine block.
Regular maintenance can help prevent issues with the coolant system and engine. These may include checking coolant levels and performing regular oil changes.
Solutions for Addressing Milky Coolant

Here are the potential solution measures to resolve the milky coolant issue in your car.
Potential Solution of Head Gasket Failure
If the head gasket gets troubled, a few checks and replacements might be required. The following measure might be taken in this case:
- Step 1: The engine needs to be disassembled to access the head gasket. This involves removing the cylinder head, the alternator, the intake manifold, and other components.
- Step 2: While the engine is disassembled, it’s important to inspect the cylinder head and engine block for any damage. These may include cracks or warping, which may require further repair.
- Step 3: To fix the blown head gasket, it’s essential to replace it with a new, high-quality one and follow the installation guidelines provided by the manufacturer.
- Step 4: After the new head gasket is installed, the engine needs to be reassembled, including the cylinder head, intake manifold, and other components.
- Step 5: It’s important to flush the coolant system to remove any contaminants and prevent future issues.
- Step 6: Once the engine is reassembled, it needs to be tested to ensure that it’s running properly and there are no leaks.
A blown head gasket requires a skilled mechanic to fix it due to the complicated and time-intensive nature of the repair process. So, it is wise to have professionals do the troubleshooting and take necessary steps according to the problem.
Potential Solution of Cracked Engine Block

For a cracked engine block, you may need to repair cracks. To do this, follow the steps below:
- Step 1: Clean the engine block
- Step 2: Crack repair options vary based on size and location. Epoxy or sealants may fix small cracks, while severe damage may require welding or engine block replacement.
- Step 3: After the repair is complete, the engine block will need to undergo a pressure test to ensure that there are no remaining leaks or cracks.
- Step 4: Once the engine block has been repaired and tested, it can be reassembled with new gaskets, seals, and other components.
Please keep in mind that engine block repair costs may vary with damage and vehicle model. So, it is wise to know first doing repair or replacement: which one is good to go with.
Preventive Maintenance Tips for Avoiding Coolant-Related Problems

Along with resolving the milky coolant issue, you should know how to prevent coolant from being milky. Well, there are some preventative measures you can follow to avoid this problem.
- Check the coolant level regularly: Make sure the coolant level is at the proper level, and add more coolant as needed.
- Inspect the coolant hoses: Check the hoses for any cracks, leaks, or signs of wear and tear. Replace them if needed.
- Flush the coolant system: Flush and replace the coolant system periodically as per the manufacturer’s recommendations to avoid contamination by dirt and debris.
- Inspect the radiator: Check the radiator for any signs of damage, such as leaks, corrosion, or bent fins. Have it repaired or replaced if needed.
- Use the proper coolant: Make sure you use the proper type of coolant for your vehicle and follow the manufacturer’s recommendations.
- Have the system pressure tested: Periodically have the coolant system pressure tested to ensure there are no leaks or other issues.
Conclusion
Milky coolant in a vehicle’s engine is a sign of trouble and should be addressed promptly to avoid potential engine damage. Proper coolant balance is important to prevent overheating, corrosion, and wear and tear of engine components. Moreover, it can lead to expensive repairs.
The most common causes of milky coolant are a blown head gasket and a cracked engine block. To diagnose the issue, checking the coolant reservoir and oil dipstick and performing a compression test might be beneficial.
Once the problem has been diagnosed, it is important to address the issue quickly to prevent further damage to the engine. Regular maintenance, such as checking coolant levels and performing regular oil changes, can help prevent issues with the coolant system and engine.