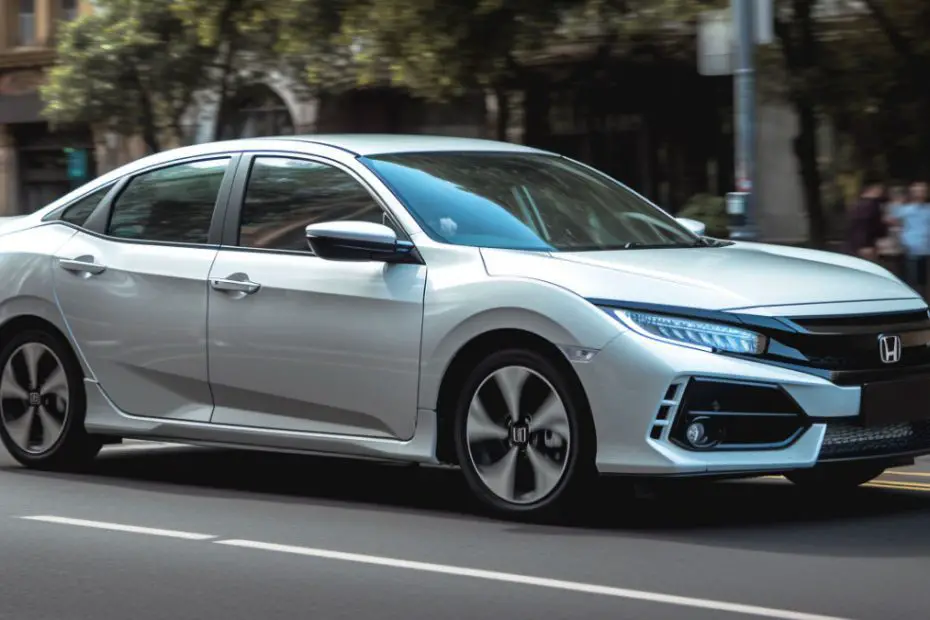
Your Honda Civic’s AC is a necessary feature that helps you to get relief during the summer season. But it will be difficult to tackle the environment if your AC is not working. Several reasons stop the Honda Civic AC from working.
Your Honda Civic AC will not work if the compressor and condenser are damaged or not used for a long time. Leakage in the system or low refrigerant level can affect the evaporator and lead to hampering the cooling system. Also, if there is an ambient sensor, actuator, or blower fan that goes bad, then problems will arise.
These possible problems are described below with their solutions. Stay with us to know more.
Honda Civic AC Not Working: Causes and Potential Solutions
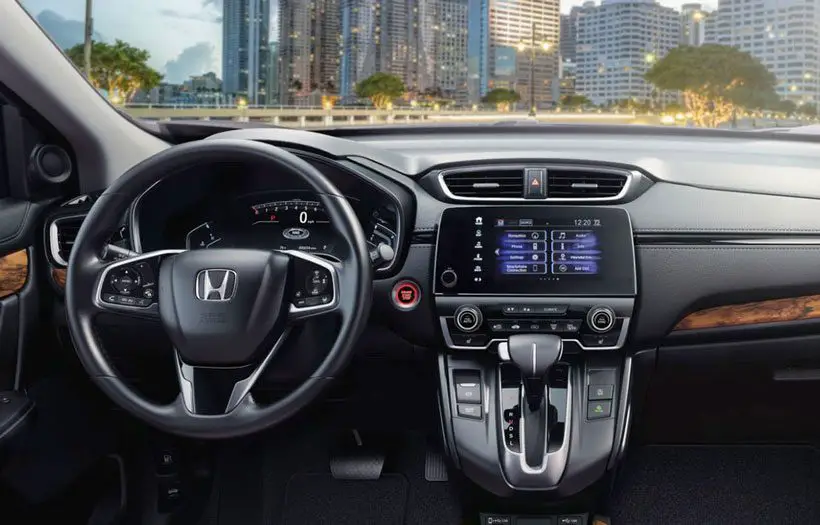
The possible causes behind the Honda Civic AC not working are discussed below with their possible solutions.
Cause 1: Compressor Is Not Working
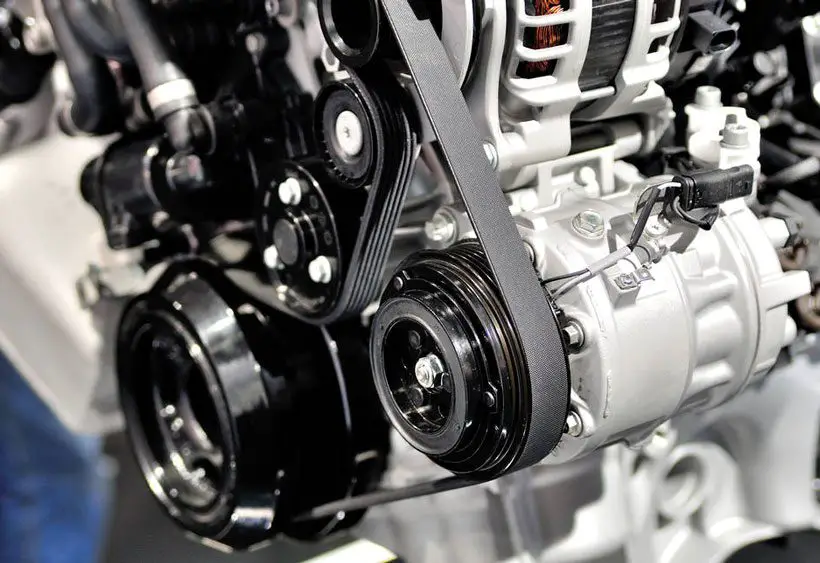
An AC compressor plays the most crucial role in the circulation of refrigerants. It can convert the refrigerant into liquid form from gaseous form. Compressing is important for balancing pressure and quick circulation.
But if the compressor is not in use for a long time, then there will be a hamper in the cooling system. It will excrete warm air and will increase internal temperature. This situation can arise due to clogged or damaged compressors.
Another reason for the failure of the compressor is insufficient refrigerant. Compressor leak creates this situation. Less refrigerant directly affects the compressor and causes damage.
Solution:
If the compressor is not working as it is clogged, then cleaning and a little repair will fix the problem. But if any part is damaged, then the only way to fix the problem is a replacement.
- Completely evacuate the system of refrigerants.
- Now carefully remove the serpentine belt.
- Remove the bolts and hoses connected to the compressor.
- Now you have to remove the alternator as the ac compressor stays under it.
- Disconnect the wires and remove the bolts of the alternator.
- Now flip the alternator or keep it aside.
- Remove two bolts of the bracket and untie it.
- Now remove four bolts of the compressor which keep it tight in its place.
- Now pull out the compressor without damaging any other parts.
- Now it is time to set the new compressor mentioned in your user manual or similar to the old one.
- Put everything back together in reverse order.
You need to contact a local repair shop or an expert. It will cost around $800 to $1,200 to replace a compressor.
Cause 2: Air Filter Is Clogged
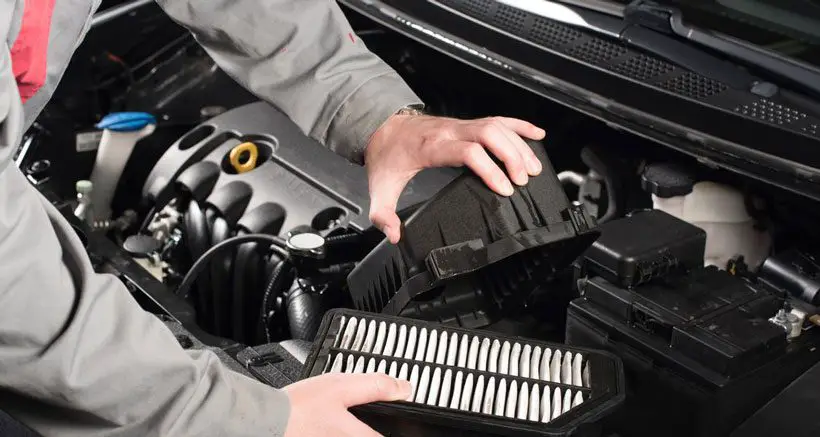
An air filter, also known as a cabin filter, is an important component of the air conditioner of a car. It expels out and prevents the entry of dust material.
But if the filter is not cleaned for a long time and is clogged or broken, then that affects the whole system. The dust enters into the system and influences to consume more fuel and disturbs the cooling process.
Solution:
If the air filter is clogged, then clean it properly. But if it is broken, then you have to replace it. To replace the air filter, follow the steps below.
- Open the glove box.
- Press both the right and left sides of the glovebox and release the clips that hold the glovebox.
- Then release a cover that lies between the glovebox and the cabin filter
- Remove the cabin filter.
- If it is less dirty, then only clean it. But if there is a lot of dust present, then it will be good to replace it.
- Finally, place back the old cleaned one or a new air filter.
- Put the cover back in place.
- Now close the glovebox.
Cause 3: Issue In The Condenser
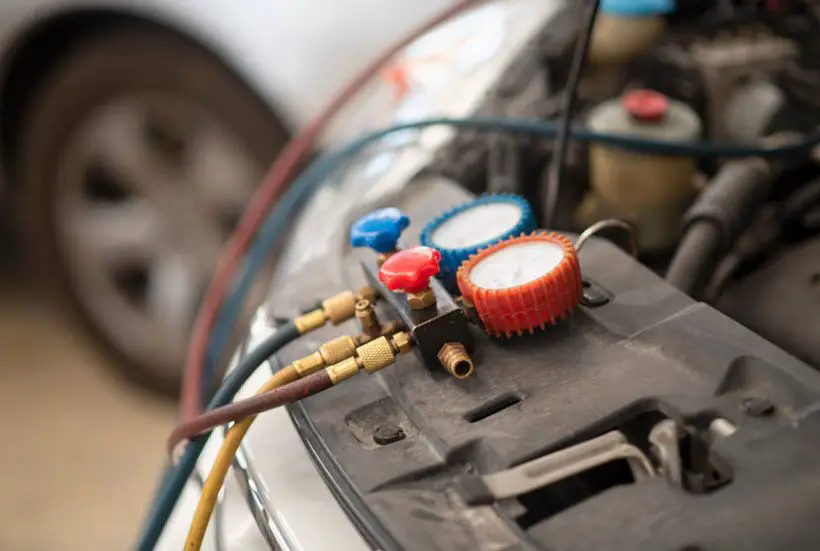
The condenser helps to release heat outside the car from the refrigerant. That’s how the cooling process works properly. But if the condenser is not working or clogged, then there will be no exchange of heat. Then the AC will produce only hot air.
Solution:
If the condenser can not release the heat properly, then the solution is the replacement. To replace the condenser you need to follow these steps.
- Vacuum out all the refrigerants.
- Remove four clips and pull the plastic cover out.
- Remove two Allen keys and the bolts behind the front bumper.
- You need to remove the plastic clips under the front bumper which hold it.
- Now pull off the front bumper.
- Remove the bolts of the condenser.
- Disconnect the lines of the condenser.
- Now remove the condenser.
- Install the new condenser in place.
- Connect the lines and screw the bolts.
- Secure all the removed bolts and clips in place.
- Finally, reinstall the front bumper.
You can also contact an expert for replacement.
Cause 4: Air Conditioner Evaporator Is Not Working
The air conditioner evaporator releases cool air inside the car. But if there is any leakage or clog in the evaporator, the cooling process will be disrupted. It will be unable to release a sufficient amount of cool air inside the car.
Solution:
If the evaporator is dirty, then clean it. But if it is clean but not working, then do the leakage test. If leakage is present, then follow these steps to replace the evaporator core.
- Make sure all the refrigerants are recovered.
- Remove the blower motor assembly and the hoes of the thermal expansion valve.
- Now carefully open the HVAC case.
- Take off the evaporator core.
- Now replace the old O-rings and oil the new ones before installation.
- Put back the new evaporator core.
- Close the HVAC case.
- Connect all the hoes carefully and ensure there is no leakage.
- Now install the blower motor assembly.
Cause 5: Defect In The Blower Motor Or Fan
A blower motor fan can supply both heated and cooled air. If your car setting demands heated air, it will push heated air through the dashboard. If the setting is on cooled air then cool air will come out from the dashboard. A defective or damaged blower fan is unable to push the air through the vents into the desired place.
Solution:
If the blower fan is damaged, there is no way to repair it. You have to replace the damaged one with a similar new motor.
- Remove the lower dash trim.
- Unplug the wire and unscrew the bolts attached to the blower motor.
- Replace the old one with the new motor.
- Secure the fan with screws and plug the wire.
Cause 6: Leakage In The Circulation And Low Refrigerant Level
Leakage in circulation causes refrigerant loss. If there is a lack of refrigerant in the circulation, it will hamper the evaporator from working properly. Mainly the leakage found in between two junctions or on the hose. Also, if you do not service your car for a long time and refill the refrigerant, that will decrease the level.
Solution:
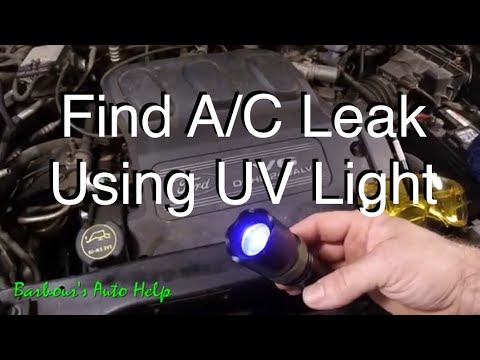
Find out leakage with the help of UV light. You can follow this video to get an idea about the leakage detection process.
Now you have to refill the refrigerant.
- Find out the low-pressure port on your car.
- Turn on the engine and AC.
- Now release the refrigerant suitable for your car into the port.
- Refill until the recommended pressure for AC for Honda is obtained.
Cause 7: Blown AC Fuse
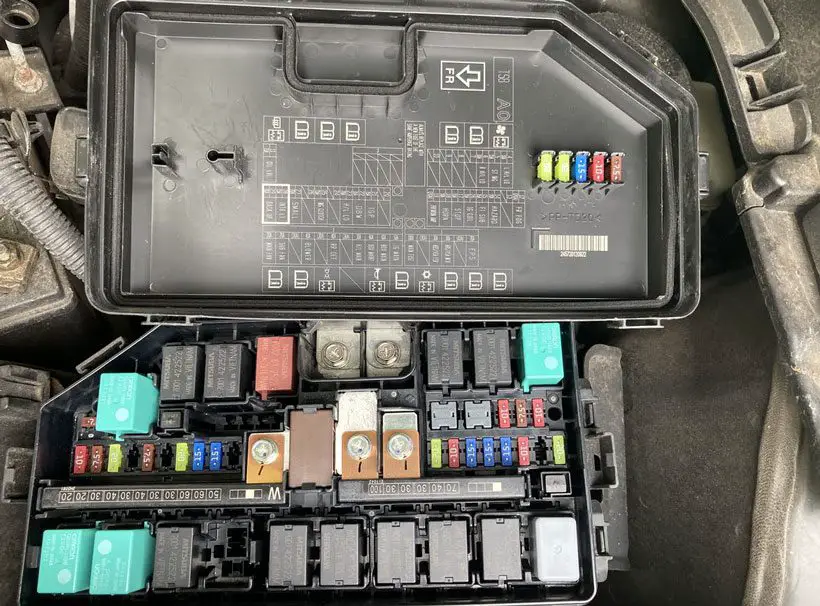
AC fuse is given to the system for safety measures. If there is a high voltage, the fuse blows out and saves the other parts of the system. Also, the fuse would blow if there is a problem in the gearbox or the air filter is full of dust.
Solution:
In case the fuse gets damaged, you have to replace it with a new one.
- Find out the fuses under the bonnet.
- Now find the AC fuse with the help of your car’s manual.
- Pull the fuse out of the socket.
- Now shake the fuse. If you hear a rattling sound, then that means the internal circuit is broken.
- Put a similar new one in the same place.
The fuse will cost $8 to $15. You can change it easily by yourself. But if you replace it in a repair shop, then the labor cost can be around $10 to $15.
Cause 8: Malfunctioning of Actuator
The actuator helps to maintain the airflow and temperature. A bad actuator reverses its function and results in undesired airflow.
Solution:
It is not possible to repair a bad blend door actuator. You can easily replace the actuator by this process.
- Remove all the items stored in the glove box.
- Partially remove the glovebox.
- You will find the actuator on the left side.
- Disconnect the electrical connectors to the actuator motor.
- Remove the kicker panel located at the bottom of the dash.
- It is easier to unscrew the bottom bolts on the kicker panel side.
- Unscrew the top bolts and pull the actuator out.
- Now ensure the new actuator is the same as the old one.
- Apply multi-purpose grease to the groove of the actuator.
- Now place the actuator back and install the top bolt.
- Secure all the other bolts and place back the kicker panel.
- Don’t forget to plug in the connector.
Cause 9: Ambient Temperature Sensor Goes Bad
An ambient temperature sensor helps to measure the temperature. If it goes bad, it will not allow the AC system to connect with the compressor.
Solution:
Replacing the thermometric ambient air temperature sensor at home is not a good idea. It requires a lot of instruments and experience. Still, if you want to replace it alone, then this video will help you.
FAQs
These are some common questions asked by people about Honda Civic AC.
You can diagnose a car AC problem by a simple check. Turn on the ac button at a high level. Compare whether it is providing cool air or not.
You can prolong your car AC by proper use and cleaning. Try to keep your AC at least once a week and never pre-cool it. Clean all the parts timely.
The average life of a car AC is around 12 to 15 years. But you can increase its longevity with proper care and servicing. Similarly, it will not last long if you do less care.
Conclusion
Mainly AC stops working properly when any part of the cooling system undergoes dysfunction. If it is with the condenser, air filter, and compressor due to a clog, then cleaning will solve the problem. But if they are damaged then after replacement AC will work properly.
Try to check leakage and refrigerant levels once a month. Check the AC fuse and blown fan, sensor, and actuator. These parts can also easily get damaged. You can replace these parts by yourself. But if you don’t have experience, then seek help from an expert.
