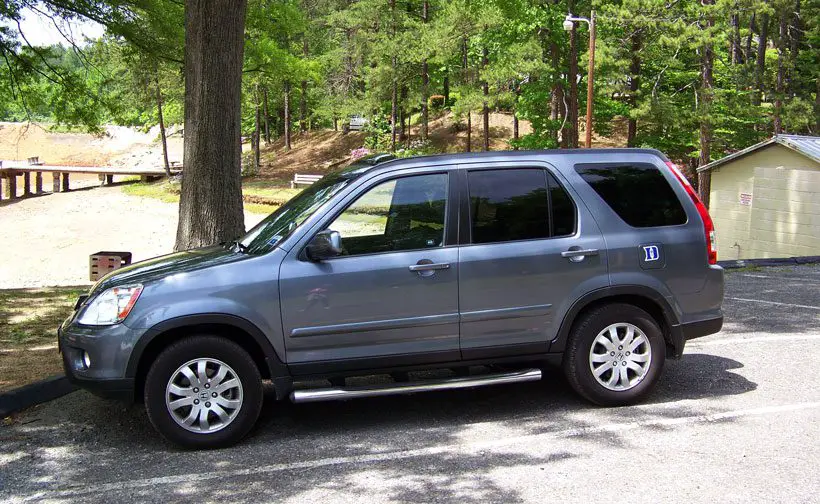
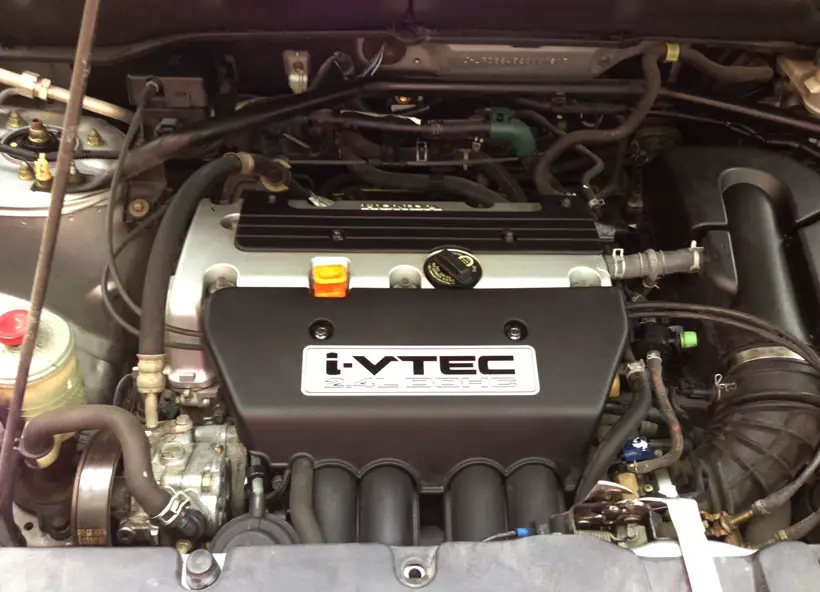
As the temperatures rise, a malfunctioning air conditioning (AC) system in your Honda CR-V can quickly turn your daily commute into an uncomfortable experience. If you’ve noticed that your CR-V’s AC is not working as it should, don’t fret. We will dig deeper to find out the solutions.
So, why is your Honda CRV AC not working? It could be due to
- A refrigerant leak
- A faulty blend door actuator
- Compressor failure
- A dirty cabin filter
- A dirty evaporator
- A bad blower motor or a dirty/clogged condenser.
Understanding these potential issues will help you identify the root cause and take appropriate steps to resolve the problem. By reading on, you will gain valuable insights on troubleshooting, learn DIY repair techniques, and tips to keep your AC functioning at its best.
Why Is My Honda CRV AC Not Working?

Several common issues can lead to a malfunctioning AC, resulting in hot and uncomfortable drives. Here are the problems and the potential reasons behind each one.
1. The System Is Not Blowing Cold Air At All
When your Honda CR-V’s AC system fails to blow any cold air, it can indicate underlying issues. And they include the following.
Refrigerant Leak
A refrigerant leak can cause a loss of cooling capacity, resulting in the system not producing cold air.
- Over time, wear and tear or damage to the AC components can cause refrigerants to leak out.
- Insufficient refrigerant levels result in reduced cooling performance or a complete AC failure.
And the signs of a refrigerant leak may include:
- AC blowing warm air or not cooling as effectively
- A hissing sound coming from the system
- Noticeable decrease in cooling performance
- Presence of oil or refrigerant stains around AC components
- Ice buildup on the refrigerant lines or evaporator coil
- Reduced airflow from the vents
- Unpleasant odor when the AC is turned on

Compressor Failure
The AC compressor plays a crucial role in the cooling process by circulating refrigerant through the system. If the compressor fails, it can lead to a lack of cooling or no cooling at all.
Compressor failure may be due to
- Electrical issues
- Mechanical failures
- or normal wear and tear
Here are early signs to look out for:
- Uneven temperature distribution inside the cabin
- One side of the cabin is cool, while the other remains warm
- Clicking or ticking noises coming from the dashboard
- Inability to adjust the temperature properly
- Temperature control knobs or buttons not responding
2. AC Blowing No Air At All
If your AC system is not blowing air, it can be attributed to a faulty blower motor. It is responsible for circulating the cooled air into the cabin. The system fails to generate airflow when it malfunctions, resulting in no air blowing through the vents.
Here is how to tell if your blower motor is malfunctioning:
- Lack of airflow from the vents
- Inconsistent or weak airflow in different fan speed settings
- Unusual noises such as squealing, rattling, or grinding come from the blower motor
- The blower motor is not responding to adjustments in fan speed settings
- Burning smell when the blower motor is running
3. AC System Not Blowing Cold Enough

Several factors could be at play if your Honda CR-V’s AC system is blowing air but not cold enough.
Dirty Cabin Filter
It is responsible for trapping dust, pollen, and other particles to ensure clean air inside the cabin. Over time, the filter can become dirty and clogged, restricting airflow and reducing the system’s cooling efficiency.
Signs of a dirty cabin filter include the following:
- Reduced airflow from the vents
- Increase in dust or unpleasant odors inside the cabin
- Allergies or respiratory issues worsening while using the AC
- Visible dirt or debris accumulation on the cabin air filter
- Reduced cooling capacity of the system
Dirty Evaporator
The evaporator coil cools the air as it passes through the system. A dirty evaporator coil can impede the heat transfer process, reducing the system’s cooling capacity.
This will then result in weak airflow or insufficient cooling. That is why knowing how to tell if you have a dirty evaporator is essential.
The signs of dirty evaporator include the following:
- Weak or insufficient airflow from the vents
- Reduced cooling performance
- Moldy or musty smell when the AC is turned on
- Visible dirt or debris accumulation on the evaporator coil
- Presence of water or condensation around the evaporator
Faulty Blend Door Actuator
The blend door actuator controls the airflow and temperature distribution within the cabin. If the actuator fails or gets stuck, it can result in improper temperature regulation or uneven cooling. This can manifest as one side of the cabin being cool while the other remains warm.
Here is how to tell if you have a faulty blend door actuator:
- Inconsistent temperature distribution inside the cabin
- One side of the cabin is cool, while the other remains warm
- Clicking or ticking noises coming from the dashboard
- Inability to adjust the temperature properly
- Temperature control knobs or buttons not responding
Dirty/Clogged Condenser
The condenser is located at the front of the vehicle and helps dissipate heat from the refrigerant. You can detect early signs of a clogged condenser if you notice the following:
- Reduced cooling efficiency of the system
- Overheating of the engine
- Visible dirt, debris, or road grime accumulation on the condenser fins
- Restricted airflow through the condenser
- Inadequate cooling even at higher fan speed settings
- Increase in engine temperature while the AC is in use
A dirty or clogged condenser impedes the heat dissipation process, reducing the system’s cooling efficiency. Regular cleaning of the condenser can help mitigate this issue.
How To Troubleshoot And Fix The AC In A Honda CR-V

When your Honda CR-V’s AC system malfunctions, troubleshooting can help you identify and resolve the underlying problem. Here are some steps to troubleshoot and fix your AC system accordingly.
Step 1: Check the temperature settings
- Ensure the temperature control knob or buttons are set to the desired cooling level.
- Next, verify that the AC is not set to the “Econ” or “Vent” mode, as these modes may limit cooling performance.
Step 2: Test the blower motor
- Turn on the AC and check if you hear the blower motor running.
- Then, adjust the fan speed settings to different levels and observe any changes in airflow.
- If there is no airflow or unusual noises from the blower motor, it may indicate a faulty motor requiring attention.
Here is how to replace the faulty blower motor gradually:
- Turn off the engine and disconnect the negative (-) battery cable to ensure safety during the replacement.
- Locate the housing behind the glove compartment or under the dashboard, remove the screws or bolts, and disconnect any electrical connectors.
- Gently pull out the old one from the housing, noting its position for installation.
- Position the replacement motor, which costs an average of $550, correctly in the housing and reconnect the electrical connectors.
- Secure the housing back in place using the screws or bolts.
- Reconnect the negative (-) battery cable that was previously disconnected to restore power.
Step 3: Inspect the cabin air filter
The cabin air filter housing can be found beneath the glove box or under the dashboard. Examine the cabin air filter for dirt, debris, and obstructions.
Replace the filter if it appears dirty or clogged by doing the following steps.
- Find the cabin air filter housing beneath the glove box or under the dashboard.
- Remove the fasteners or clips securing it and carefully open the housing to access the old cabin air filter.
- Take out the old cabin air filter from the housing, paying attention to its orientation to properly install the new filter.
- Thoroughly clean the filter housing, removing any debris or dust that may have accumulated.
- Place the new cabin air filter (costing at most $130) into the housing, ensuring it is properly aligned and fits securely.
- Close the housing and reattach the fasteners or clips to secure it in place.

Step 4: Check for refrigerant leaks
- Inspect the AC components, such as the hoses, connections, and fittings, for any signs of oil or refrigerant stains.
- Use an AC leak detection kit or UV dye to identify potential refrigerant leaks.
- If a leak is detected, it is recommended to consult a professional technician to address the issue and recharge the refrigerant. This will cost about $200-$250.
Attempting to fix the refrigerant leak without the proper tools and knowledge can be challenging and may lead to inaccurate results.
Step 5: Verify the operation of the AC compressor
Listen for any unusual noises coming from the AC compressor located in the engine bay. Remember to check if the AC compressor clutch engages when the AC is turned on.
If the compressor is not functioning properly, it may require professional diagnosis and repair since it is complicated. Its replacement normally costs around $850-$1,200.
Step 6: Check for obstructions in the condenser
- Inspect the condenser at the front of the vehicle for any dirt, debris, or obstructions.
- Then, clean the condenser fins using a soft brush or compressed air to ensure proper airflow for cooling.
Step 7: Monitor AC performance
Pay attention to the cooling capacity and airflow from the vents during normal driving conditions. Note any inconsistencies in cooling performance or changes in airflow that may indicate an underlying issue.
If you’re experiencing AC issues in your Honda CR-V, you may also find our article on Honda Civic won’t start but has power helpful. This article provides troubleshooting tips and possible solutions for starting issues in the Honda Civic. Additionally, if you’re facing AC problems specifically in your Honda Civic, our article on Honda Civic AC not working offers insights into common causes and potential remedies for this issue.FAQs
Here are a few additional questions you may be interested in.
The cabin air filter in your Honda CR-V should be replaced every 12,000 to 15,000 miles or according to the manufacturer’s recommendations.
Yes. DIY AC recharge kits can temporarily seal minor refrigerant leaks, but it’s important to have a professional technician inspect and repair significant leaks for long-term solutions.
Checking the refrigerant level in your car’s AC system typically requires specialized equipment and is best done by a professional technician. They can use gauges and pressure sensors to measure the refrigerant level accurately.
Conclusion
Dealing with a malfunctioning Honda CR-V AC system can be frustrating, especially during hot summer days. However, If you find your Honda CRV AC not working, it is essential to identify the underlying issue.
Whether it’s a refrigerant leak, a faulty blend door actuator, or any other, each problem requires specific attention. Remember, some AC problems can be resolved through simple maintenance tasks, while others may require professional diagnosis and repair.
