
Coolant is a must-have fluid in a car’s engine that helps regulate its temperature. It helps maintain the proper operating temperature of the engine, protects against corrosion, and lubricates engine components. But sometimes, your engine may use the coolant excessively, which is a bad sign for the engine.
So, why is my car using so much coolant? The reason your vehicle is using so much coolant could be because of a coolant leak, a blown head gasket, or a damaged radiator.
Continue reading to explore the causes and solutions of excessive coolant usage by your car. We will also provide tips for preventive maintenance to avoid future problems with coolant.
The Importance Of The Proper Balance Of Coolant In The Engine
The proper balance of coolant in a car’s engine is crucial for the engine’s optimal performance. The coolant regulates and ensures the required temperature, which isn’t too hot or too cold.

When the engine runs too hot, it could cause damage to various components. Conversely, running the engine too cool could cause it to run inefficiently and cause a drop in performance. As a result, retaining the appropriate coolant amount and composition is critical.
Common Causes Of A Car Using Too Much Coolant
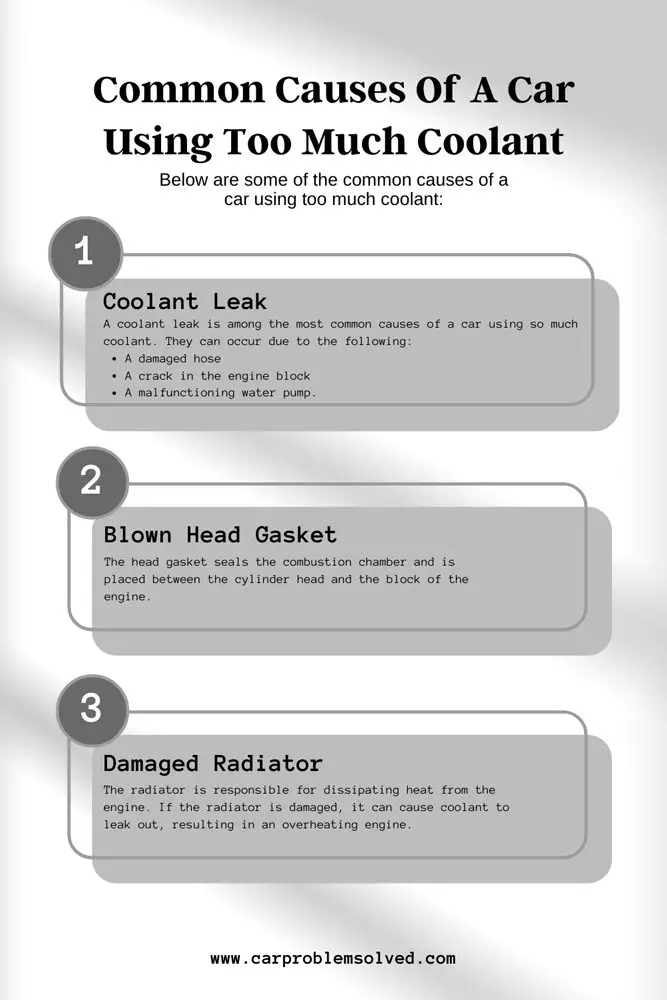
Below are some of the common causes of a car using too much coolant:
1. Coolant Leak
A coolant leak is among the most common causes of a car using so much coolant. They can occur due to the following:
- A damaged hose
- A crack in the engine block
- A malfunctioning water pump.
Over time, the hoses and other components in the cooling system can wear out and develop cracks, allowing coolant to leak out. A damaged hose can cause coolant to leak out quickly, while a small crack in the engine block may cause the coolant to leak out slowly.
2. Blown Head Gasket
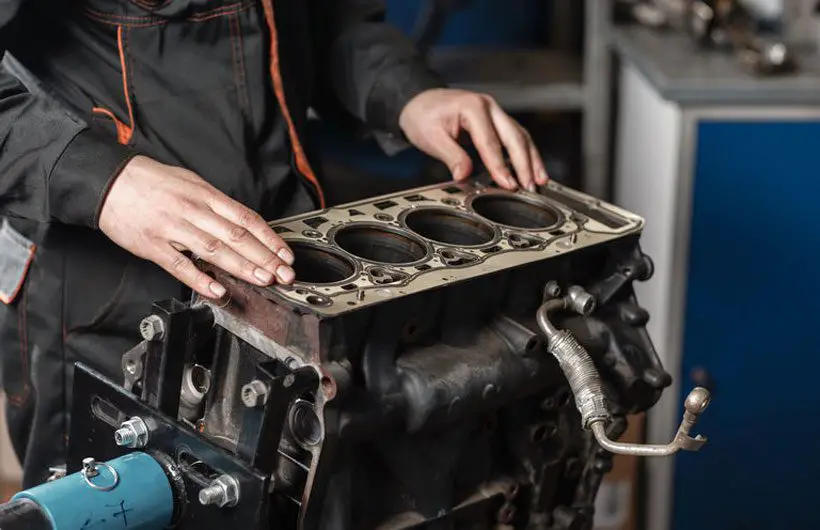
The head gasket seals the combustion chamber and is placed between the cylinder head and the block of the engine. Coolant may seep into the combustion chamber if it blows, burns up, and is discharged as white smoke from the tailpipe.
This type of coolant loss is often accompanied by other symptoms, such as:
- A rough idle of the engine
- The engine misfiring
- An overheating engine.
3. Damaged Radiator
The radiator is responsible for dissipating heat from the engine. If the radiator is damaged, it can cause coolant to leak out, resulting in an overheating engine.
Common causes of a damaged radiator include:
- Corrosion
- Impact damage
- Clogged fins.
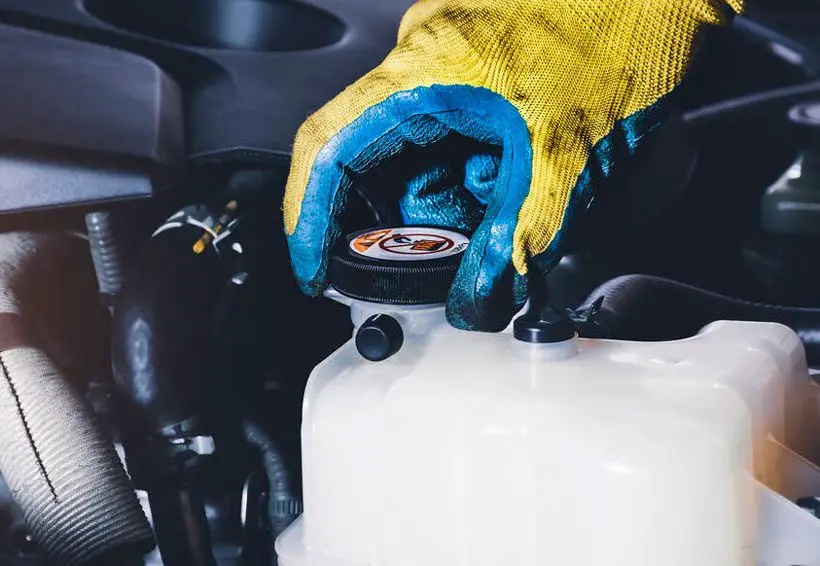
In addition, the radiator cap can also cause coolant loss if it is not functioning correctly. A faulty radiator cap can cause the coolant to boil and be expelled from the reservoir, resulting in a loss of coolant.
Diagnosing Coolant Usage Problem

Diagnosing a coolant usage problem requires a few steps, as outlined below:
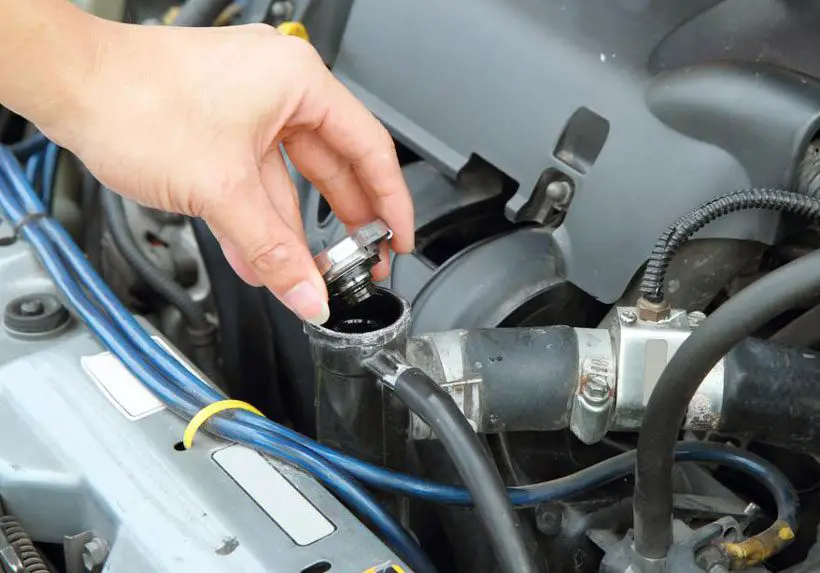
- Monitoring Coolant Levels: Check the coolant level regularly to identify if there is excessive usage. If the coolant level is consistently low, it is a sign of a problem.
- Checking for Visible Leaks: Inspect the engine compartment for any visible leaks. A leaking hose or radiator could cause coolant to escape, leading to a low coolant level.
- Inspecting the Radiator and Hoses: Check for any damages or leaks in the radiator or hoses. Any damage could cause coolant to escape, leading to excessive use of coolant.
- Performing a Compression Test: A compression test can help identify if the head gasket has blown up.
Solutions For Addressing Excessive Coolant Usage

Below are the solutions for addressing this problem.
1. Repairing the Coolant Leak
If the cause is a system leak, finding and repairing it as quickly as possible is vital. It can happen in any system component, including the radiator, hoses, water pump, heater core, and engine block.
Here is a step-by-step guide on how to repair the leak:
Step 1: Identify the location of the leak
Before you start repairing the leak, you need to identify the exact location of the leak. Several components in the system can leak, including hoses, the radiator, the water pump, and the heater core.
Step 2: Drain the coolant
To do this, locate the drain plug on the radiator or remove the lower hose. Make sure to place a container underneath to catch the coolant.
Step 3: Remove the damaged component
If the leak is caused by a damaged hose, water pump, or another component, you need to remove the damaged part. Use the appropriate tools to remove the damaged component, and follow the manufacturer’s instructions for removing and installing the piece.
Step 4: Replace the damaged component
Once you have removed the damaged component, replace it with a new one. Use the correct part for your vehicle and follow the manufacturer’s instructions for installing the component.
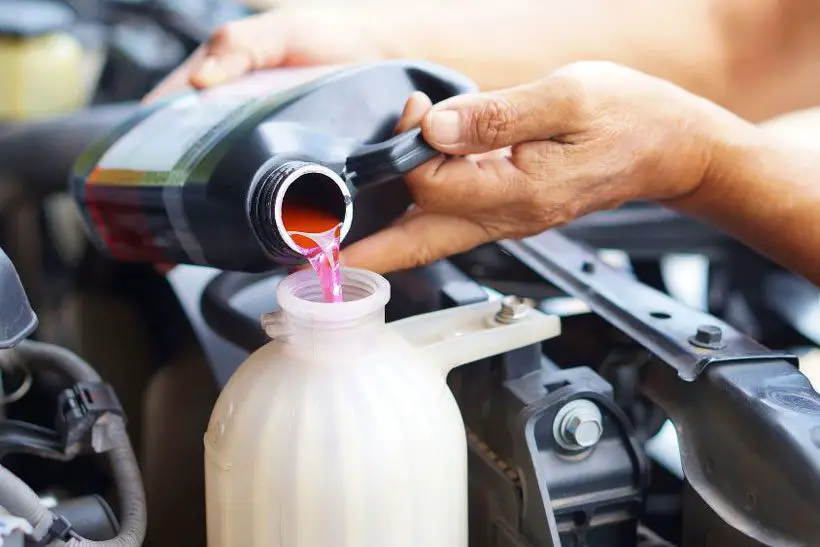
Step 5: Reconnect the hoses and refill the coolant
Next, reconnect any disconnected hoses and refill the cooling system with the appropriate coolant. Follow the manufacturer’s instructions for filling the cooling system and bleeding any air out.
2. Fixing the Blown Head Gasket
If the cause of the excessive usage of the coolant is a blown head gasket, the repair can be more complicated and costly.
In addition, it can cause engine overheating and loss of power. To fix this, follow the steps below:
Step 1: Remove the cylinder head
This involves removing the intake and exhaust manifolds, valve covers, and rocker’s arms. Then unbolt the cylinder head from the engine block.
Step 2: Inspect and repair the cylinder head
With the cylinder head removed, inspect it for damage, cracks, or warpage. If there are any issues, have the cylinder head repaired or replaced. If the cylinder head is in good condition, proceed to the next step.
Step 3: Inspect and repair the engine block
If there are any issues, have the engine block repaired or replaced. If the engine block is in good condition, proceed to the next step.
Step 4: Replace the head gasket
Replace the blown head gasket with a new one. Make sure to use the correct head gasket for your specific vehicle and follow the manufacturer’s instructions for installing the head gasket.
Step 5: Reinstall the cylinder head
Reinstall the cylinder head by following the manufacturer’s instructions for tightening the bolts and reinstalling the intake and exhaust manifolds, valve covers, and rocker’s arms.
Step 6: Refill the coolant and test the engine
Refill the coolant system with the appropriate coolant and water mixture. Start and idle the engine for several minutes while monitoring the temperature gauge.
If the engine temperature rises above average, the cooling system may still have a problem, and further inspection may be necessary.
3. Replacing the Damaged Radiator
If the radiator is severely damaged, it needs to be replaced. However, if the damage is minor, it may be possible to repair the radiator by soldering or replacing a damaged fin or tube. Here is what you need to do.
Step 1: Drain the coolant
Before removing the radiator, drain the coolant from the system. Locate the drain plug on the bottom of the radiator and open it to drain the coolant into a container.
Step 2: Remove the radiator
Once the coolant has been drained, remove the radiator from the vehicle. This involves disconnecting the upper and lower hoses, removing the mounting bolts, and carefully lifting the radiator out of the vehicle.
Step 3: Repair the radiator
If the radiator is only slightly damaged, it may be possible to repair it. Use a kit to patch any leaks or cracks. Follow the instructions provided in the kit carefully to ensure proper repair.
Step 4: Replace the radiator
The radiator must be replaced if it is too damaged to be repaired. Purchase a new radiator compatible with your vehicle’s make and model. Make sure also to purchase new hoses and clamps, if needed.
Step 5: Install the new radiator
Install the new radiator by reversing the steps you took to remove the old radiator. Reconnect the upper and lower hoses and reinstall the mounting bolts. Ensure the radiator is securely mounted and all hoses and connections are tight.
Step 6: Refill the coolant
Refill the coolant system with the appropriate coolant and water mixture.
Preventive Maintenance Tips For Avoiding Coolant-Related Problems
Below are some preventative maintenance tips for avoiding coolant-related problems:
1. Regular Maintenance
Regular maintenance is essential for preventing coolant-related problems. It is important to follow the manufacturer’s recommended maintenance schedule and have the coolant system checked regularly.
Frequent maintenance can assist in identifying possible concerns before they become severe difficulties. And you can prevent premature wear and tear on coolant system components.
2. Coolant System Checks
Regular checks of the coolant system can help detect any leaks or other problems before they cause damage. It is essential to check the coolant level regularly and inspect the radiator and hoses for any signs of damage or wear.
3. Monitoring Temperature Gauge
Monitoring the temperature gauge can help detect any issues with the coolant system before they cause damage.
If the temperature gauge shows an unusually high temperature, it may indicate a problem with the coolant system. In this case, it is vital to stop the vehicle and have it checked by a qualified mechanic.
If you’ve noticed that your car is consuming a significant amount of coolant, it’s important to investigate the underlying cause. In addition to coolant consumption, you may also be curious about why your coolant appears milky or why it’s boiling. Our article on why is my coolant milky explores common reasons for coolant discoloration, including potential engine issues that could contribute to coolant consumption. Furthermore, our article on why is my coolant boiling delves into factors that can cause coolant to reach excessive temperatures and provides insights on diagnosing and resolving the problem. By understanding these related concerns, you can take steps to address them and maintain the proper functioning of your car’s cooling system.Conclusion
A car using excessive amounts of coolant can indicate a severe problem with the coolant system. Maintaining the proper coolant balance in the engine is vital to prevent engine damage and ensure adequate engine temperature.
If you notice any problems with your car’s coolant system, you should have it checked by a trained mechanic as quickly as you can to prevent further damage. Timely intervention can help prevent further damage to your car’s engine and save you from incurring significant repair costs.